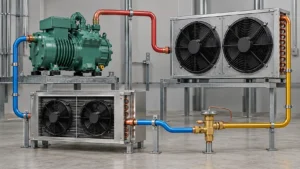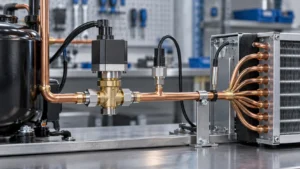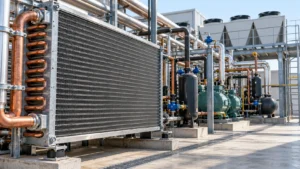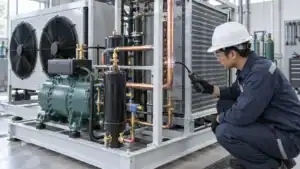

A dirty evaporator coil can reduce airflow and heat transfer, but a warm refrigerator may also be caused by frost, fan, defrost, controls, or sealed-system faults; inspect before ordering a replacement coil.
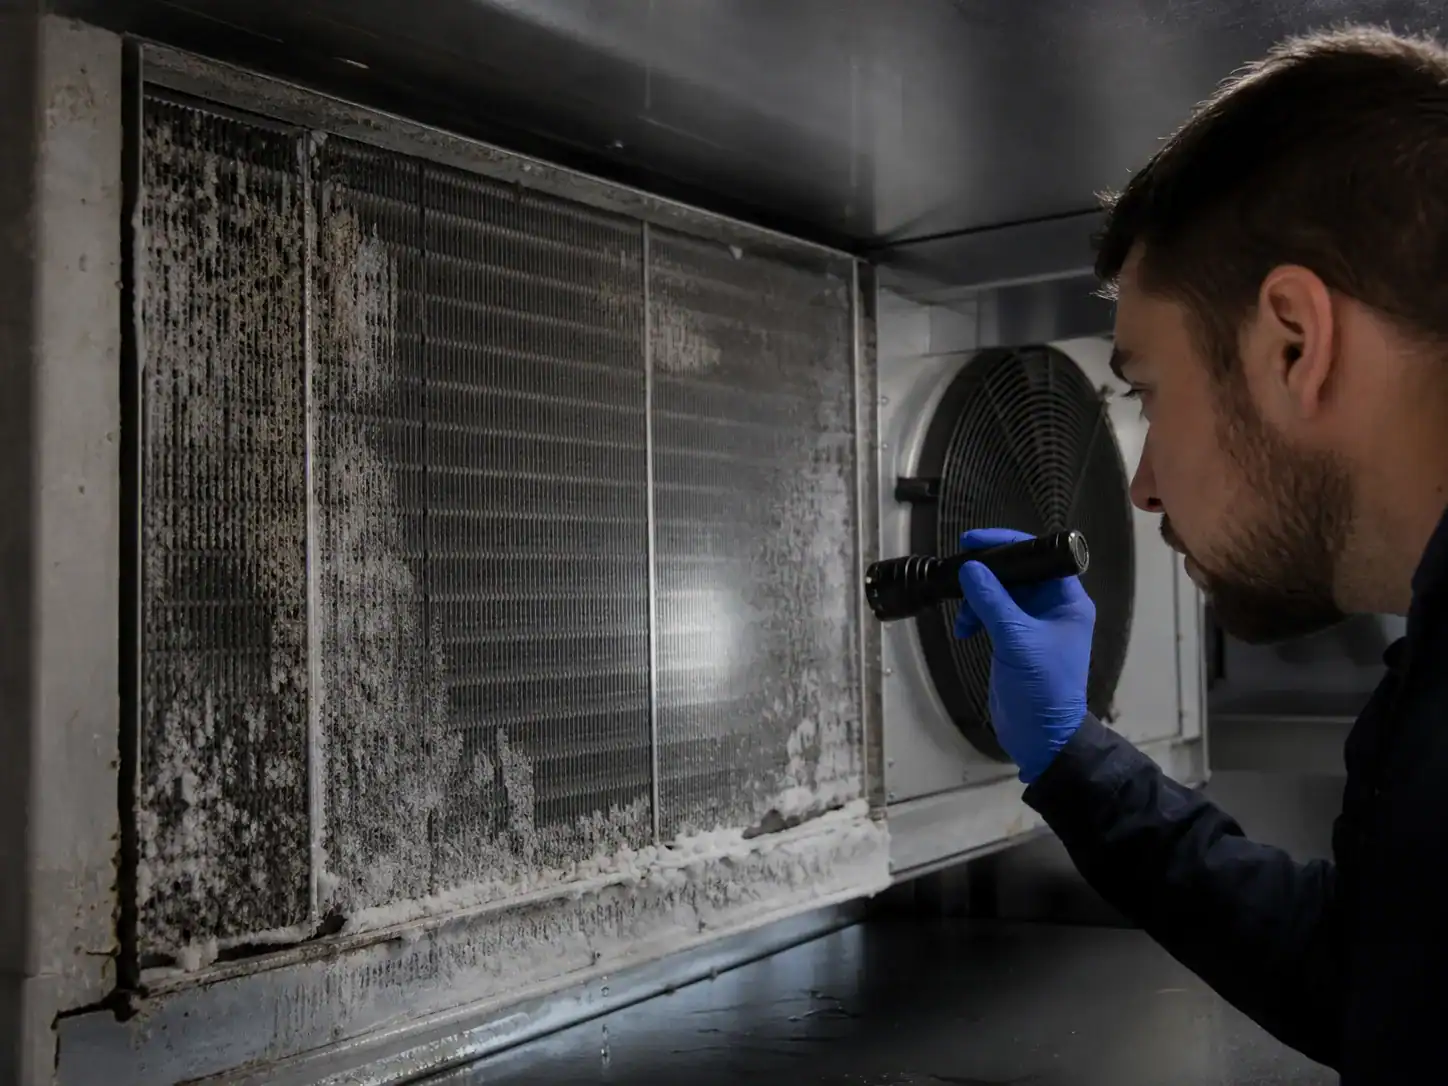
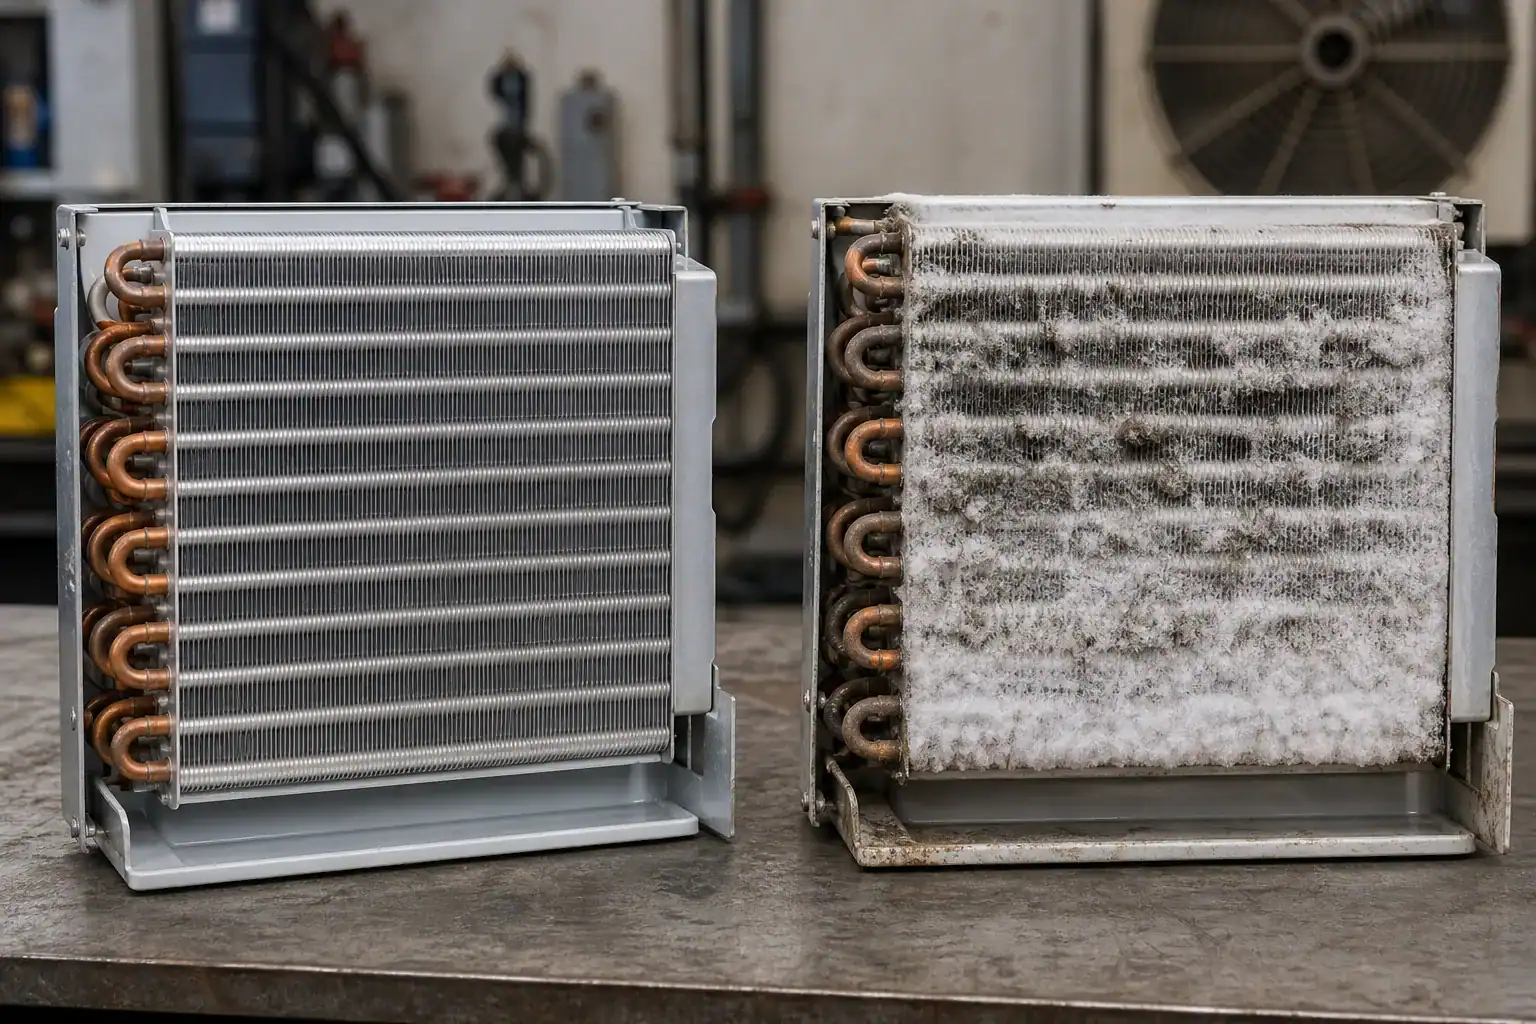
The phrase “dirty evaporator coil” covers several different conditions. A coil may have dust, lint, grease, food residue, biological growth, corrosion products, frost, or a coating that has degraded. In a refrigerator, an evaporator is often behind a cover and may be contaminated less like an exposed air-conditioner coil and more like a hidden fin pack affected by airborne particles, moisture, packaging debris, or ice. Cleaning can restore an intact coil, but it cannot repair a leak, crushed tube, severe corrosion, blocked internal passage, or a defrost problem.
This guide is for appliance service teams, OEM refrigerator and freezer engineers, procurement managers, and replacement-part buyers. It explains how contamination changes performance, how to inspect and clean safely, when a dirty coil should be replaced, and what data to provide for a custom evaporator quotation. For food-zone equipment, follow the appliance manufacturer, chemical, electrical, refrigerant, and food-safety procedures. Do not introduce a cleaner into the refrigerant circuit or use an unapproved chemical near food-contact surfaces.
The ENERGY STAR refrigerator guidance recommends maintaining airflow and keeping condenser areas clean; the same practical discipline applies to an accessible evaporator, although the evaporator may require a qualified service procedure to reach. The Whirlpool cooling troubleshooting guide shows why settings, vents, door closure, and airflow should be checked before deeper repair. A dirty evaporator is one evidence category, not a complete diagnosis.
What “dirty” means on an evaporator
Dry dust and lint
Particles can collect on fins and reduce the open area available for air to pass. A thin layer may have little effect in a clean, dry environment, while a compacted layer can raise pressure drop and reduce airflow. Dust can also become a moisture-retaining layer that accelerates corrosion or microbial growth.
Grease, food residue, and sticky deposits
Oil or food residue can bond particles to the fins and form a film that reduces heat transfer. It may also create odor, attract moisture, or damage a coating. The source matters: a leaking package, an air path from a dirty compartment, a manufacturing residue, or an unsuitable cleaning product require different corrections.
Frost and ice
Frost is not the same as dirt. A white or opaque layer may be normal during operation, excessive because of humidity or door sealing, or caused by a defrost failure. Do not brush or chemically clean a frozen coil before diagnosing the defrost and moisture condition. The GE automatic-defrost explanation provides background on why automatic frost removal is part of normal refrigerator operation.
Corrosion products and coating failure
Flaking, white powder, green residue, pinholes, dark corrosion, or fin separation can indicate an environmental or material problem. Cleaning may remove loose material while leaving a weakened pressure boundary. Photograph the condition and consider a leak test and material/coating review.
Manufacturing or packaging residue
New parts can have oil, protective film, metal chips, flux residue, dust, or packaging fragments. The approved cleanliness requirement should identify acceptable residues and the cleaning method. Do not assume a replacement coil is ready for a food-zone application without reviewing the specification.
Symptoms of a dirty evaporator coil
A dirty evaporator may reduce capacity, increase fan noise, create a temperature difference across shelves, raise compressor run time, or increase frost unevenness. These symptoms overlap with blocked airflow, poor fan performance, defrost failure, and sealed-system problems.
| Symptom | How contamination may contribute | Other causes to rule out |
|---|---|---|
| Cabinet warm | Lower heat transfer or airflow | Fan, damper, defrost, charge, compressor, control |
| Fan noisy or airflow weak | Fins or ice increase resistance | Damaged blade, shroud, duct, return blockage |
| Long compressor run time | Capacity and heat transfer reduced | High ambient, door seal, load, charge, condenser |
| Uneven shelf temperature | Air distribution altered | Duct leakage, sensor, loading, damper |
| Odor or residue | Dirty surface or moisture retention | Food spill, drain, liner, insulation, microbial source |
| Coil frosting quickly | Dirt adds resistance or holds moisture | Defrost, gasket, humidity, refrigerant or circuit issue |
The symptom alone should not trigger a replacement. Start with temperature, airflow, frost, compressor, fan, defrost, and condenser evidence. If the freezer works while the fresh-food compartment is warm, use the Domi freezer-works diagnostic guide to separate air distribution from coil damage.
Inspect before cleaning
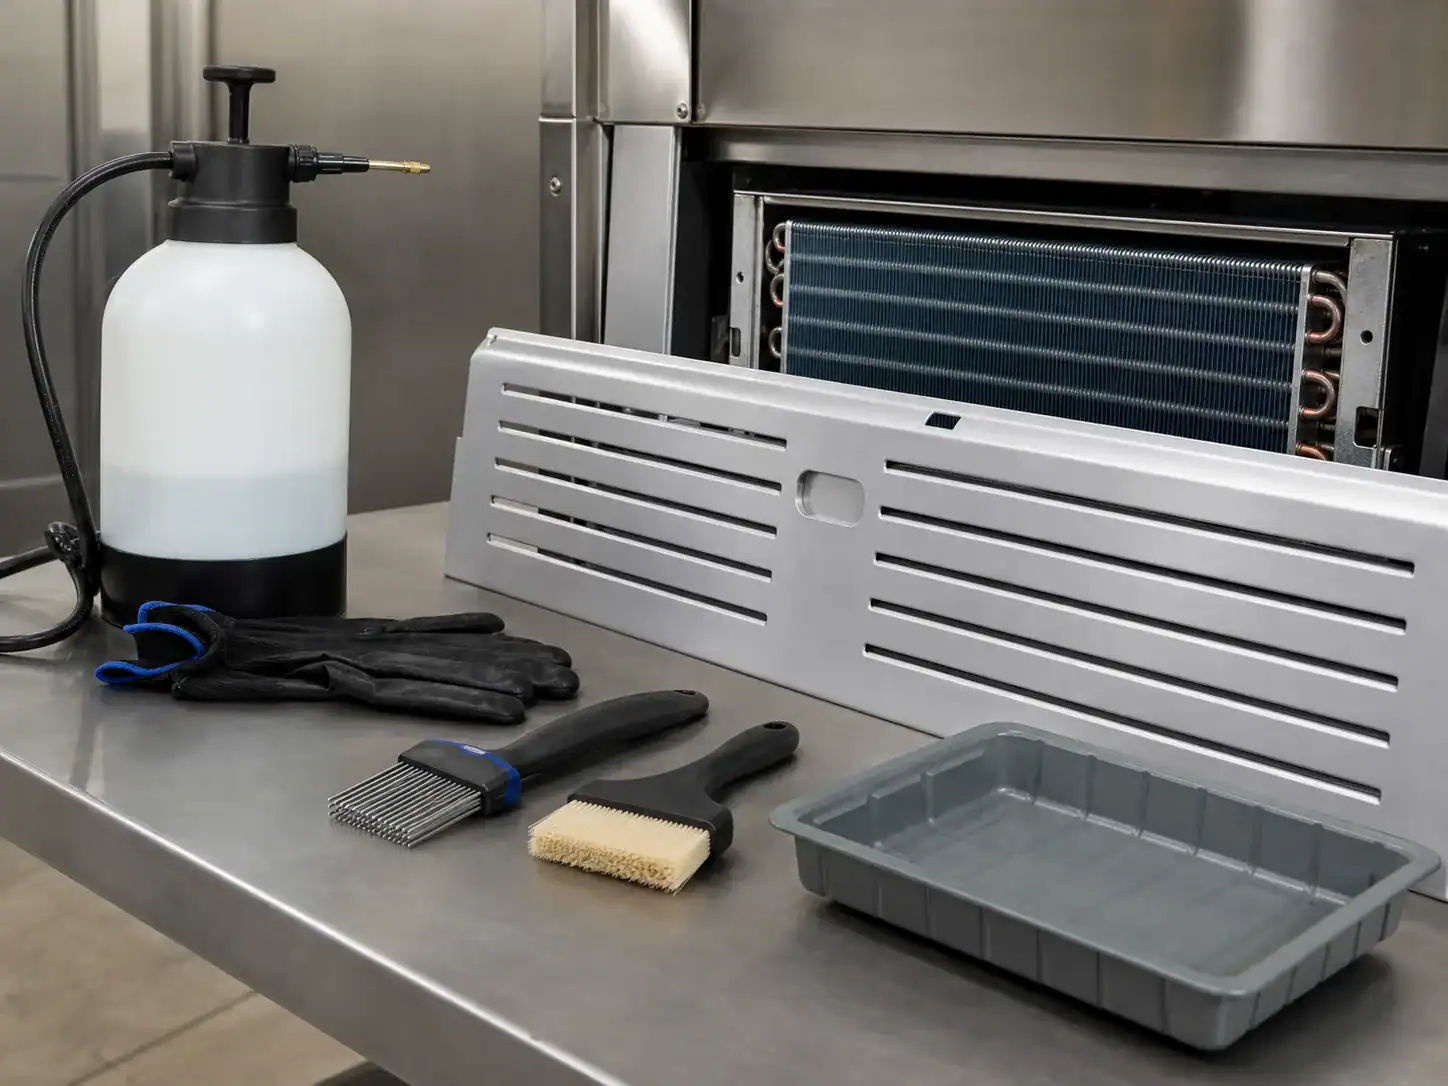
Inspection should be safe, controlled, and repeatable. Disconnect power if required, protect food and surfaces, avoid sharp fins, and do not remove a cover that contains refrigerant tubing or electrical components without the correct procedure.
Record the operating condition
Before opening the coil area, record cabinet and freezer temperatures, setpoints, ambient, compressor and fan state, airflow, frost pattern, and any alarms. A cleaning may temporarily improve the symptom; without a baseline, the team may not know whether the change came from cleaning, a manual defrost, or a fan restart.
Photograph the contamination
Take overview and close-up photographs with a scale or known feature. Record where the dirt is located: inlet face, outlet face, lower drain area, header, bracket, sensor, heater, or cover. Note whether the fins are matted, bent, corroded, oily, wet, iced, or separated.
Look for internal and external evidence
External contamination is visible on the fin pack. An internal restriction or leak is not solved by surface cleaning. Check for oil staining near joints, damaged tubes, crushed passages, blocked headers, loose fins, and corrosion around connections. Refrigerant-side diagnosis requires qualified equipment and procedures.
Check air path and drain
Measure or observe the fan, shroud, vents, return, damper, cover, insulation, and drain. A clean coil can still underperform when air bypasses the fin pack or the return is blocked. A dirty lower section may be a drain or moisture problem rather than the original cause.
Cleaning a dirty evaporator coil
The cleaning method depends on the material, coating, location, residue, food-zone requirements, electrical access, and manufacturer instructions. Use the least aggressive method that removes the confirmed contamination without damaging fins, tube joints, coating, wiring, insulation, or seals.
Dry removal
For loose dust and lint, use a soft brush or controlled vacuum method that does not bend fins or drive debris deeper into the pack. Protect the fan, sensor, connector, and cabinet. Brush in the direction that supports the fins rather than against the fin edge. Do not use compressed air where it can spread food-zone contamination or force debris into the cabinet.
Water-based cleaning
If water is approved, control the volume, direction, temperature, and collection. Keep water away from electrical connectors and insulation. Confirm that the drain is open and that the pan can handle the flow. After cleaning, dry the component and verify that no residue remains in the fin pack or cabinet.
Chemical cleaning
Use only a chemical approved for the coil material, coating, appliance environment, and residue. Follow the safety data and rinsing requirements. Acidic, strongly alkaline, chlorinated, or solvent-based products can attack aluminum fins, copper tubes, coatings, plastics, elastomers, or food-zone materials. Never mix cleaners. If the material compatibility is unknown, stop and seek the manufacturer’s instruction.
Frost removal
Defrost using the approved service method. Do not chip ice with a sharp tool and do not direct an uncontrolled flame or high-temperature source at the coil. After the ice is removed, inspect the defrost heater, thermostat or sensor, control, drain, gasket, fan, and moisture source. If the frost returns, cleaning was only a temporary action.
How to verify cleaning worked
Do not stop at a visually clean coil. Reassemble the cover and airflow path, restore the appliance safely, and repeat the measured operating condition.
| Verification | Evidence to collect |
|---|---|
| Surface | Fins open, residue removed, no bent or loose sections |
| Airflow | Fan, shroud, supply, return and pressure condition restored |
| Cooling | Cabinet and freezer reach the approved target within the test time |
| Frost | Pattern and accumulation are consistent with the design |
| Drain | Meltwater leaves the coil area and does not refreeze |
| Electrical | Fan, sensor, heater and connectors operate after reassembly |
| Cleanliness | No chemical, food, metal, lint or packaging residue remains |
| Recurrence | Condition remains acceptable through the required run cycle |
If cooling improves only after a manual defrost, the cause may be a defrost-system failure rather than contamination. The Domi refrigerator defrost heater guide and defrost thermostat guide provide related diagnostic paths.
When a dirty evaporator needs replacement
Replacement is more appropriate when cleaning cannot restore the approved condition or when the coil has a confirmed physical, pressure-boundary, or performance defect.
Physical damage
Crushed tubes, severe fin damage, broken headers, loose joints, inaccessible leaks, and a deformed assembly can prevent reliable repair. Record the defect and determine whether the root cause was handling, installation, corrosion, vibration, or a design tolerance.
Corrosion or repeated leaks
If the coil has pinholes, extensive pitting, flaking, or repeated joint leakage, a clean surface does not restore pressure integrity. Review material, coating, condensation, cleaning chemistry, refrigerant compatibility, and environmental exposure. A replacement with the same material may reproduce the failure if the exposure remains unchanged.
Irreversible contamination
Oil, grease, biological residue, or chemical residue may penetrate a fin pack or insulation area that cannot be cleaned and verified safely. For food-zone equipment, the cleanliness requirement may require replacement rather than an uncertain field wash.
Performance outside the approved window
A coil can be physically intact but fail duty, airflow, pressure drop, frost, defrost, or temperature uniformity requirements because of a wrong part, damaged fin pack, circuiting issue, or design mismatch. Confirm with measurements and the approved test method.
Replacement evaporator coil data
Do not request a replacement using “dirty evaporator coil” alone. The supplier needs the part definition and the application conditions.
| RFQ category | Information to provide |
|---|---|
| Application | Refrigerator/freezer type, compartment, setpoint, ambient and duty cycle |
| Evidence | Photos, contamination type, leak or pressure evidence, temperature and airflow record |
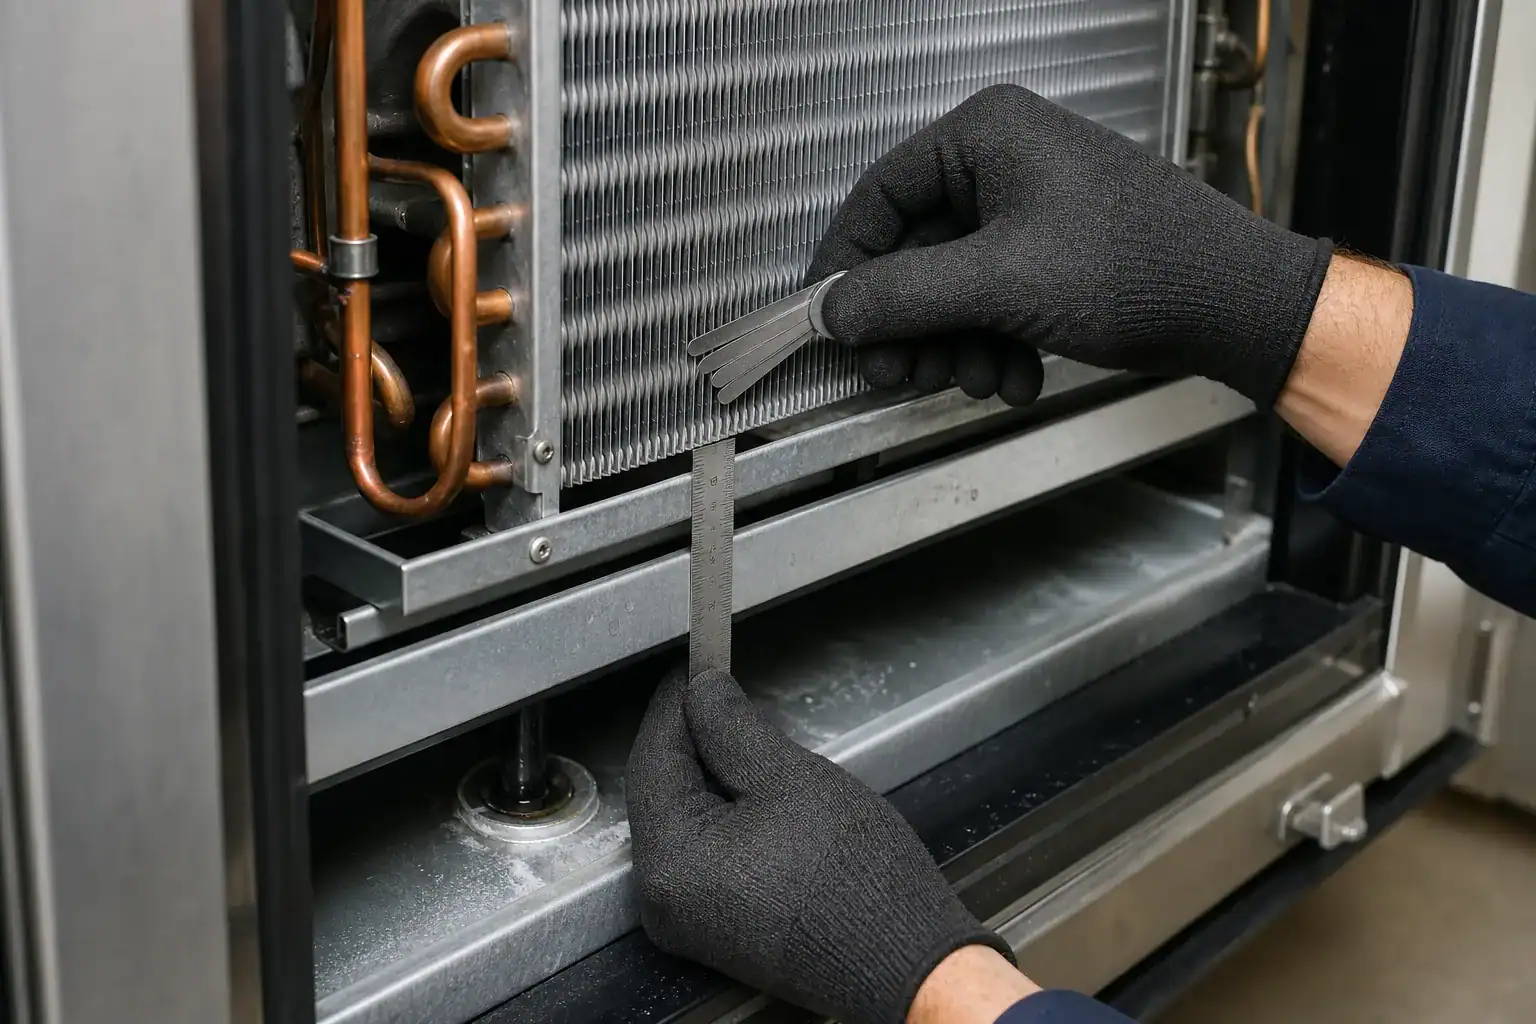
| Envelope | Length, height, depth, brackets, holes, cover, insulation and service clearances |
| Refrigerant | Refrigerant, tube, circuiting, connections, design pressure and test pressure |
| Air side | Face area, fin pitch, fan, shroud, duct, bypass and return path |
| Defrost | Heater, thermostat/sensor, clip, drain, pan, cover and recovery requirements |
| Materials | Tube, fin, header, bracket, coating, corrosion and cleanliness requirements |
| Quality | Dimensional, leak/pressure, visual, cleanliness, performance and traceability records |
| Commercial | Sample quantity, annual volume, MOQ, packaging, lead time and destination |
The Domi evaporator-coil quotation information page provides a practical internal link for drawings, operating conditions, quality, packaging, and commercial inputs. If there is no drawing, send the old part or a sample with scale and identify every unknown. Reverse engineering can recover geometry, but it cannot infer the required capacity, refrigerant, frost, pressure, or defrost design without system data.
OEM design lessons from a dirty coil
Repeated contamination is often a product, installation, or service-access problem.
Design cleanability
Allow access to the fin face, fan, drain, sensor, heater, and cover. Provide a brush or vacuum path where appropriate. Avoid pockets that trap lint, grease, water, or packaging. State what cleaning chemistry is allowed and how the food-zone surfaces should be protected.
Choose materials for the environment
Review condensation, salt, detergents, food acids, humidity, refrigerant, temperature cycling, and handling. A coating can improve durability but may change fin surface, cleanliness, or heat transfer. Any material or coating change should be validated and recorded in the drawing revision.
Prevent contamination at the source
Check filters, cabinet seals, packaging, factory cleanliness, service access panels, drain pans, and airflow direction. If the coil is inside a food compartment or exposed to product particles, the air path and cleaning instructions need more attention than a hidden residential assembly.
Control fins and airflow
Fins are thin and easy to bend during cleaning, handling, and installation. A fin pack with lower open area is more sensitive to contamination. Define fin pitch, face area, allowable damage, airflow, pressure drop, and inspection method.
Dirty coil versus frost, mold, and corrosion
The correct label affects the action. Dirt should be removed with an approved method. Frost should lead to defrost and moisture diagnosis. Biological growth should lead to cleaning, safety, source control, and possibly replacement. Corrosion should lead to material and leak assessment. Mold-like residue should not be spread with uncontrolled compressed air or water.
The U.S. EPA refrigerant safety resource highlights that refrigeration work can involve pressure, refrigerant, toxicity, flammability, and physical hazards. A dirty coil inspection does not authorize cutting tubing, releasing refrigerant, or bypassing electrical protection. Keep service safety separate from the SEO search phrase.
A controlled cleaning and replacement decision
- Confirm the symptom and operating condition.
- Identify the residue or frost and photograph its distribution.
- Inspect fan, duct, return, defrost, drain, door seal, condenser, and sealed-system evidence.
- Select an approved cleaning or defrost method if the coil is intact.
- Reassemble and repeat temperature, airflow, frost, drain, and cleanliness checks.
- If the coil remains damaged, contaminated, leaky, or outside performance, create a replacement RFQ.
- Validate the replacement in the cabinet and connect the result to the controlled part revision.
Inspection findings and what they mean
A useful inspection report uses specific descriptions rather than a single checkbox for “dirty.” Record the deposit, location, thickness or coverage, moisture condition, fin damage, corrosion, odor, and relationship to the airflow and drain. Use the same photographs and measurement points when a second technician or supplier reviews the case.
| Finding | More useful interpretation | Recommended follow-up |
|---|---|---|
| Loose dry lint on inlet face | External air-path contamination | Brush or vacuum with approved method, then repeat airflow check |
| Sticky film on lower section | Moisture, food residue, oil or chemical exposure | Identify source, verify material compatibility, clean and inspect |
| Frost over entire fin pack | Defrost or moisture issue, possibly worsened by dirt | Check heater, sensor, control, drain, gasket and humidity |
| Frost only near one inlet | Charge, restriction, circuiting or airflow evidence | Qualified sealed-system and circuit review |
| Bent fins at access edge | Cleaning or handling damage | Measure airflow, repair if permitted or replace if performance fails |
| White powder or green staining | Possible corrosion or chemical attack | Check material, coating, leak evidence and exposure |
| Oil near a joint | Possible refrigerant-side leak | Qualified leak test and pressure-boundary review |
| Dirt in cover or drain pan | Source or maintenance problem | Clean path, correct source, verify drain and cabinet sealing |
The table is a triage aid, not a substitute for a model-specific test. A deposit can have more than one cause, and a clean-looking coil can still have an internal leak or restriction.
Cleaning limits and risk controls
Protect the fin geometry
Fins can be bent by a brush, vacuum nozzle, water jet, cloth, or tool. Damage near the inlet face can increase pressure drop and create local bypass. If a fin comb is permitted, use one matched to the fin pitch and only on accessible undamaged areas. Record any repaired fin section and confirm that it is acceptable under the product specification.
Protect coatings and tube joints
A coating can be chemically attacked or mechanically removed during cleaning. The exposed tube may then corrode faster, and a joint can be weakened by an aggressive chemical or tool. Request the coating and material limits from the supplier or manufacturer before selecting a cleaner.
Protect electrical and control parts
The evaporator area can contain fan motors, sensors, heaters, thermostats, harnesses, and connectors. Shield them from water and chemicals. Reconnect every component, inspect for trapped wire or pinched insulation, and run the approved electrical check after the service.
Protect the refrigerant boundary
Do not drill, scrape, clamp, bend, or pry against refrigerant tubing. A puncture can release refrigerant and create a repair that is more extensive than the original contamination. If a tube is damaged or an oil stain indicates a leak, stop cleaning and use a qualified sealed-system procedure.
Protect food and occupants
Remove or protect food according to the appliance procedure. Keep cleaner, rinse water, debris, and contaminated air away from food-contact surfaces. Ventilate as required by the chemical and product instructions. The phrase “coil cleaning” does not override food safety, electrical safety, or refrigerant safety.
Designing an evaporator for service and cleanability
An OEM that sees repeated dirty-coil complaints should review the complete contamination path.
Identify the source
Is the deposit coming from the cabinet air, door gaps, a drain, packaging, an assembly process, cleaning chemistry, a service opening, or a failed seal? A thicker fin pack or a stronger cleaner may be the wrong correction if the source remains active.
Give the technician a usable access path
Define how the cover is removed, where tools can be placed, how the fan and sensor are protected, and how water is collected. The service procedure should include the approved brush, vacuum, or cleaner, the direction of access, reassembly checks, and the post-cleaning temperature and airflow test.
Allow the drain to be inspected
The lower coil and drain often collect the material that passes through the air path. Provide an access and cleaning method that does not require damaging the coil or insulation. Include the drain outlet, pan, slope, heater relationship, and refreeze test in the design review.
Define cleanliness by evidence
“Clean coil” is vague. State the acceptable residue, visual standard, particle or oil limit where required, chemical residue, odor, and test method. The manufacturing and service teams should use the same words and photographs.
Balance fin density and contamination sensitivity
More fin area can increase heat-transfer potential but can also increase pressure drop and sensitivity to dust or frost. Select fin pitch with the fan, duct, moisture, cleaning access, and expected load. Validate the dirty or partially blocked condition if the product environment makes it credible.
Replacement coil validation after a dirty-coil failure
If a replacement is approved, validate more than the clean sample. Check the new coil in the cabinet with the approved fan, cover, drain, heater, sensor, refrigerant, and controls. Measure capacity, airflow, pressure drop, temperature uniformity, frost, defrost, drain, noise, and service access. If contamination is a recurring field condition, include a controlled partial-blockage or cleaning-interval test where appropriate.
The Domi refrigeration coil prototype process and drawing revision-control guide provide internal paths for coordinating sample, drawing, inspection, and change records. The purpose is to avoid replacing a dirty component with a part that fits but creates a new airflow, frost, or service problem.
What a supplier should return with a quote
Ask for a written assumptions and exclusions list. It should state the source drawing or sample, proposed tube and fin materials, coating or finish, defrost and drain interfaces, test requirements, cleaning or cleanliness assumptions, sample schedule, production lead time, MOQ, packaging, and what the price includes. If contamination suggests a material or coating change, request the rationale and the validation needed.
Do not let a broad search phrase become an incomplete specification. “Dirty evaporator coil replacement” should result in a technical review, not an unverified generic part. If the supplier cannot confirm a dimension, refrigerant, pressure, or defrost interface, keep it as an open item until the engineering owner approves an assumption.
Keep service and procurement records aligned
The inspection photograph, cleaning record, failure analysis, replacement quotation, approved drawing, sample report, and service part number should use the same appliance and coil identifiers. If the replacement changes fin pitch, coating, bracket, sensor clip, or drain, issue a revision and update the service instruction. This makes the next “dirty coil” call easier to diagnose and stops a buyer from ordering the old configuration by mistake.
Add a recurrence interval to the record when possible: for example, whether the symptom returned after one defrost, several days, or a defined number of door-opening cycles. The interval helps distinguish a one-time contamination event from a recurring frost, gasket, drain, or airflow issue. It also gives the product team a useful field condition for validating a replacement coil and its cleaning instructions.
If the coil is cleaned in production, define the inspection lighting, access angle, approved tool, residue standard, and reassembly check. If it is cleaned in the field, define how food and electrical parts are protected, where rinse water goes, and how the technician confirms that the drain and fan are clear. A cleaning instruction should not say only “clean coil”; it should tell the operator what good looks like and what to do when the surface is corroded, leaky, iced, or physically damaged. That distinction makes the maintenance process safer and keeps replacement decisions consistent.
This is also useful evidence when a buyer compares cleaning with a replacement quotation.
The result should identify the operator, date, appliance or sample, cleaning method, and final status so another reviewer can reproduce the decision.
Keep the photograph with that record.
For a repeated service condition, retain the old and cleaned photographs together with the replacement decision, so the next review can distinguish an acceptable maintenance result from a component that has reached the end of its serviceable condition.
Use the cleaning result as engineering evidence
If the refrigerator reaches temperature after cleaning, record how quickly it recovered, whether airflow returned, whether the frost pattern changed, and whether the result lasted through the intended run cycle. If it does not recover, record the remaining evidence: fan state, supply and return air, frost, drain, compressor, condenser, and sealed-system checks. A clean coil that still leaves the cabinet warm points to another branch of the diagnosis.
For a product team, repeated records can show whether contamination is coming from the cabinet, the door seal, the drain, packaging, installation, or maintenance method. That information may support a grille, cover, fin pitch, coating, access, or cleaning-instruction change. If a replacement coil is approved, carry the contamination finding into the drawing and validation plan so the new part is checked under the condition that caused the original complaint.
Reference the appliance and cabinet revision in the cleaning log.
Record the final airflow and temperature result after reassembly.
Keep the record with the service part and maintenance history.
FAQ: dirty evaporator coil
What does a dirty evaporator coil look like?
It may show dust, lint, grease, food residue, wet deposits, corrosion products, or loose material on the fin pack. Frost and ice can look similar but indicate a different condition. Photograph the surface and inspect the defrost and moisture path before cleaning.
Can a dirty evaporator coil make a refrigerator warm?
Yes. Contamination can reduce airflow and heat transfer, increase compressor run time, and lower cooling capacity. A warm refrigerator can also result from a fan, damper, defrost, control, door seal, refrigerant, or compressor problem.
Can I clean a refrigerator evaporator coil myself?
Only follow the appliance instructions and use a safe, approved method. The coil may be behind electrical components, insulation, or refrigerant tubing. Disconnect power as required, protect food and surfaces, avoid sharp tools, and use a qualified technician for inaccessible or sealed-system work.
Is ice on an evaporator the same as dirt?
No. Ice is a frost or defrost condition. Remove it using the approved method and investigate heater, thermostat or sensor, control, drain, gasket, humidity, and airflow causes.
When should a dirty coil be replaced instead of cleaned?
Replace or repair when the coil has confirmed leaks, severe corrosion, crushed tubing, damaged headers, irreversible contamination, or performance outside the approved specification. A clean surface does not restore pressure integrity or correct geometry.
What cleaner should be used on an evaporator coil?
Use only a product approved for the specific material, coating, residue, appliance environment, and food-zone requirements. Follow its safety and rinsing instructions. Do not mix chemicals or assume an air-conditioner cleaner is suitable for a refrigerator evaporator.
What should an OEM include in a replacement coil RFQ?
Include the part and drawing revision, sample photos, contamination or failure evidence, envelope, mounting, refrigerant, circuiting, connections, airflow, fin pitch, defrost and drain interfaces, materials, cleanliness, testing, sample, volume, MOQ, packaging, and schedule.
Does cleaning fix recurring evaporator frost?
Usually not by itself. Recurring frost may indicate a heater, thermostat, sensor, control, drain, fan, door-seal, humidity, or airflow problem. Record the recurrence interval and test the complete defrost and air path.