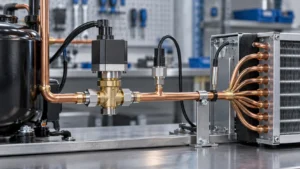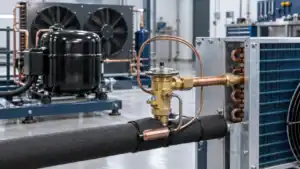

A custom coil prototype process moves from requirements and drawing review through sample build, inspection, fit, performance, revision, and pilot release.
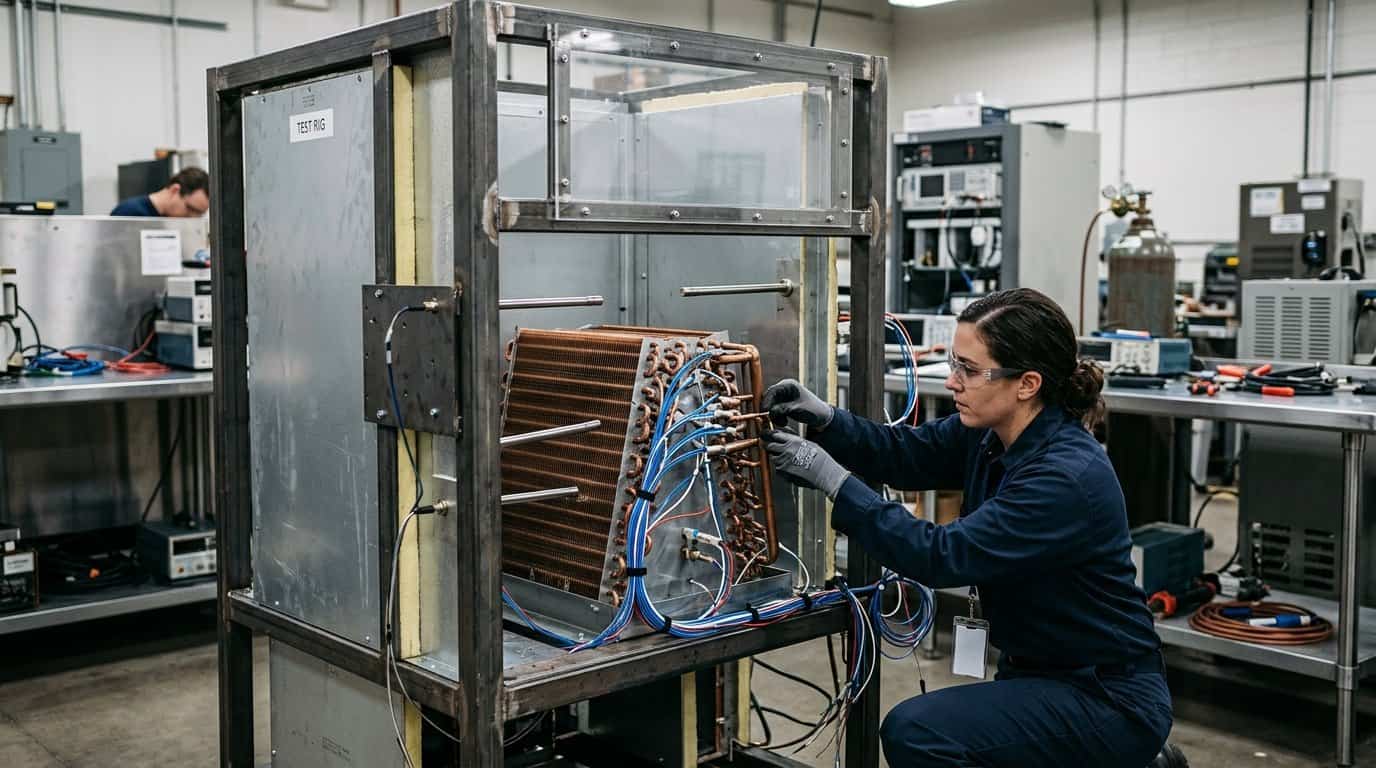
A prototype coil is not just a sample that looks like the drawing. It is a controlled test of whether the design, manufacturing route, inspection plan, and appliance installation can work together. A part can pass a dimensional check and still fail when the fan, cabinet insulation, refrigerant circuit, drainage path, or defrost sequence is added.
This guide explains a practical custom coil prototype process for OEM refrigerator and freezer programs. It is written for design engineers, procurement teams, supplier-quality engineers, and product managers who need to move from an early concept to a sample that can support a real decision.
The process should be adapted to the part. A condenser prototype may focus on airflow, heat rejection, connection routing, and cabinet temperature. An evaporator prototype may require frosting, drainage, defrost, and low-temperature performance checks. For a broader application overview, see Domi’s OEM refrigerator and freezer coil solutions.
What the custom coil prototype process must prove
The custom coil prototype process should answer five questions before a buyer releases a production order.
- Does the coil fit the appliance envelope and service clearances?
- Can the manufacturing route produce the required geometry and joints?
- Does the coil meet the agreed thermal and pressure requirements?
- Can quality inspect the important characteristics and retain evidence?
- Are the remaining changes small enough to move into a pilot run?
If the prototype only answers the first question, call it a fit sample. If it answers the first three but uses manual joints and temporary tooling, call it a design prototype. If it uses production-intent material, fixtures, packaging, and inspection, it is closer to a validation sample. Naming the stage prevents the team from asking one part to prove everything.
Define the decision before building the sample
Write the decision in one sentence. Examples include:
- Approve the coil envelope for cabinet fit.
- Confirm the condenser meets the high-ambient duty at the available airflow.
- Confirm the evaporator drains during defrost without water reaching the cabinet liner.
- Confirm the connection layout can be brazed in the appliance factory.
- Confirm a material or coating option before a pilot order.
The decision determines the sample quantity, test method, and records. A single sample may be enough for a fit check. A thermal comparison may require multiple units or a control part. A destructive joint examination requires a retained sample that will not be used in the final appliance test.
Use a stage definition
| Stage | Main question | Typical output |
|---|---|---|
| Feasibility | Can the concept fit and meet the initial duty? | Assumptions, risks, and preliminary design |
| Design prototype | Can the intended geometry be fabricated? | Sample, drawing comments, and process notes |
| Validation sample | Does the part meet the agreed fit and performance tests? | Test data, inspection record, and deviations |
| Pilot lot | Can the process repeat with production-intent controls? | Pilot inspection, capability observations, and release actions |
The label is less important than the evidence. Put the stage and decision on the purchase request so the supplier does not quote a prototype as if it were a normal production lot.
Gate one: collect the application requirements
The first step of a good custom coil prototype process is a requirement review. Do not begin with the drawing alone.
Identify the coil role and system conditions
Record the appliance platform, coil role, refrigerant, operating pressures or temperatures, target capacity, airflow, ambient, humidity, defrost method, drainage, and control sequence. State which values are measured and which are estimated.
For a condenser, include the fan curve or available airflow, cabinet ventilation, high-ambient condition, and the target condensing condition. For an evaporator, include air inlet condition, evaporating condition, frosting expectation, defrost method, drain temperature, and any moisture-sensitive cabinet surfaces.
The ASHRAE refrigeration resources page describes Standard 34 for refrigerant designation and safety classification and Standard 15 for refrigeration system safety. Use those references to keep refrigerant and safety assumptions visible. A supplier still needs the project-specific duty, but the prototype plan should not use an unidentified refrigerant.
Identify the physical envelope
Send the cabinet envelope, mounting datums, fan and insulation clearances, service access, drain route, wiring keep-outs, and connection approach. If the coil is wrapped, bent, or installed behind a panel, include the unfolded and installed conditions.
Mark the dimensions that cannot move. A supplier may be able to optimize a non-critical fin length or bracket edge, but a connection that moves 4 mm may fail cabinet assembly. A prototype review is the right time to expose those constraints.
Create an assumption and risk list
Use a short risk register:
| Risk | Evidence needed | Owner |
|---|---|---|
| Airflow is not final | Sensitivity review or alternate rating point | Appliance engineering |
| Refrigerant may change | Material and pressure review | System engineering |
| Connection access is tight | Fit sample and assembly observation | Manufacturing engineering |
| Frost or drainage is uncertain | Defrost and drain test | Product engineering |
| Coating is not validated | Coupon or sample evaluation | Quality and supplier |
The risk list keeps the custom coil prototype process honest. It also tells the supplier where to spend review time instead of treating every dimension as equally uncertain.
Gate two: review the drawing and manufacturing route
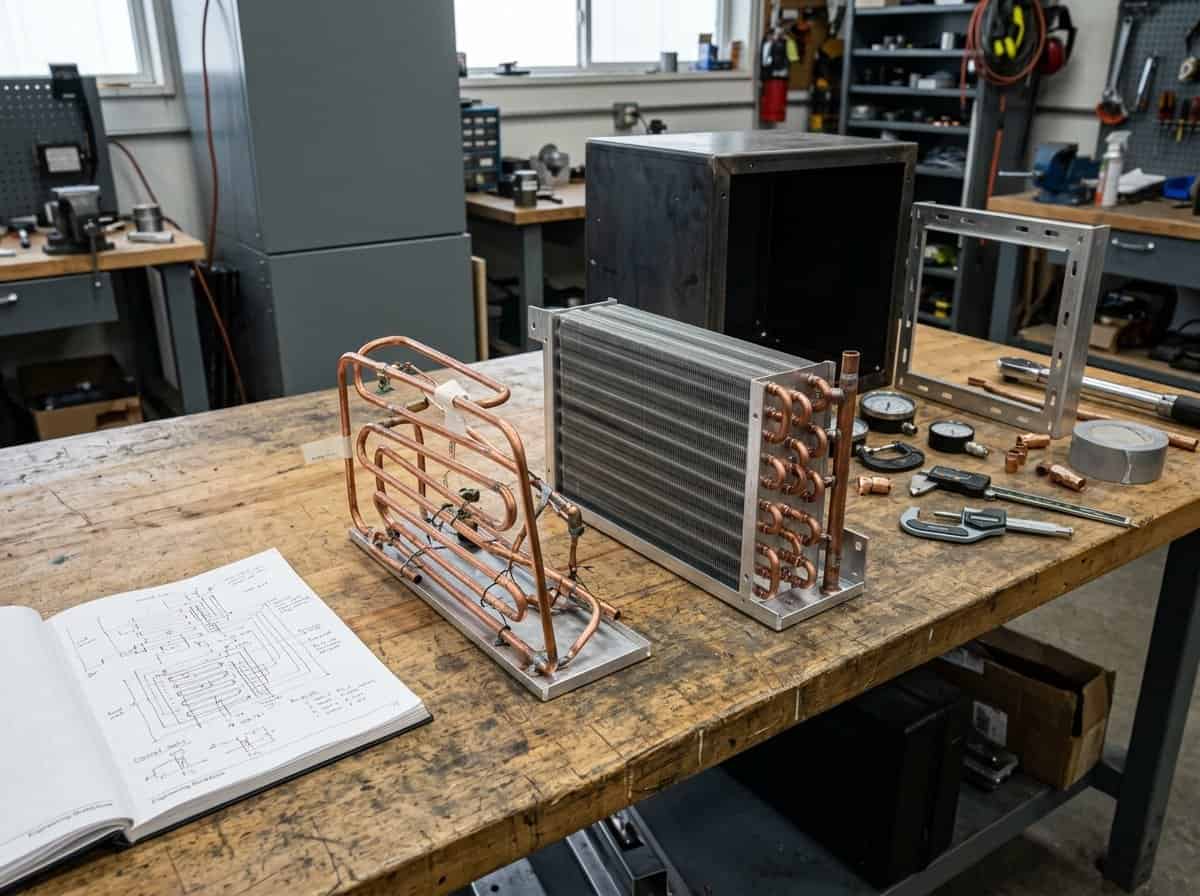
The prototype drawing must define the part well enough to build and inspect, while still identifying options the supplier may propose.
Make the drawing buildable
Include overall dimensions, tube or plate arrangement, row count, fin pitch, circuiting, header layout, connection ends, mounting points, datums, tolerances, joint notes, drain features, coating, cleanliness, and test requirements. If a 3D model is used for fit, identify the controlled PDF drawing that governs acceptance.
The drawing should also show the maximum envelope and critical keep-out zones. A part can be dimensionally correct at the bench and fail after installation if the fin pack touches insulation or the connection tool cannot reach the joint.
Select production-intent details deliberately
Ask the supplier to identify which items are temporary for the prototype. A manual bend may be acceptable for a concept sample. A production-intent header fixture may be required for a pressure or performance test. The buyer should know which evidence will carry forward to production.
The AHRI 410 coil performance page lists a defined scope and several exclusions. If the prototype is outside that scope, the project should define its own test basis or use another recognized method. A standard name in the RFQ is not a substitute for a complete test condition.
Review material and joining
Confirm tube, fin, header, bracket, and coating materials. Explain whether the prototype must use the intended production material or whether a substitute is allowed for a geometry-only check. List joint type, braze or solder requirements, end treatment, internal cleanliness, pressure or leak test, and capped ends.
The EPA refrigerant safety guidance notes that refrigerants may present toxicity, flammability, asphyxiation, and physical hazards. The prototype plan should therefore identify the refrigerant, test fluid, pressure boundary assumptions, and safe handling responsibility. A prototype should not create an informal exception to the system safety plan.
Gate three: build and inspect the sample
The build stage is where the supplier’s route becomes visible. The buyer should observe or receive enough information to understand what was actually made.
Record the build condition
Record material heat or lot information when required, tool or fixture identification, operator instructions, joint process, coating batch, and any manual operations. This does not mean every prototype needs a large quality dossier. It means the team should be able to explain a result and reproduce the sample condition when a change is needed.
Inspect before system testing
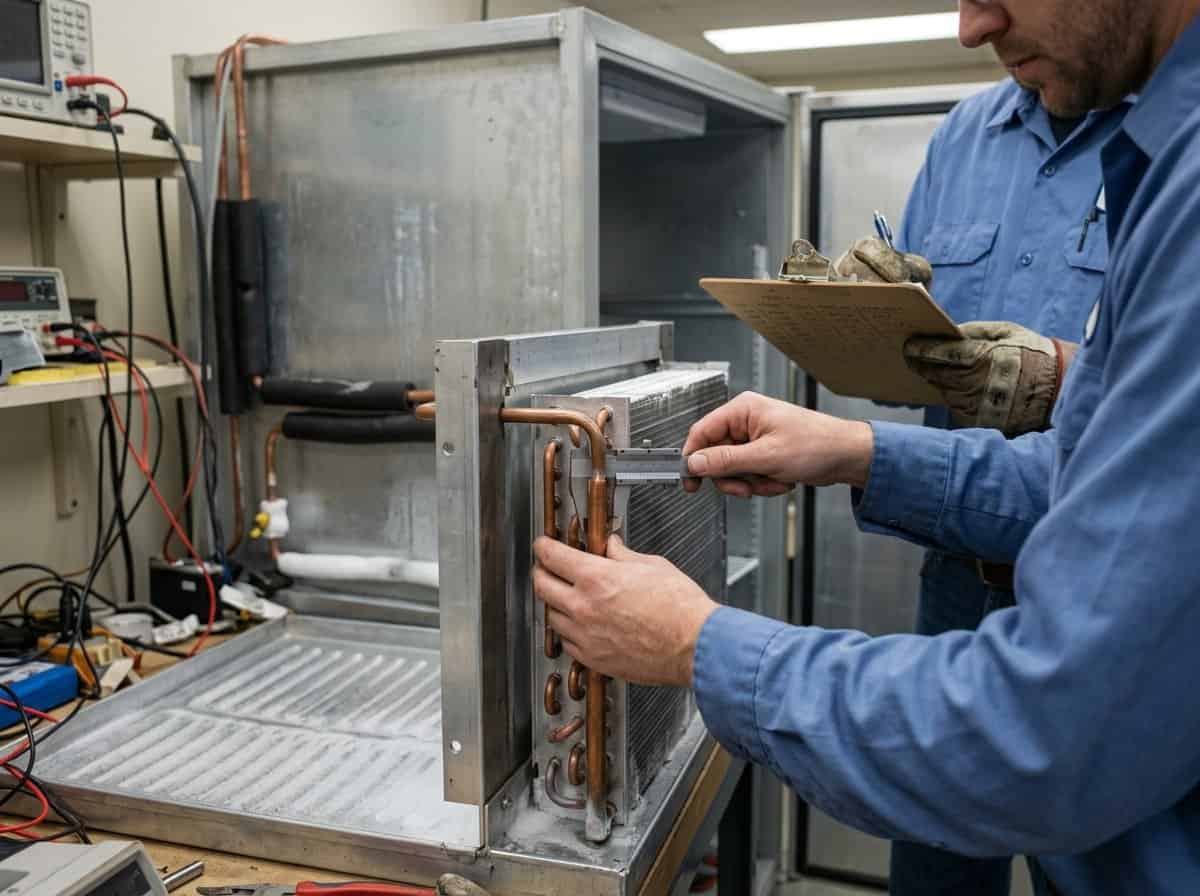
Complete a dimensional and visual check before putting the coil into the appliance. Check the envelope, mounting points, connection orientation, header position, drain, fin damage, tube deformation, joint appearance, and surface condition.
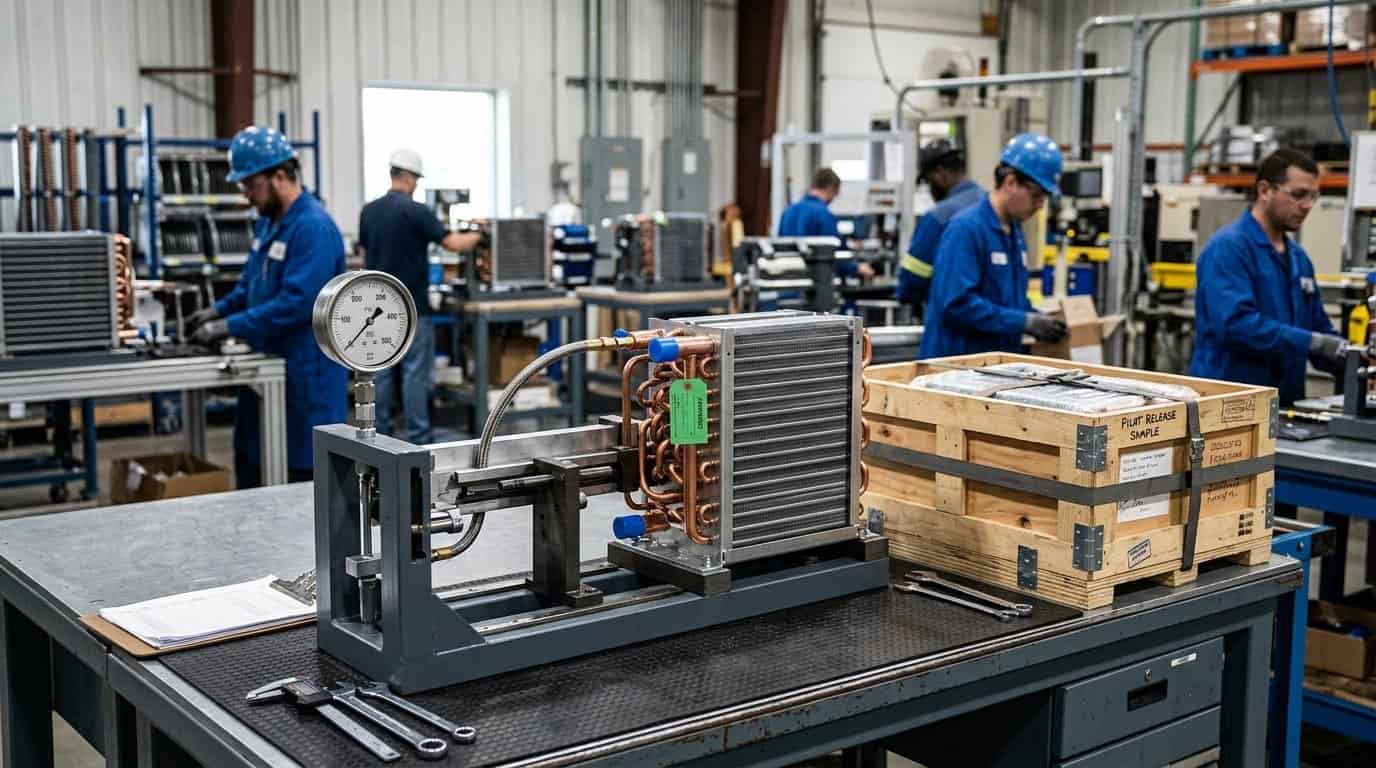
For pressure-bearing parts, complete the agreed leak or pressure test before system assembly. If the appliance test fails later, the team needs to know whether the issue is the coil, the cabinet, the connection, or the system setup.
The ISO 9001 quality management overview describes process control, documented information, monitoring, and measurement. Apply the principle at the level the project needs. A clear sample report with the right evidence is more useful than a large document with no connection to the release decision.
Inspect the interfaces
Do not inspect the coil in isolation. Check the cabinet panel, insulation, fan, drain pan, service tool, tubing route, and the assembly sequence. Watch where the operator’s hands and tools go. A bracket that is easy to measure may be difficult to install because the cabinet opening is narrow.
Gate four: test fit, function, and performance
The test plan should follow the decision written at the start of the custom coil prototype process.
Fit and assembly test
Install the coil in the real cabinet or a controlled fixture that reproduces the critical interfaces. Record mounting effort, connection access, drain alignment, fan clearance, insulation contact, service clearance, and any forced fit.
Use photos with dimension references when a fit issue is found. A sentence such as “bracket interferes” is less useful than a photo showing the bracket, the cabinet datum, and the measured gap.
Thermal and airflow test
For condenser work, test at the agreed ambient, airflow, refrigerant condition, and control state. For evaporator work, include the intended air condition, frosting expectation, defrost cycle, drain, and stabilization rule. If the prototype uses a temporary system component, record it.
A useful test report includes the measured inputs, the measured output, uncertainty or tolerance, equipment identification, and the pass or fail rule. Do not report only a final capacity value without the condition that created it.
Pressure, leak, and safety test
State the pressure test fluid, test pressure, duration, temperature, measurement method, and acceptance limit. If the supplier or appliance factory owns the test, record the handoff. The prototype process should never leave the pressure boundary responsibility ambiguous.
Frost, defrost, and drainage observations
For low-temperature evaporators, observe frost distribution, drain path, defrost heat, water collection, and any re-freezing. A coil may meet the nominal duty and still create a cabinet problem when frost bridges the fin pack or water reaches a liner.
Keep the observations tied to the operating condition. A single visual check after a short run does not prove a full production defrost cycle.
Gate five: record revisions and approve the next build
Prototype work creates questions. The project needs a way to decide which questions require a new sample.
Use a deviation log
Record each difference from the drawing or test plan. Include the requirement, observed condition, proposed action, owner, due date, and approval. A deviation may be acceptable for a fit sample but unacceptable for a validation sample.
Control the drawing revision
Put the revision on the drawing, file name, purchase request, sample label, test report, and approval record. The ASME Y14.35 revision standard page describes practices for revising engineering product definition datasets and associated documents and for identifying and recording revisions. The project can use a simpler internal form, but the basic idea is the same: people need to know what changed and which sample reflects it.
Decide whether to rebuild
Rebuild when the change affects a critical dimension, pressure boundary, circuiting, material, connection, coating, or the test decision. Do not rebuild solely because a non-critical cosmetic feature changed if the approval record allows it. The decision should be written so a future engineer can understand why the next sample was or was not required.
From prototype to pilot production
The end of the custom coil prototype process is not a production release. It is a review of what must be controlled in the pilot.
Define production-intent controls
Before the pilot, confirm:
- Production material and approved substitutes.
- Tools and fixtures to be used.
- Work instructions and joint process.
- Inspection points and sample size.
- Leak or pressure test method.
- Packaging and labeling.
- Drawing and revision control.
- Supplier deviation process.
The pilot should be large enough to expose repeatability issues but small enough that a corrective action does not create unnecessary inventory. The pilot quantity should come from the risk list, not from a generic number.
Close the commercial assumptions
Update the quotation after the prototype. Confirm tooling ownership, MOQ, recurring price, sample and pilot charges, lead time, packaging, and documentation. Link the commercial decision to the condenser coil MOQ guide or the custom coil cost factors guide when the program needs a deeper discussion.
Keep the first production lots visible
Use a first-lot review even after sample approval. Check the production parts against the same critical characteristics and retain the records. If the first lot differs from the prototype, record why. A prototype approval is not permission to change the process silently.
Build a sample and test matrix
The sample plan becomes much easier to manage when every part has a named purpose. A table can show which unit is used for fit, which unit is installed in the full appliance, which unit is retained, and which unit may be cut open or sectioned for a joint review.
Assign a purpose to every sample
| Sample use | What it proves | What happens to the unit |
|---|---|---|
| Dimensional sample | Envelope, datums, connections, brackets, and drain | May be retained for reference |
| Assembly sample | Cabinet fit, service access, tool access, and installation sequence | Usually remains in the appliance build |
| Performance sample | Duty, airflow, refrigerant condition, and control response | May be returned or retained after testing |
| Stress or destructive sample | Joint, coating, material, or process evidence | Not released for production use |
| Retained sample | Physical reference for future comparison | Labeled and stored with the revision |
This does not mean every project needs five units. It means the team should decide what each unit is for before ordering it. If the same coil is used for fit and performance, protect it from an early handling operation that could change the result. If a joint must be cut, do not count that unit as the retained production reference.
Match the test order to the failure risk
Run low-cost checks before high-cost system tests. Start with document review and visual inspection, then dimensional check, pressure or leak test, fit-up, and system performance. For an evaporator, add frost and defrost observation after the coil passes the basic checks. For a condenser, verify the airflow path before interpreting capacity data.
This order prevents the team from spending days on a system test for a part that already fails a mounting dimension. It also makes the test result easier to explain. If a system test fails, the report can show that the coil passed the earlier pressure and fit checks and isolate the remaining question.
Define a stop rule
Write when the test should stop. Examples include a visible leak, an unsafe pressure condition, a connection that cannot be assembled without force, water outside the intended drain path, or a temperature outside the equipment limit. A stop rule protects the sample and the people running the test.
The supplier and the appliance team should agree who can stop a test and who can authorize a repeat. The answer should not depend on which person happens to be at the test bench.
Review data trends, not only pass or fail
When multiple samples are available, compare the spread as well as the average. A part that passes with a wide variation may require a process review before pilot production. Check dimensional variation, leak-test result, joint appearance, pressure drop, or capacity against the same input condition.
The AHRI forced-circulation coil certification resources show the type of data discipline used in coil rating programs, including input submittals, verification, re-rate checks, and calculation forms. An OEM prototype does not have to copy that certification process, but a similar habit of recording inputs and revisions makes the sample evidence more useful.
Keep the supplier’s process notes
Ask the supplier to record any manual operation, fixture change, rework, or material substitution used during the build. These notes can explain why a prototype looked acceptable but cannot yet support production pricing. They also help engineering decide whether a change belongs in the drawing, the work instruction, or the purchase specification.
Keep ownership clear during the prototype
Prototype projects slow down when every question goes to the same person. Assign an owner for system duty, drawing release, supplier process, test setup, quality records, and commercial approval. The owner does not have to perform every task, but the owner should know when a decision is ready.
Use one open-issue list
Put drawing questions, test questions, supplier deviations, and commercial assumptions in one list with a status. A question should not disappear because it moved from an engineering email to a purchasing call. Close it with a documented answer or carry it into the next revision.
Define the approval language
Use separate terms such as “fit approved,” “performance conditionally approved,” “sample accepted with deviation,” and “released for pilot.” These terms tell the supplier what is allowed next. A sentence saying “prototype approved” can mean that the part looks acceptable, that the design is frozen, or that production may start. Say which one.
If a result is conditional, name the condition and due date. A sample may pass cabinet fit while waiting for a final frost test, or it may pass performance while a bracket revision remains open. Conditional approval keeps the project honest and prevents a partial result from being treated as a complete release.
Schedule the next review before the sample arrives
Set the review date, attendees, required data, and decision owner before the build is complete. The meeting should review the same revision, sample label, test record, and deviation list. This simple preparation keeps the custom coil prototype process moving when the sample arrives instead of sending it into another unplanned round of email.
If a key test result will arrive later, list it on the meeting agenda instead of treating the sample as fully released. That small distinction protects the pilot schedule and the approval record.
A prototype review should also record who owns the next decision, which data is still missing, and when the next sample or pilot release will be decided. If the result is conditional, name the condition and due date. That keeps a fit approval from being mistaken for a production approval and gives the supplier a clear action list. It also prevents two teams from leaving the meeting with different assumptions about whether the prototype may be used for tooling, customer demonstrations, or a purchase release. A short decision log is often more useful than another general progress call.
Failure modes in prototype projects
The team tests the wrong question
The sample receives a long performance test, but the unresolved risk is a cabinet connection or drain. Write the decision first and test that decision.
The prototype uses a substitute without a clear boundary
A temporary material may be fine for a fit check but not for pressure, corrosion, or performance validation. State exactly what the substitute can prove.
The sample is approved without the test condition
A result without airflow, refrigerant condition, ambient, or defrost state cannot be compared later. Record the inputs.
A drawing change is accepted by email only
The next supplier or shift may never see the message. Update the controlled revision and connect the test report to it.
A pilot is ordered before open risks are closed
The project then pays for inventory that reflects an unresolved design. Use the risk list and release gate to decide when the pilot is justified.
FAQ: custom coil prototype process
What is the first step in a custom coil prototype process?
The first step is to define the decision, application conditions, physical envelope, and acceptance test. A supplier cannot build a useful prototype from a shape alone. Bottom line: write what the sample must prove before requesting a sample price.
How many prototype coils should an OEM order?
The quantity depends on fit checks, performance tests, destructive inspection, retained samples, and the number of appliance variants. Bottom line: calculate quantity from the validation plan instead of choosing one part by habit.
Should a prototype use production material?
Use production-intent material when the sample must prove pressure, thermal, corrosion, or joining performance. A substitute can be acceptable for a limited geometry check if the boundary is documented. Bottom line: match the material to the decision the prototype must support.
What should a prototype test report include?
Include sample identification, drawing revision, measured inputs, test setup, equipment or method, output data, acceptance rule, deviations, and approval status. Bottom line: a result without conditions or revision is not a reusable engineering record.
Does a prototype need a leak test?
Any prototype that represents a pressure boundary should have the agreed leak or pressure test before system approval, unless the project explicitly assigns the test to another controlled stage. Bottom line: define who owns the test and keep the result with the sample record.
When should a prototype become a pilot lot?
Move to a pilot after critical fit, duty, connection, material, and safety risks are closed and the production-intent process is defined. Bottom line: pilot production should test repeatability, not replace unresolved design work.
How should prototype revisions be controlled?
Use one revision across the drawing, CAD file, sample label, test report, purchase request, and approval record. Record each change and its reason. Bottom line: one controlled revision prevents the team from approving different samples by accident.
Can a supplier propose a different coil design during prototyping?
Yes, if the proposal states the expected impact on duty, pressure drop, fit, material, cost, and validation. Bottom line: treat an alternative as a documented engineering option, not an unannounced substitution.
Move forward with evidence, not just a sample
A well-run custom coil prototype process gives an OEM more than a part to photograph. It produces a controlled answer about fit, duty, pressure integrity, manufacturability, inspection, and the changes still needed before production. Keep the decision, drawing revision, test condition, and supplier response together.
For the next step, send the current drawing, operating conditions, cabinet envelope, sample quantity, and open questions to Domi’s rapid coil prototyping support and engineering capabilities team. If the project already has a sample, include its revision and the result you need to explain.
What to record at every prototype gate
The custom coil prototype process is easier to control when each gate records a decision, an owner, and the evidence behind the decision. A meeting note that only says sample reviewed does not tell the supplier whether the coil is approved for fit, thermal testing, pilot production, or customer demonstration.
Record the result and its limits
Use clear outcomes such as fit approved, fit approved with changes, performance test pending, or not approved. Name the exact condition when approval is conditional. For example, a sample may fit the cabinet but still require a revised drain pan, a repeated defrost test, or a connection change. Include the measured result, test condition, sample revision, and open action. This prevents a positive result on one question from being reused as approval for every question.
Assign the next decision to one person
Every open item needs an owner and a due date. The owner may be the buyer, appliance engineer, supplier quality engineer, or coil manufacturer, depending on the question. Record who will release the next drawing, who will approve the sample, who will authorize a tooling change, and who will decide whether a retest is required. If several teams share the decision, name the person who collects the final acknowledgement. This is especially important when the sample travels between a supplier, a test laboratory, and an assembly site.
Keep prototype evidence with the revision
Store the sample photos, measurement sheet, test data, change list, and approval message against the same revision identifier. Do not rely on a file name that omits the revision or on a photograph with no sample label. When the next sample arrives, compare the new result with the previous result and state what changed. A short, controlled decision record reduces repeated testing, makes pilot release easier to defend, and gives procurement a reliable basis for converting the approved prototype into a production order.