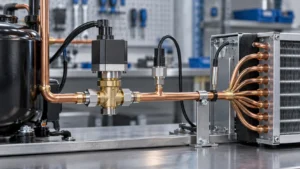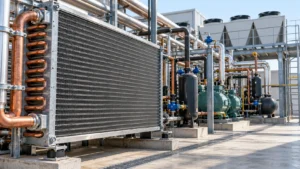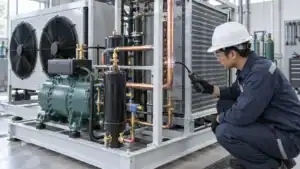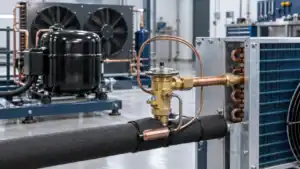

A condenser coil is the heat-releasing heat exchanger in a refrigeration system. It expels heat absorbed by refrigerant so the cooling cycle can keep running.
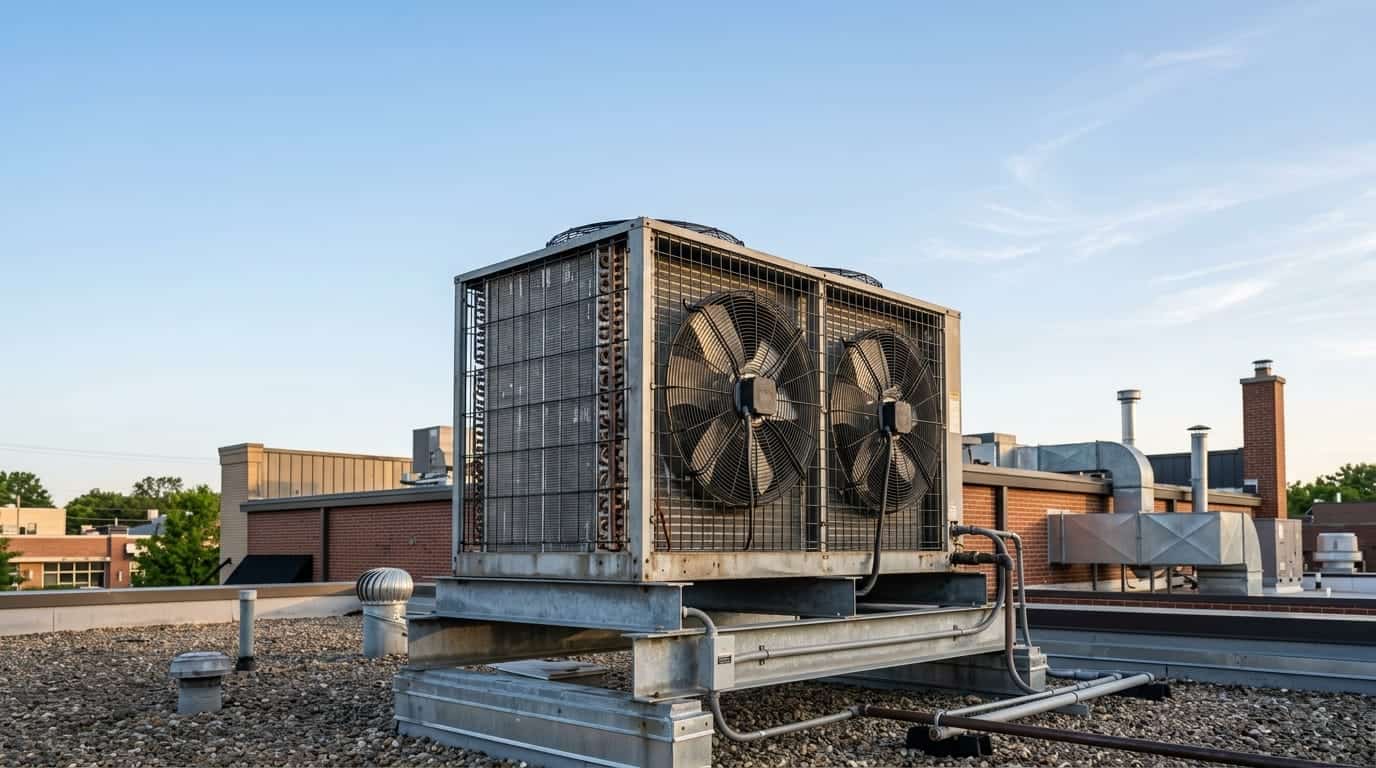
It’s 6 a.m. and the walk-in cooler in the back of a busy restaurant is running four degrees warmer than it should. The compressor sounds fine. The thermostat is set correctly. Nine times out of ten, the actual problem is sitting outside on the roof or bolted to the back wall, caked in a season’s worth of grease and dust: the condenser coil. Get familiar with how this component works, what breaks it, and how to keep it clean, and you can catch most refrigeration failures before they cost you a night of spoiled inventory, and before an emergency call turns a $150 cleaning into a $1,500 repair.
This guide covers what a condenser coil actually does, the coil types you’ll run into on commercial equipment, how to spot a failing one before it takes your compressor down with it, and what a proper maintenance program looks like. Whether you’re troubleshooting a single reach-in or managing a rack system across a distribution center, the underlying physics and the failure signs don’t change. Only the scale does.
What Is a Condenser Coil?
A condenser coil turns hot, high-pressure refrigerant vapor back into a liquid by releasing its heat to the outside air. That’s the entire job, and everything else in this section is detail on how it gets done.
How It Works in the Refrigeration Cycle
Refrigeration runs on a simple physical trick: force a fluid to absorb heat in one place and dump it in another. The evaporator coil, sitting inside the cooled space, absorbs heat from the air around it as refrigerant boils into a low-pressure gas. That gas gets compressed, which raises both its pressure and its temperature, and gets pushed out to the condenser coil.
At the condenser, the refrigerant arrives hot and pressurized, well above the surrounding air temperature. Fans (or in some larger commercial systems, a water spray) pull ambient air across the coil’s fins. Heat moves from the refrigerant to the air, the refrigerant cools, and it condenses from a vapor into a high-pressure liquid. That liquid then heads to an expansion valve, drops in pressure, and starts the cycle over at the evaporator.
Here’s the part most explainers skip: the condenser coil’s performance is directly tied to the temperature difference (delta-T) between the refrigerant and the ambient air. A clean coil on a 90°F day might run a condensing temperature 20 to 25°F above ambient. A dirty coil, insulated by dust and grease, can push that delta-T past 35 to 40°F, and every degree above design spec adds measurable strain on the compressor.
Condenser Coil vs. Evaporator Coil: Side-by-Side
People confuse these two constantly, and that’s understandable: they’re mechanically similar and often made from the same materials. The difference is location and direction of heat flow.
| Attribute | Condenser Coil | Evaporator Coil |
|---|---|---|
| Location | Outdoor unit / mechanical room | Inside the refrigerated space |
| Function | Releases heat to ambient air | Absorbs heat from stored product |
| Refrigerant state | Hot vapor to liquid | Cold liquid to vapor |
| Typical operating pressure | High side (150 to 300+ psi, refrigerant dependent) | Low side (30 to 70 psi, refrigerant dependent) |
| Failure symptom | Warm cabinet, high head pressure | Frost buildup, poor cooling despite low head pressure |
Both coils are heat exchangers. Both get dirty. But a technician diagnosing a warm box needs to know which one is actually failing before pulling gauges. The pressure readings above are usually the fastest way to tell.
There’s a related measurement worth understanding here: subcooling. A properly functioning condenser coil does more than turn vapor into liquid: it also subcools that liquid a few more degrees below its condensing temperature before it leaves the coil. That extra margin, typically 8 to 15°F depending on the system, guarantees fully liquid refrigerant reaches the expansion valve instead of a liquid-vapor mix that would starve the evaporator. A condenser coil losing subcooling (even while head pressure looks normal) is often the earliest sign of a slow refrigerant leak, or a coil that’s partially fouled on just one circuit.
According to ENERGY STAR’s guidance on commercial kitchen refrigeration, maintaining clean condenser and evaporator coils with proper airflow can save an average food service facility close to a thousand dollars a year in energy costs alone. That’s how little slack there is in a system running near its design limits.
Types of Condenser Coils in Commercial Refrigeration
Not all condenser coils are built the same, and the type installed on a piece of equipment tells you a lot about how it should be maintained and what it’ll cost to replace.
Fin-and-Tube Coils (Industry Standard)
Fin-and-tube is still the default in commercial refrigeration, and for good reason: it’s cheap to manufacture, easy to repair, and forgiving of imperfect maintenance. Copper tubes carry the refrigerant; aluminum fins, pressed onto the tubes, multiply the surface area exposed to airflow.
The tradeoff is fin spacing. Tight fin spacing (12+ fins per inch) packs more surface area into a smaller footprint, which is great for compact reach-in units, until grease and dust load up between the fins and choke airflow almost completely. Wider fin spacing (6 to 8 fins per inch) is more common on outdoor condensing units exposed to leaves, cottonwood seed, and construction dust, precisely because it’s harder to clog solid.
Microchannel Aluminum Coils
Microchannel coils replace round copper tubes with flat aluminum multi-port tubes and louvered fins, all in one all-aluminum assembly. They’re lighter, use less refrigerant charge (a real advantage as low-GWP refrigerant regulations tighten allowable charge limits), and often show better heat transfer per unit of face area.
The catch: microchannel coils are harder to clean without a pressure washer or coil-safe chemical foam, and field repair of a damaged microchannel section usually means replacing the whole coil rather than patching a tube. We’ve seen operators skip cleaning microchannel coils specifically because they’re intimidated by the tighter channel spacing, which is backwards, since neglected microchannel coils lose efficiency faster than fin-and-tube once they start fouling.
Remote Condensers vs. Integral (Self-Contained) Units
The other major split is where the condenser physically lives.
- Integral/self-contained units: condenser, compressor, and evaporator all in one cabinet (most reach-in coolers and small ice machines). Easy to service, but heat rejected by the condenser dumps straight into the kitchen or mechanical room, adding to HVAC load.
- Remote condensing units: the condenser sits outside or on a roof, connected to indoor evaporators via refrigerant line sets. Standard for walk-ins, multi-case supermarket racks, and cold storage warehouses. Keeps rejected heat outdoors, but line-set length and elevation change affect refrigerant charge and oil return, which is why remote systems need a properly designed line set, not just “run copper to the roof.”

| Coil Type | Material | Best Use Case | Relative Efficiency | Cleaning Interval |
|---|---|---|---|---|
| Fin-and-tube | Copper tube / aluminum fin | General commercial refrigeration, reach-ins, walk-ins | Baseline | 3 to 6 months (kitchens), 6 to 12 months (clean environments) |
| Microchannel | All-aluminum | Compact/low-charge systems, newer low-GWP equipment | 10 to 15% higher heat transfer per face area | 3 to 6 months, chemical foam recommended |
| Evaporative condenser | Coil + water spray | Large cold storage, industrial refrigeration | Highest at scale, water-cost dependent | Water treatment + coil inspection quarterly |
Commercial Refrigeration Applications
Where a condenser coil sits and what it serves changes everything about how hard it has to work and how often it needs attention.
Walk-In Coolers and Freezers
Walk-ins typically run remote condensing units mounted outdoors or on a roof curb. These coils face the widest swing in ambient conditions. A coil sized for a 95°F summer day is oversized (and inefficient) in winter, which is why many commercial walk-in systems use head pressure control (fan cycling or variable-speed condenser fans) to hold consistent condensing pressure year-round. Skip that control step and you’ll see erratic expansion valve performance every time the seasons change.
Display Cases and Reach-In Units
Open-front display cases and reach-in coolers usually run integral condensers tucked into a low base grille, exactly the spot that collects the most kitchen grease, dropped food debris, and mop-water splash. This is the equipment type we see fail from dirty coils most often, simply because the coil is low to the ground, hard to see, and easy to forget during routine cleaning.
Cold Storage Warehouses and Industrial Chillers
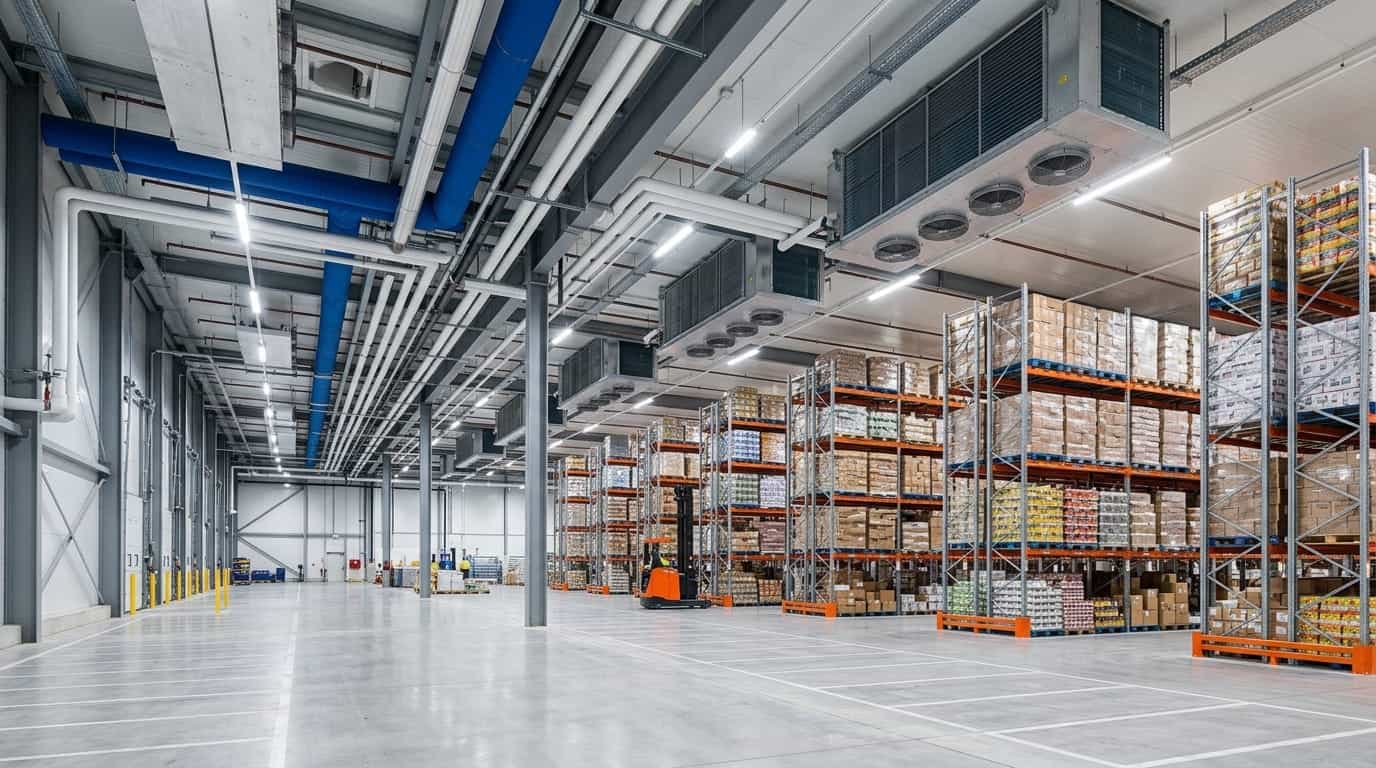
At warehouse scale, condenser coils step up to evaporative or large air-cooled units serving centralized rack systems, often with dozens of compressors feeding a shared condenser bank. A coil failure here doesn’t take down one cooler. It can take down an entire zone of a distribution center. That’s why large-scale operations typically run vibration analysis and refrigerant-side pressure trending alongside basic coil cleaning, catching gradual fouling before it becomes an emergency service call. If your facility is speccing new equipment at this scale, our custom coil fabrication team can match coil geometry to your specific heat-load and refrigerant charge requirements rather than forcing a catalog part to fit.
Rack systems introduce a wrinkle that single-unit refrigeration doesn’t have: when several compressors share one condenser bank, the coil has to be sized for aggregate heat rejection across every circuit running simultaneously, not just peak load on any one case. Undersize that shared condenser even slightly and every case on the rack runs a touch warmer during the afternoon peak, a problem that looks like a dozen small equipment issues but is actually one condenser sizing decision made years earlier. We’ve walked into more than one distribution center where the assumed fix, replacing several evaporators, turned out to be a single undersized condenser bank straining to keep up with a rack that had grown past its original design load.
Signs of a Failing Condenser Coil: When to Act
A failing condenser coil rarely quits without warning. It degrades gradually, and the earlier you catch the pattern, the cheaper the fix.
High Condensing Pressure and Warm Cabinet Temperature
This is the classic combination: head pressure reads high on the gauges, but the cabinet or walk-in is still running warm. Counterintuitively, high head pressure with a warm box usually means the condenser can’t reject heat fast enough, not that there’s too much refrigerant. Airflow restriction (dirty coil, blocked fan, debris in the fins) is the first thing to rule out, well before adding refrigerant charge.
Visible Damage: Corrosion, Bent Fins, and Refrigerant Leaks
Walk up to the unit and actually look at the coil. White or green corrosion on aluminum fins, especially near coastal locations or facilities that use harsh cleaning chemicals nearby, signals the coil surface is degrading from the outside in. Bent or crushed fins, usually from a pressure washer held too close or a forklift clipping an outdoor unit, restrict airflow even on an otherwise clean coil. Oil staining anywhere on the coil face is a refrigerant leak signature. Oil travels with refrigerant, so a stain means refrigerant has been (or is) escaping at that spot.
Rising Energy Bills Without Load Changes
If nothing about the facility’s usage pattern has changed (same door traffic, same product load, same setpoint) but the electric bill for refrigeration creeps up month over month, coil fouling is one of the most common invisible causes. The compressor runs longer to hit the same setpoint because the condenser is rejecting heat less efficiently, and that extra runtime shows up on the meter long before anyone notices a temperature problem.
| Symptom | Likely Cause | Clean or Replace? |
|---|---|---|
| High head pressure, warm box, dirty coil visible | Airflow restriction from dust/grease buildup | Clean |
| High head pressure, coil visually clean | Condenser fan motor failure or bad fan blade pitch | Repair fan, then reassess |
| Oil residue on coil surface | Refrigerant leak at coil joint or tube | Replace or braze-repair (licensed tech only) |
| Corroded fins, coil intact structurally | Chemical or coastal corrosion | Clean, add protective coating, monitor |
| Coil physically crushed or torn | Impact damage | Replace |
According to the U.S. Department of Energy’s guidelines on energy-efficient appliance maintenance, condenser coils should be cleaned roughly every six to twelve months, with technicians cautioned to avoid damaging fin surfaces in the process. That’s a reminder that “cleaning” and “reckless pressure washing” are not the same maintenance step.
Condenser Coil Cleaning and Maintenance
Most condenser coil failures are preventable with a maintenance schedule that actually matches the environment the coil sits in, not a generic once-a-year reminder.
Cleaning Frequency by Environment
Cleaning frequency should match the environment, not a one-size-fits-all calendar reminder. Commercial kitchens with grease-heavy air need coil cleaning every one to three months, because grease is worse than dust: it’s sticky, and dust adheres to the grease film, building a compounding layer that ordinary brushing won’t remove. Outdoor rooftop units in a typical environment can go about six months between cleanings, though that shortens near trees, construction sites, or agricultural dust. Cold storage warehouses and other clean industrial environments can often stretch to six to twelve months, paired with a broader preventive maintenance inspection. Coastal or high-humidity locations should cut every interval above roughly in half, given the accelerated corrosion risk.
Step-by-Step Cleaning Process
- De-energize the unit and confirm lockout/tagout per facility safety procedure.
- Remove loose debris with a soft brush or low-pressure compressed air, working in the direction of the fins, never against them.
- Apply a coil-safe cleaning foam (non-acidic, condenser-rated) and let it dwell per the product’s instructions to break down grease and grime.
- Rinse with low-pressure water, holding the nozzle at a safe distance and angle parallel to the fins to avoid bending them.
- Inspect fins for damage and use a fin comb to straighten any that got bent during handling or a prior cleaning.
- Restore power and monitor head pressure for 15 to 20 minutes to confirm the system returns to normal operating range.
Skipping step 5 is the single most common shortcut we see, and it’s the one that quietly reduces coil surface area cleaning after cleaning, until a “clean” coil still runs high head pressure because half its fins are folded flat.
One detail that trips up even experienced maintenance crews: water pressure. A standard garden hose at municipal pressure is safer for fin-and-tube coils than a pressure washer set above roughly 1,000 psi, which can bend fins just as effectively as a careless brush. If a facility insists on pressure washing for speed, a wide fan tip held at least a foot back from the coil face, moving parallel to the fin direction, is the safer compromise, still faster than a hose, without flattening the fin pack in the process.

Professional vs. In-House Maintenance Programs
Basic visual inspection and light brushing can reasonably sit with in-house staff on a monthly checklist. But full coil cleaning (foam treatment, fin combing, refrigerant-side pressure verification) is worth contracting to a licensed technician on a quarterly or semi-annual basis, particularly for remote condensers and any equipment holding refrigerant under EPA Section 608 handling requirements. A facility running a mixed fleet of reach-ins, walk-ins, and a warehouse rack system usually comes out ahead financially with a single service contract covering all of it, rather than reactive one-off calls every time a unit starts running warm.
The EPA’s technical reference chapter on refrigerated condensers is worth a read for anyone writing an in-house maintenance SOP from scratch. It breaks down condenser sizing, airflow requirements, and inspection intervals in more technical depth than most manufacturer manuals bother to include. Pair that with a simple written log: date, technician, coil condition observed, and head pressure reading before and after cleaning. Six months of that log turns “the coil seems fine” into an actual efficiency trend line, and it’s the first thing worth pulling out when a compressor fails prematurely and someone starts asking whether maintenance was skipped.
Condenser Coil Replacement Cost
Sometimes cleaning isn’t enough. Corrosion has eaten through tubing, a forklift has crushed the coil face, or the unit is old enough that replacement makes more sense than another repair.
| System Type | Coil Type | Part Cost Range | Labor Estimate | Total Range |
|---|---|---|---|---|
| Residential AC (reference point) | Fin-and-tube | $600 to $1,600 | $250 to $1,100 | $850 to $2,700 |
| Commercial reach-in / display case | Fin-and-tube, integral | $300 to $900 | $200 to $600 | $500 to $1,500 |
| Commercial walk-in (remote condenser) | Fin-and-tube or microchannel | $800 to $2,500 | $500 to $1,500 | $1,300 to $4,000 |
| Industrial / cold storage rack system | Custom fin-and-tube or evaporative | $3,000 to $15,000+ | $1,500 to $5,000+ | $4,500 to $20,000+ |
On the often-cited “$5,000 rule” in HVAC/R: it’s a rule-of-thumb decision heuristic, not a code requirement. Multiply the age of the unit by the estimated repair cost. If the result exceeds roughly $5,000, replacement is generally the more economical choice over continued repair. It’s a useful gut-check, but it doesn’t account for refrigerant type (a unit still running a phased-out refrigerant may be worth replacing at a much lower repair threshold), or how central the equipment is to your operation. A single failed reach-in is a different calculus than the condenser bank serving your entire cold storage warehouse. If you’re weighing that decision on aging equipment, our team can walk through your specific condensers and evaporators inventory to price a straight swap against a full system upgrade.
Age matters more than most operators assume when running that calculation. A five-year-old commercial reach-in with a $600 coil repair is an easy repair decision. A fourteen-year-old unit with the same $600 quote is a different conversation, not because the repair itself changed, but because everything else on that unit (compressor bearings, fan motors, door gaskets) is statistically closer to its own failure point too. Repairing just the coil on genuinely end-of-life equipment often means paying for the same conversation again within a year, on a different component.
Future Trends in Condenser Coil Technology (2026 & Beyond)
Coil design isn’t static. Refrigerant regulation and materials science are both pushing changes that matter for anyone speccing new equipment in 2026.
Microchannel Coils, Hydrophilic Coatings, and Corrosion Resistance
Manufacturers are shifting more product lines toward microchannel coils specifically because they hold less refrigerant charge per unit of capacity, a meaningful advantage as A2L refrigerant charge limits tighten. Alongside that shift, hydrophilic and epoxy-based protective coatings are becoming more common on both fin-and-tube and microchannel coils installed in coastal, high-humidity, or corrosive kitchen environments, extending service life well past what bare aluminum or copper would survive.
Low-GWP Refrigerants Forcing Coil Redesign
The transition to lower-GWP refrigerants like R-454B and R-290 isn’t just a compressor and controls change. It directly affects coil design. Mildly flammable A2L refrigerants carry charge-limit restrictions that push manufacturers toward smaller internal volumes (favoring microchannel designs) and, in some cases, different tube diameters optimized for the new refrigerant’s pressure-temperature relationship. Facilities planning equipment replacements over the next few years should expect coil specifications on new units to look measurably different from what was standard even five years ago.
Better Buildings Solution Center case study data from the U.S. Department of Energy on large-format retail refrigeration retrofits shows that condenser-side improvements, efficient fan motors paired with well-maintained coil surfaces, deliver some of the fastest-payback energy upgrades available in existing refrigeration systems, often outperforming compressor-only retrofits on a cost-per-kWh-saved basis.
None of this means every facility needs to rip out working equipment ahead of schedule. For most operators, the practical move in 2026 is simpler: when a coil does need replacing, whether from age, damage, or a refrigerant transition, spec the replacement against current A2L-compatible designs rather than matching the old part number exactly. A like-for-like replacement of a decade-old coil often means inheriting an oversized refrigerant charge and a fin design that was never optimized for today’s tighter efficiency targets. Energy Star’s directory of certified commercial refrigeration equipment is a reasonable first stop for confirming a replacement unit actually clears current efficiency benchmarks rather than just matching what failed.
FAQ
What is a condenser coil?
A condenser coil is the outdoor (or remote) heat exchanger that releases heat absorbed by refrigerant, converting it from hot vapor back into liquid so the refrigeration cycle can continue.
How much does it cost to replace a condenser coil?
Commercial reach-in coils run roughly $500 to $1,500 installed. Walk-in remote condenser coils run $1,300 to $4,000. Industrial rack systems can exceed $20,000 depending on coil size and material.
What are signs of a failing condenser coil?
High head pressure combined with a warm cabinet, visible corrosion or bent fins, oil residue signaling a refrigerant leak, and rising energy bills without a change in usage are the four clearest warning signs.
What is the $5,000 rule for HVAC?
Multiply the unit’s age by the estimated repair cost. If that number exceeds about $5,000, replacement is typically more economical than continued repair. It’s a heuristic, not a strict formula.
How often should a commercial condenser coil be cleaned?
Every one to three months in grease-heavy kitchen environments, every six months for typical outdoor rooftop units, and every six to twelve months in clean industrial or cold storage settings.
Is copper or aluminum better for a condenser coil?
Copper tube with aluminum fins remains the durable, repairable standard for most commercial equipment. All-aluminum microchannel coils offer better heat transfer per face area and lower refrigerant charge but are harder to field-repair. The right choice usually comes down to whether a facility values easy in-field repairability (copper) or lower refrigerant charge and a compact footprint (microchannel).
Can I clean a condenser coil myself, or does it need a licensed technician?
Basic visual inspection and gentle brushing of debris are reasonable for in-house staff. Full coil cleaning with chemical foam, fin combing, and refrigerant-side pressure checks should go to a licensed refrigeration technician, especially for remote condensers and any equipment holding regulated refrigerant.
Choosing the Right Condenser Coil for Your Refrigeration System
A condenser coil is a simple piece of equipment doing a demanding, continuous job, and most of the failures that shut down a walk-in or a display case trace back to airflow restriction that a cleaning schedule would have prevented. Match the coil type to the application, watch head pressure and energy trends rather than waiting for a customer complaint about warm product, and treat the $5,000 rule as a starting point for the replace-or-repair conversation, not the final word.
The operators who get the fewest emergency service calls aren’t the ones with the newest equipment. They’re the ones with a maintenance calendar that actually gets followed, and a technician who checks fin condition with their eyes, not just head pressure on a gauge.
If you’re speccing new equipment, troubleshooting a coil that won’t hold pressure, or planning a refrigerant transition ahead of tightening A2L charge limits, browse our full range of refrigeration coils and condensing units or reach out through our contact page. Our team can help size the right coil for your load instead of guessing from a catalog spec sheet.