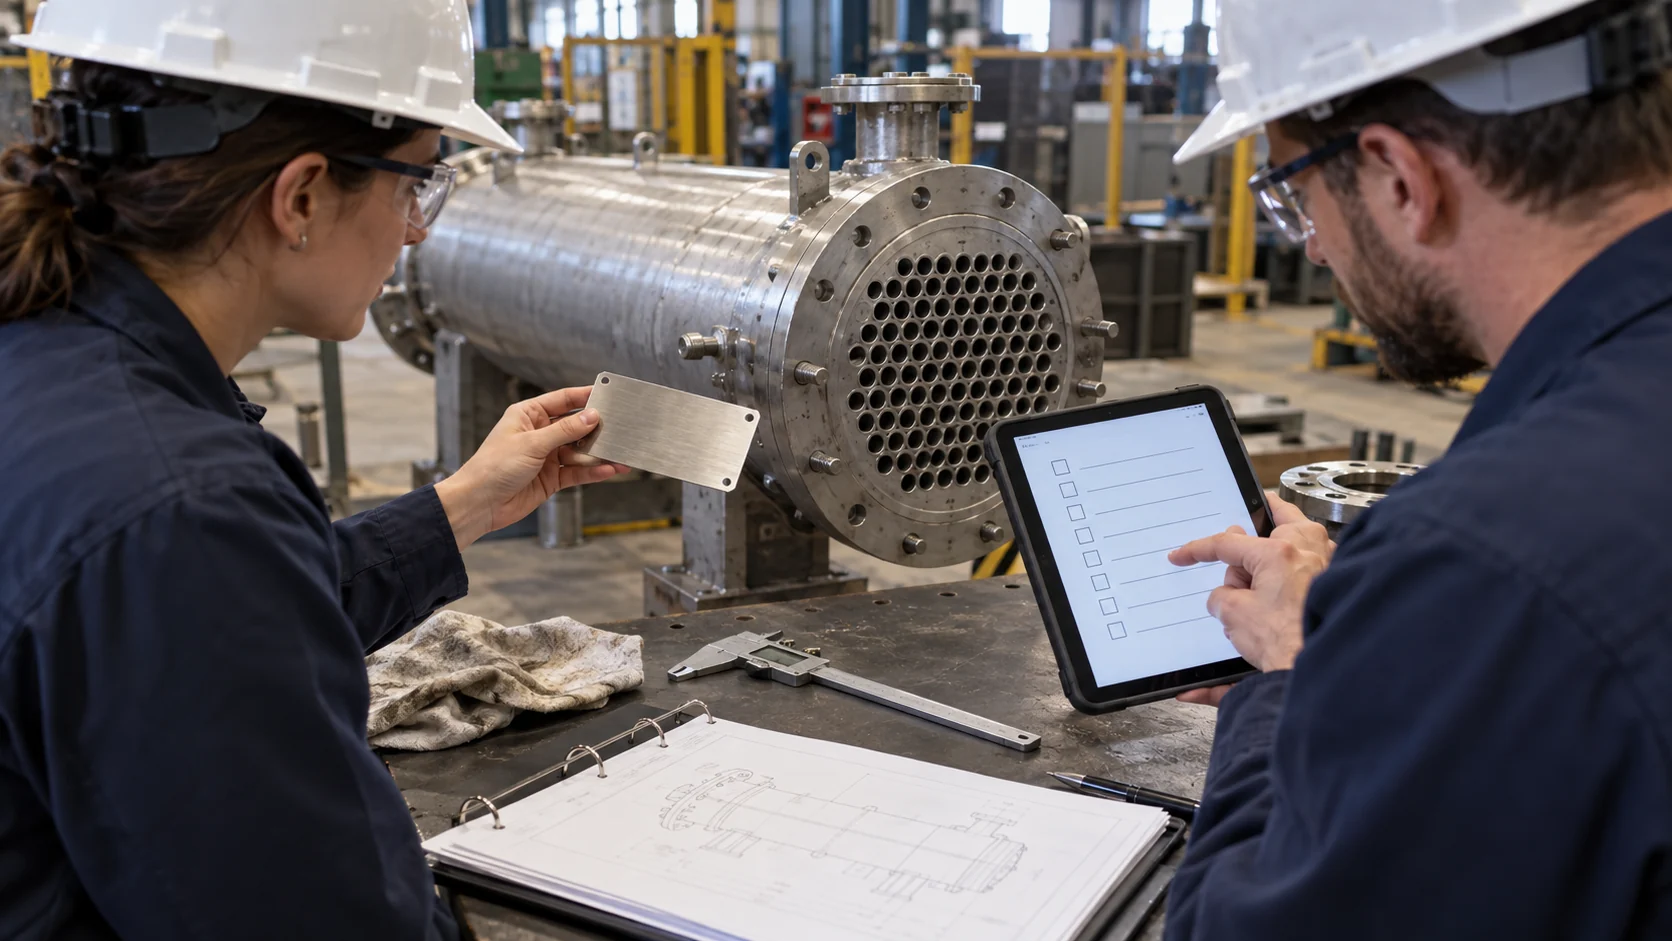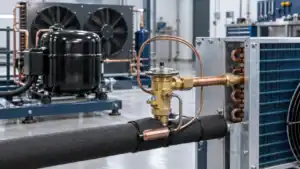

A heat exchanger nameplate is the fastest way to give an OEM or replacement manufacturer a reliable starting point, but only when every field is photographed and transcribed in context. Record the manufacturer, model, serial number, design pressure, test pressure, design temperature, fluid service, materials, connections and applicable code, then add clear photos, dimensions and the operating duty. That package reduces the risk of quoting the wrong pressure boundary or an exchanger that cannot fit the existing pipework.
Why the nameplate matters to an OEM buyer
When an exchanger is leaking, corroded, obsolete or simply missing from a catalog, the nameplate may be the only surviving design record at the site. It links the installed pressure boundary to a model, serial number and manufacturing trace. It also gives a replacement supplier the clues needed to separate a dimensional match from a true duty match.
Treat the plate as an evidence source, not as a complete datasheet. A stamped pressure value may be a maximum allowable working pressure, a design pressure or a test pressure; the label may not say which one. A temperature may be a design limit rather than a normal operating point. Confirm uncertain abbreviations against the original datasheet, drawing, code stamp and the site engineer’s process information before approving a replacement.
The ASME Boiler and Pressure Vessel Code and the TEMA standards are useful references for pressure equipment and exchanger construction, but the applicable edition, jurisdiction and certification route must be confirmed for each project. A practical RFQ therefore combines plate data with a drawing, service conditions and the required inspection plan.
Ten fields to photograph and transcribe
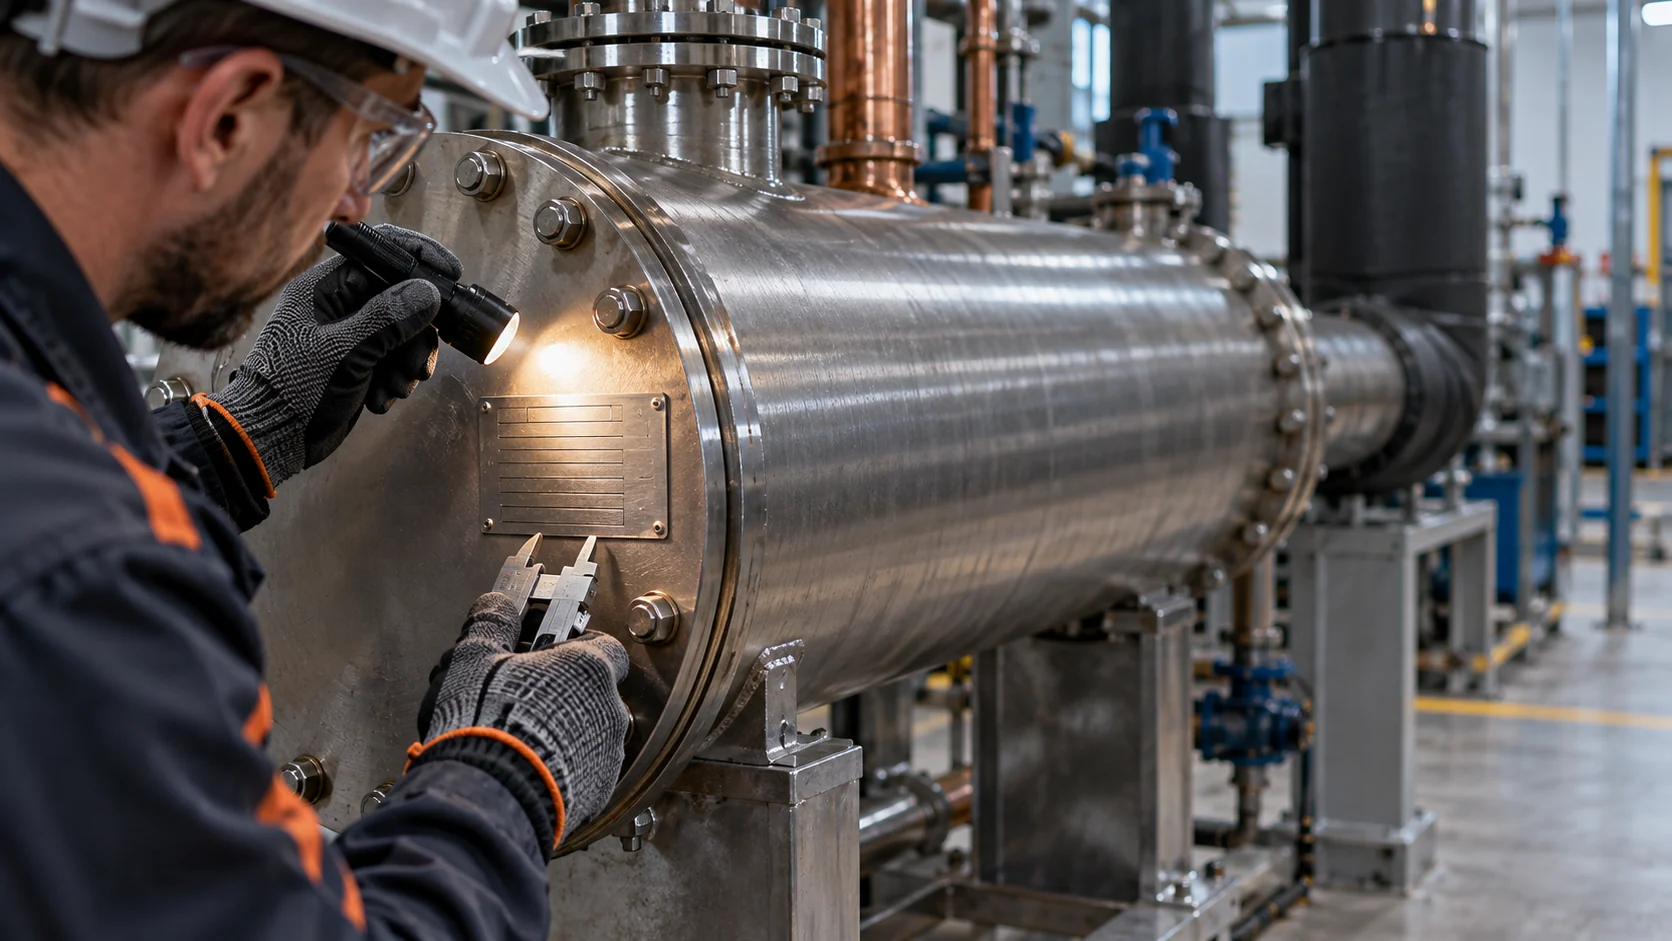
Take one square-on image that includes the complete plate and a second image showing where the plate is attached. Use a scale card or ruler in a separate photo, but do not cover the serial number. Transcribe punctuation, units, decimal points and letter case exactly; a single missing digit can change the replacement search.
| Nameplate field | What to capture | Why the supplier needs it |
|---|---|---|
| Manufacturer and mark | Full legal or trade name, logo mark and country if shown | Distinguishes the original design family and documentation source |
| Model or type | Every letter, dash and suffix | Connects the unit to a geometry, pass arrangement or catalog drawing |
| Serial or tag number | Complete serial, asset tag and any stamped suffix | Supports traceability, service history and drawing retrieval |
| Year or date code | Year, month or batch code when present | Helps identify material, gasket or standard changes over a product series |
| Design pressure | Value, side or circuit, and unit | Sets the pressure boundary that a replacement must meet or exceed |
| Test pressure | Value, side or circuit, and test medium if stated | Prevents confusing a proof test with an operating limit |
| Design temperature | Minimum and maximum temperatures with units | Affects material strength, gasket choice and thermal expansion |
| Fluid or service | Refrigerant, water, glycol, oil or process fluid if stated | Changes materials, fouling assumptions, cleaning and compatibility |
| Material and code | Plate, shell, tube, gasket, weld or code markings | Defines corrosion resistance, fabrication route and documentation |
| Connections and rating | Port labels, size, face, schedule, flange or thread rating | Makes the dimensional replacement compatible with existing pipework |
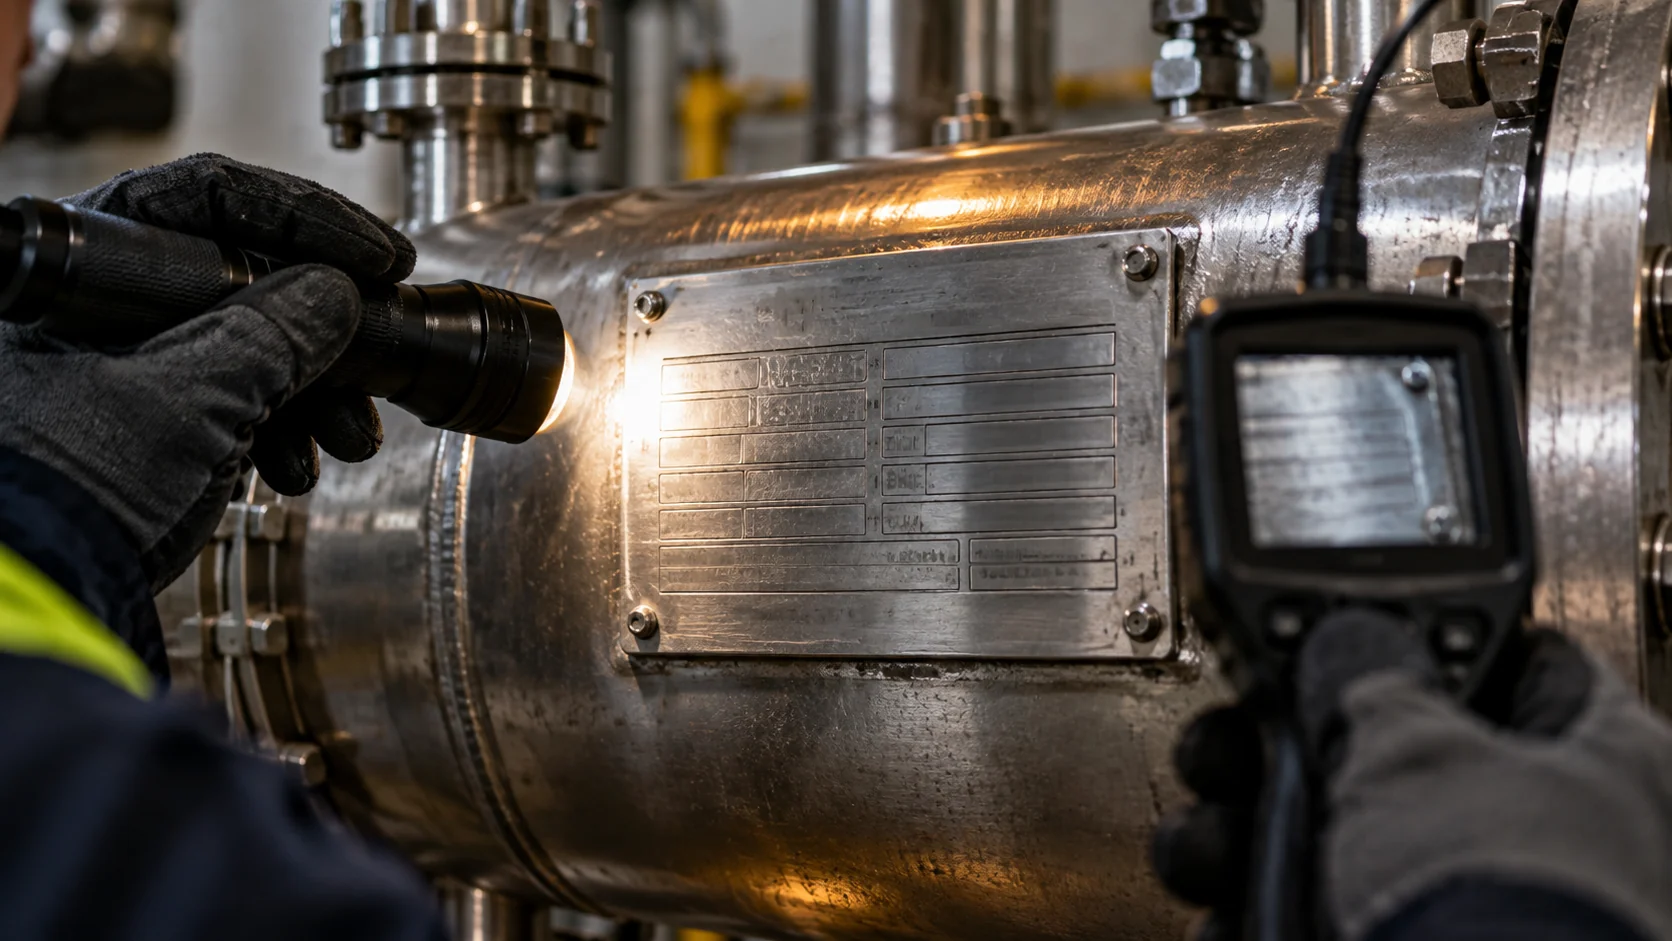
If a field is absent, write “not marked” rather than guessing. A blank field is useful evidence because it tells the manufacturer which values must be recovered from drawings, operating logs or inspection. Photograph both sides of a removable plate and preserve the original file before adding annotations.
How to read pressure and temperature markings
Pressure and temperature fields are the most common source of a dangerous misinterpretation. The same unit may carry separate values for the refrigerant side, water side, shell, tube bundle or individual circuits. Some plates use abbreviations such as PS, MAWP, PT, TS or test pressure; the meaning depends on the equipment standard and manufacturer.
Separate design pressure from test pressure
Design pressure is used to establish the pressure boundary and relief design. A hydrostatic or pneumatic test pressure is a controlled verification value; it is not automatically the pressure at which the exchanger may operate. Record the side, medium, temperature and test date when available. If the plate only shows one pressure and the symbol is unclear, flag it for document review.
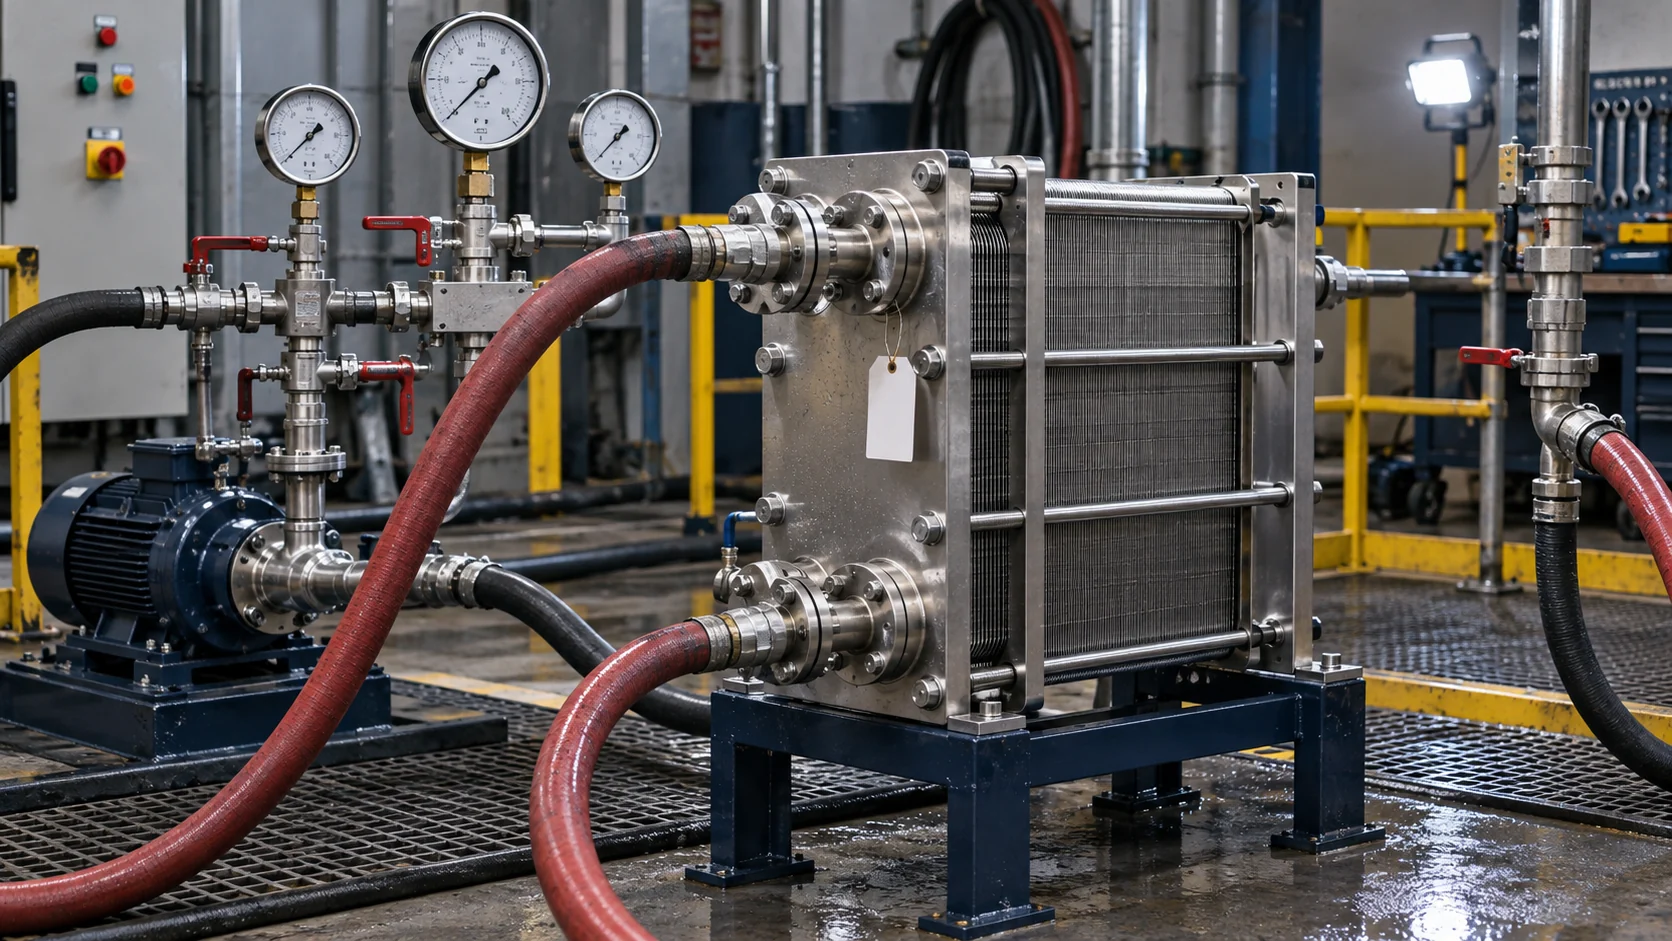
Do not select a replacement by matching only the highest number on the plate. Ask the supplier to state the design pressure and test pressure separately for each circuit, along with the required relief-device set point and the applicable code calculation. For refrigerant equipment, the system’s pressure-temperature relationship and local rules remain part of the release decision.
Record both temperature limits and normal duty
The minimum design temperature may control material toughness or gasket selection even when the normal process is warm. The maximum design temperature may be higher than the normal outlet temperature because it protects the pressure boundary during upset conditions. Send normal, minimum and peak operating temperatures as a separate operating table instead of replacing plate values with a single average.
Use the code mark as a routing clue
ASME, PED, CRN, TEMA or a manufacturer-specific mark can change the documentation package and inspection route. The mark is a routing clue, not permission to assume compliance. Ask for the nameplate drawing, material certificates, weld records, pressure-test record and any required third-party inspection before the purchase order is released.
Identify exchanger construction and material clues
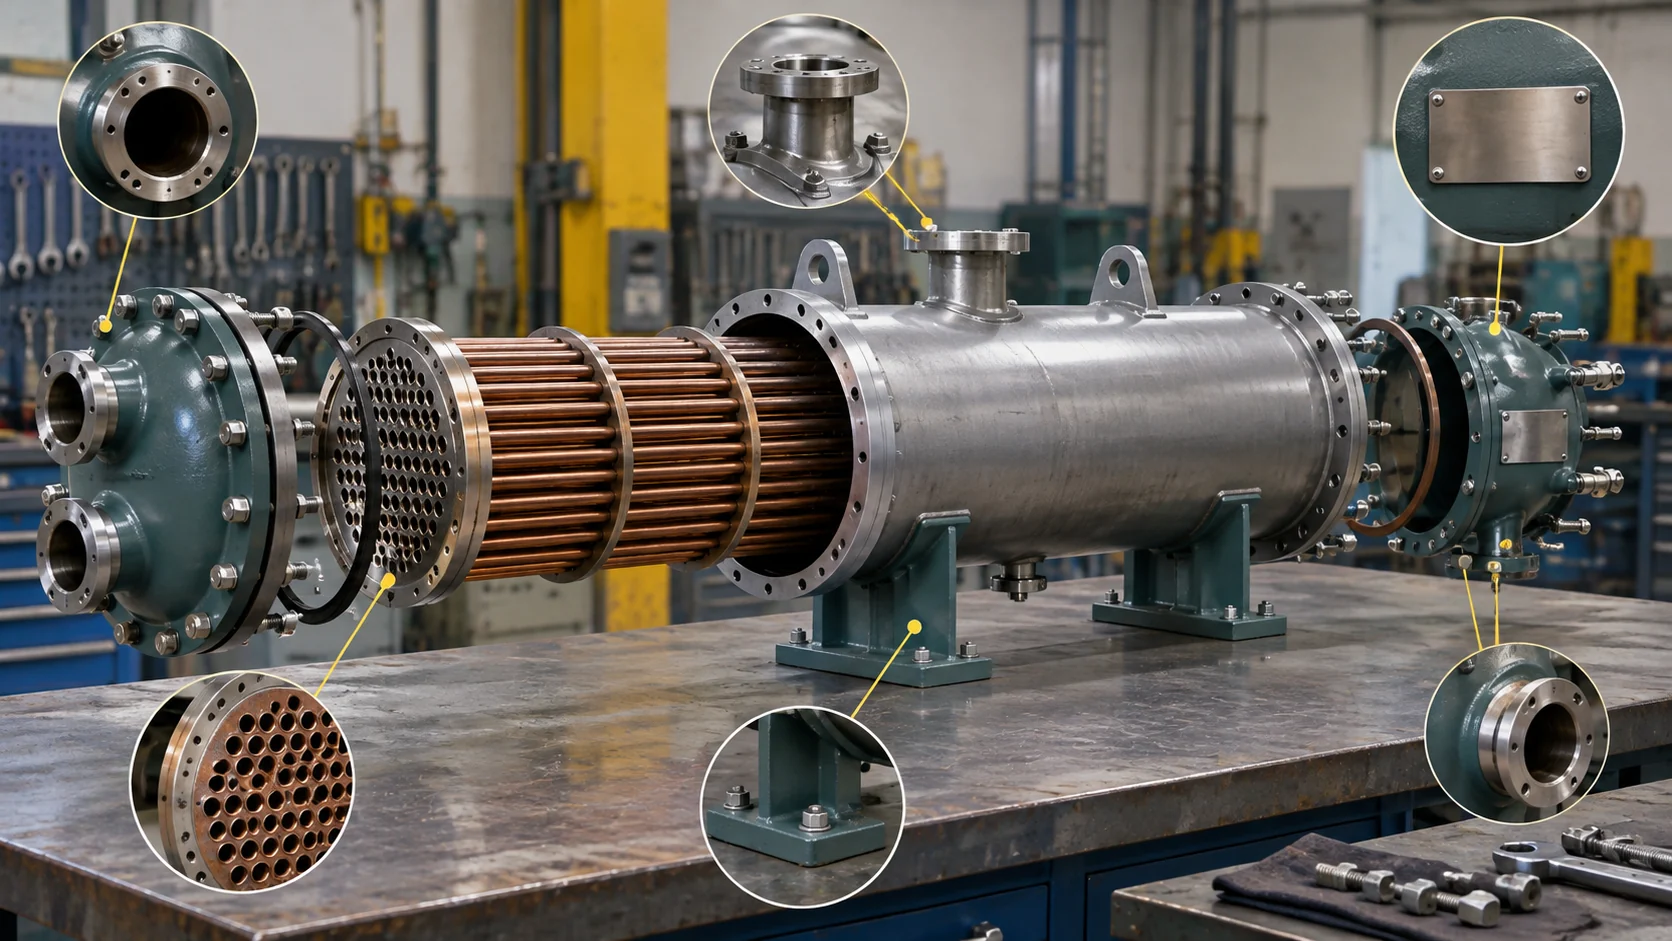
The shape of the equipment narrows the replacement path. A plate-and-frame exchanger usually exposes a plate pack, tightening bolts and removable connections. A shell-and-tube exchanger has a shell, channel or bonnet, tube sheet and tube bundle. A fin-and-tube coil presents headers, return bends and a fin pack; its plate may be attached to a frame rather than the pressure shell.
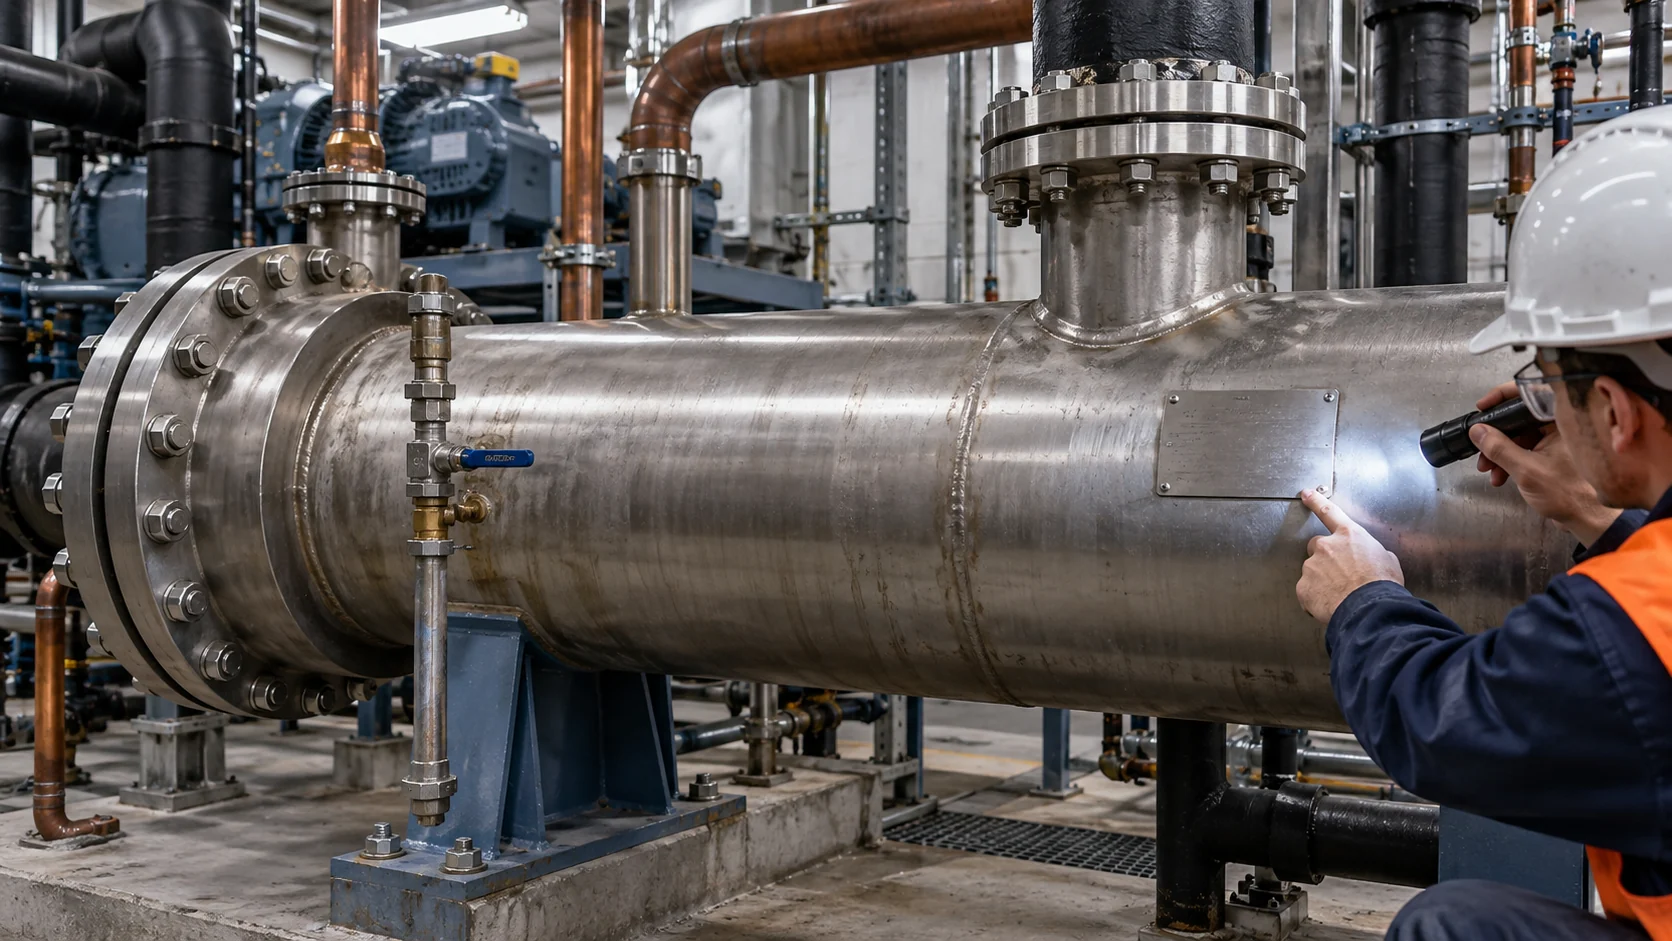
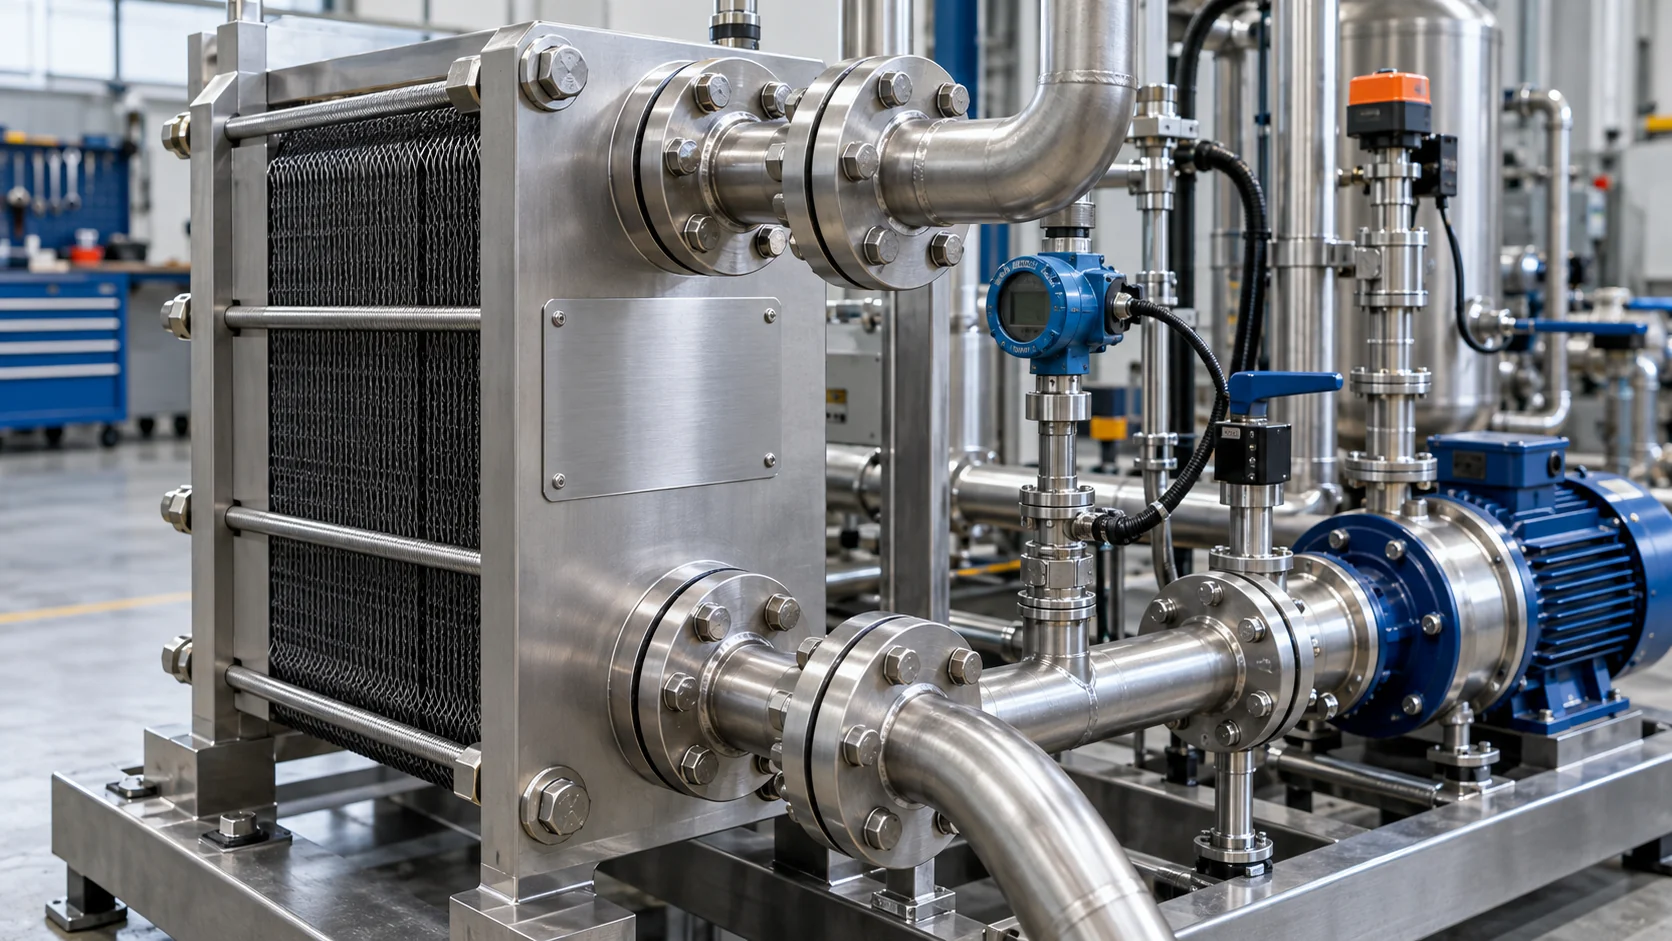
Do not infer all materials from a color or surface finish. Stainless steel, coated carbon steel, copper alloys and plated fasteners can look similar after years of service. Record the material codes exactly as marked, then ask for a compatibility review against the actual refrigerant, water chemistry, glycol concentration, cleaning chemical and temperature range.
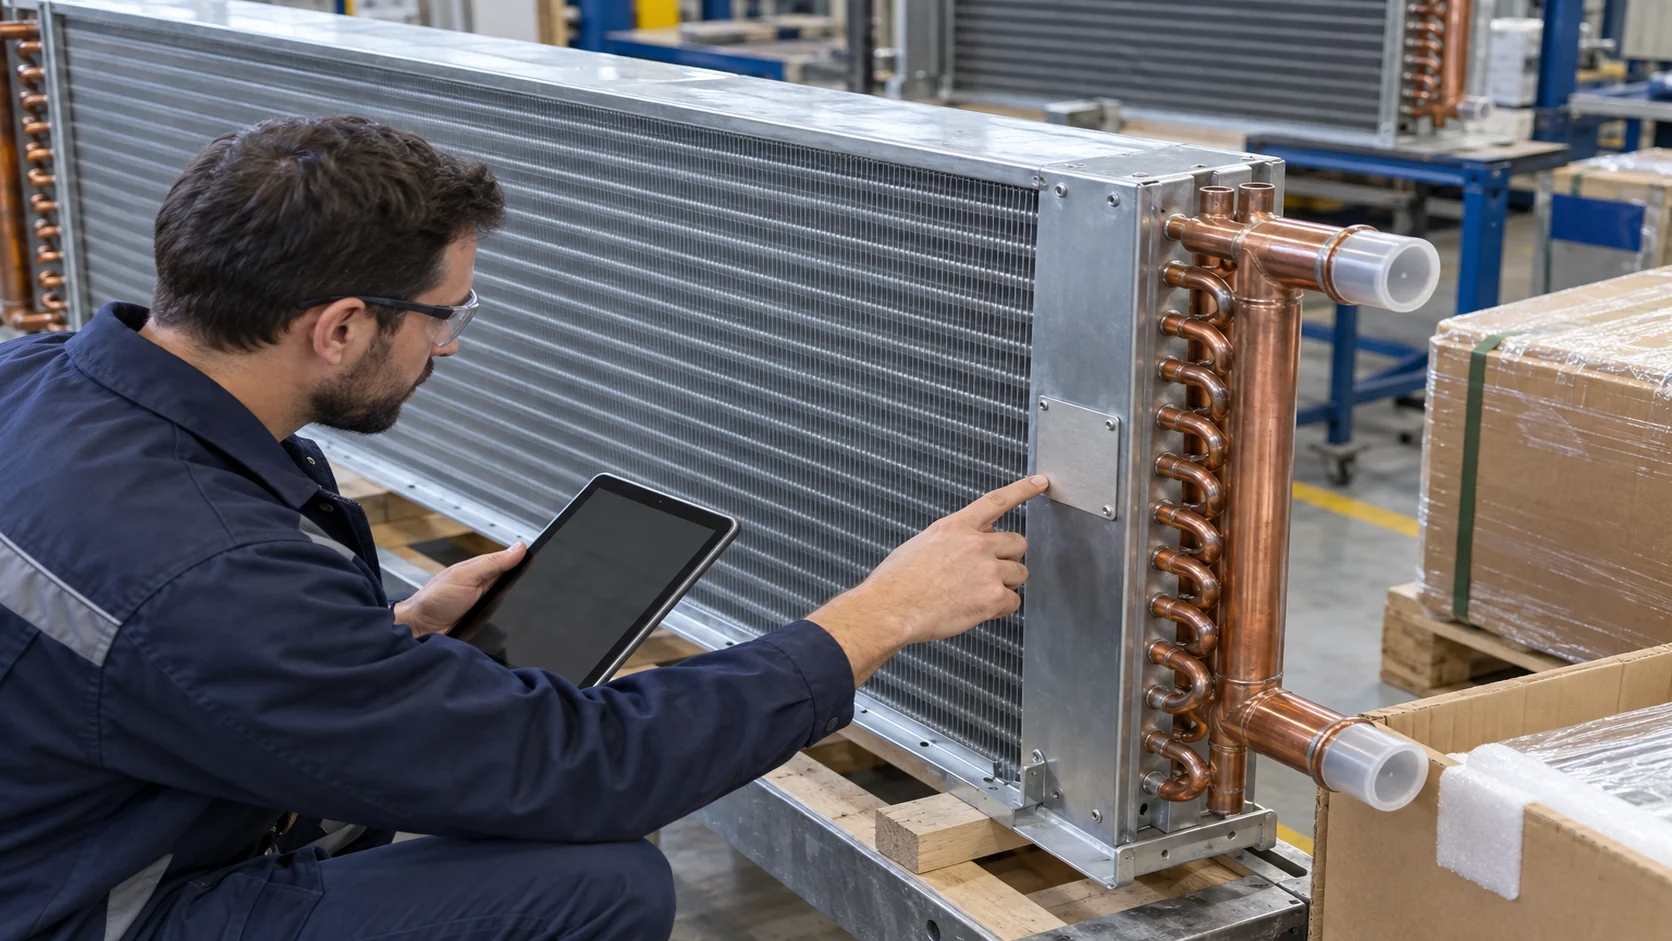
The API standards catalog can help identify the correct standard family for process equipment. It does not replace a project-specific design review. If the installed exchanger is part of a custom coil or condenser assembly, include the circuiting sketch and fin, tube, header and frame details in the RFQ.
Match the plate to the installation envelope
An exchanger that meets the pressure rating can still fail as a replacement if the ports, service clearances or support points do not match. Measure the installed envelope with the equipment isolated and safe. Capture overall length, width, height, nozzle centerlines, flange orientation, bolt-hole pattern, support locations and the direction of flow.
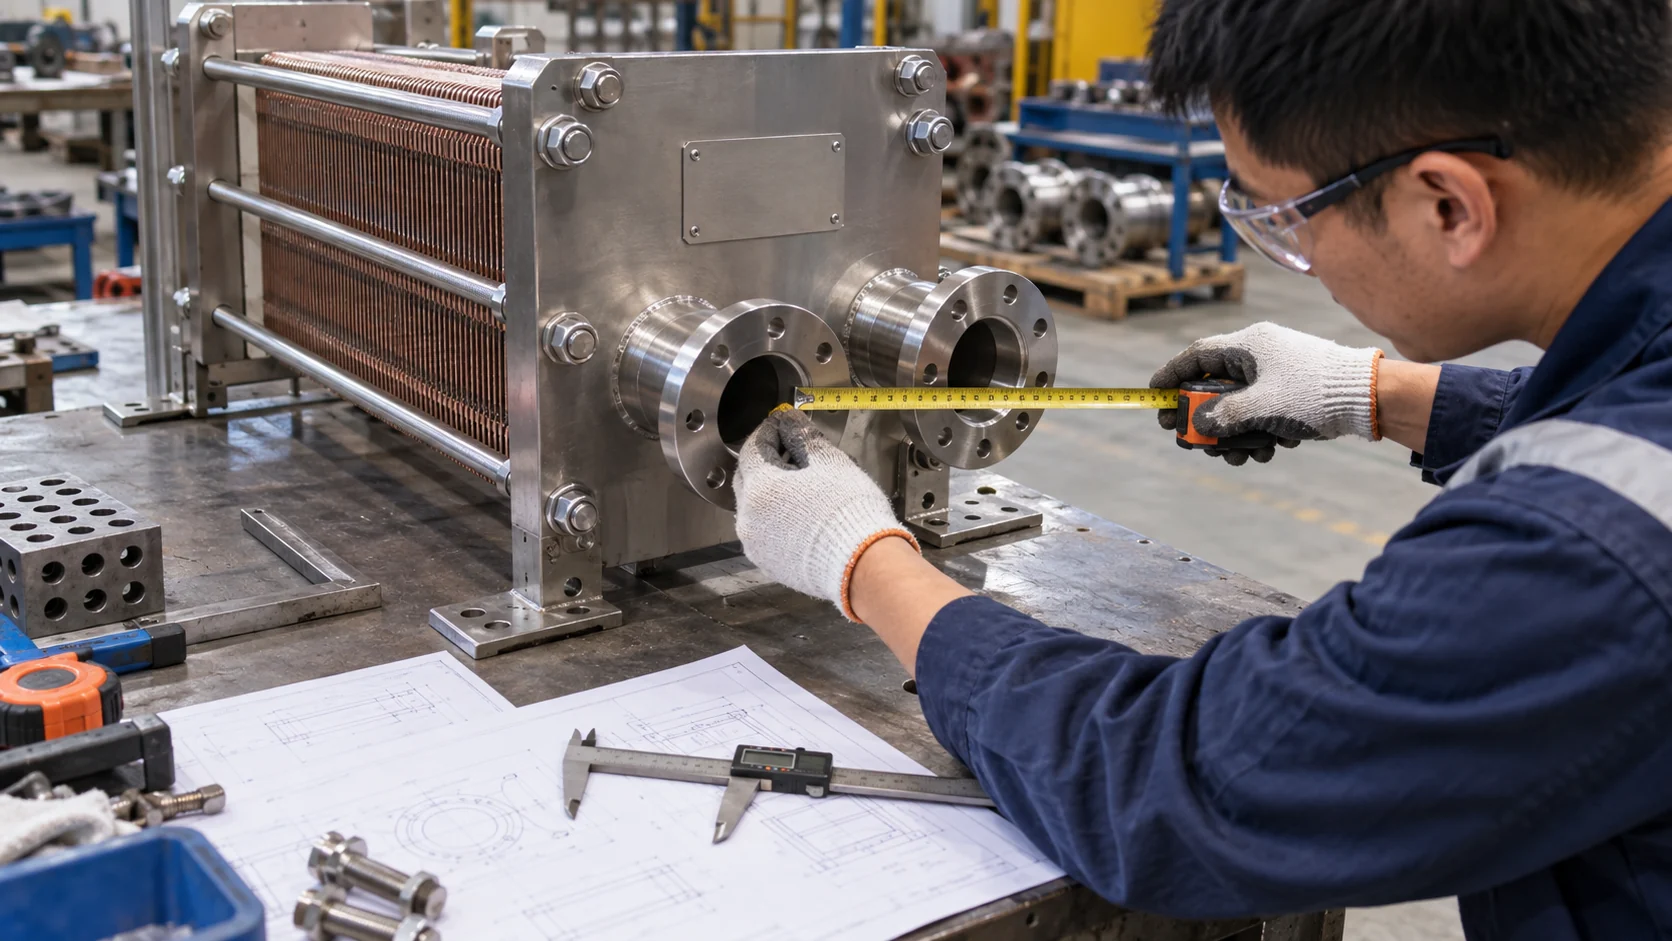
| Installation item | Minimum record | Replacement risk if missing |
|---|---|---|
| Overall envelope | Length, width, height and removable-service clearance | New unit may not fit the frame or cannot be pulled for cleaning |
| Connection geometry | Port size, face, orientation, centerline and circuit label | Pipe stress, field rework or reversed flow can result |
| Supports and lifting | Base holes, feet, lugs, lifting points and weight estimate | Supports may overload or require unplanned fabrication |
| Flow path | Inlet/outlet, pass count, refrigerant circuit and drain/vent points | Duty, oil return or air removal may be affected |
| Insulation and access | Insulation thickness, guard panels and nameplate visibility | Service access and future identification may be lost |
Include a dimensioned sketch even when the original model is known. A field drawing catches later modifications, reducers, adapters and non-standard mounting. Mark each dimension with its reference face and tolerance; “approximately” is acceptable for a first quote only if the supplier knows which values still need confirmation.
Build a replacement record that can be audited
The strongest RFQ packet keeps the plate evidence, field measurements and operating duty together under one asset or tag number. Use the same filename stem for the nameplate photo, installation photo, drawing and test record. Keep original camera files and a read-only copy of the transcription so later reviewers can compare the typed value with the metal plate.
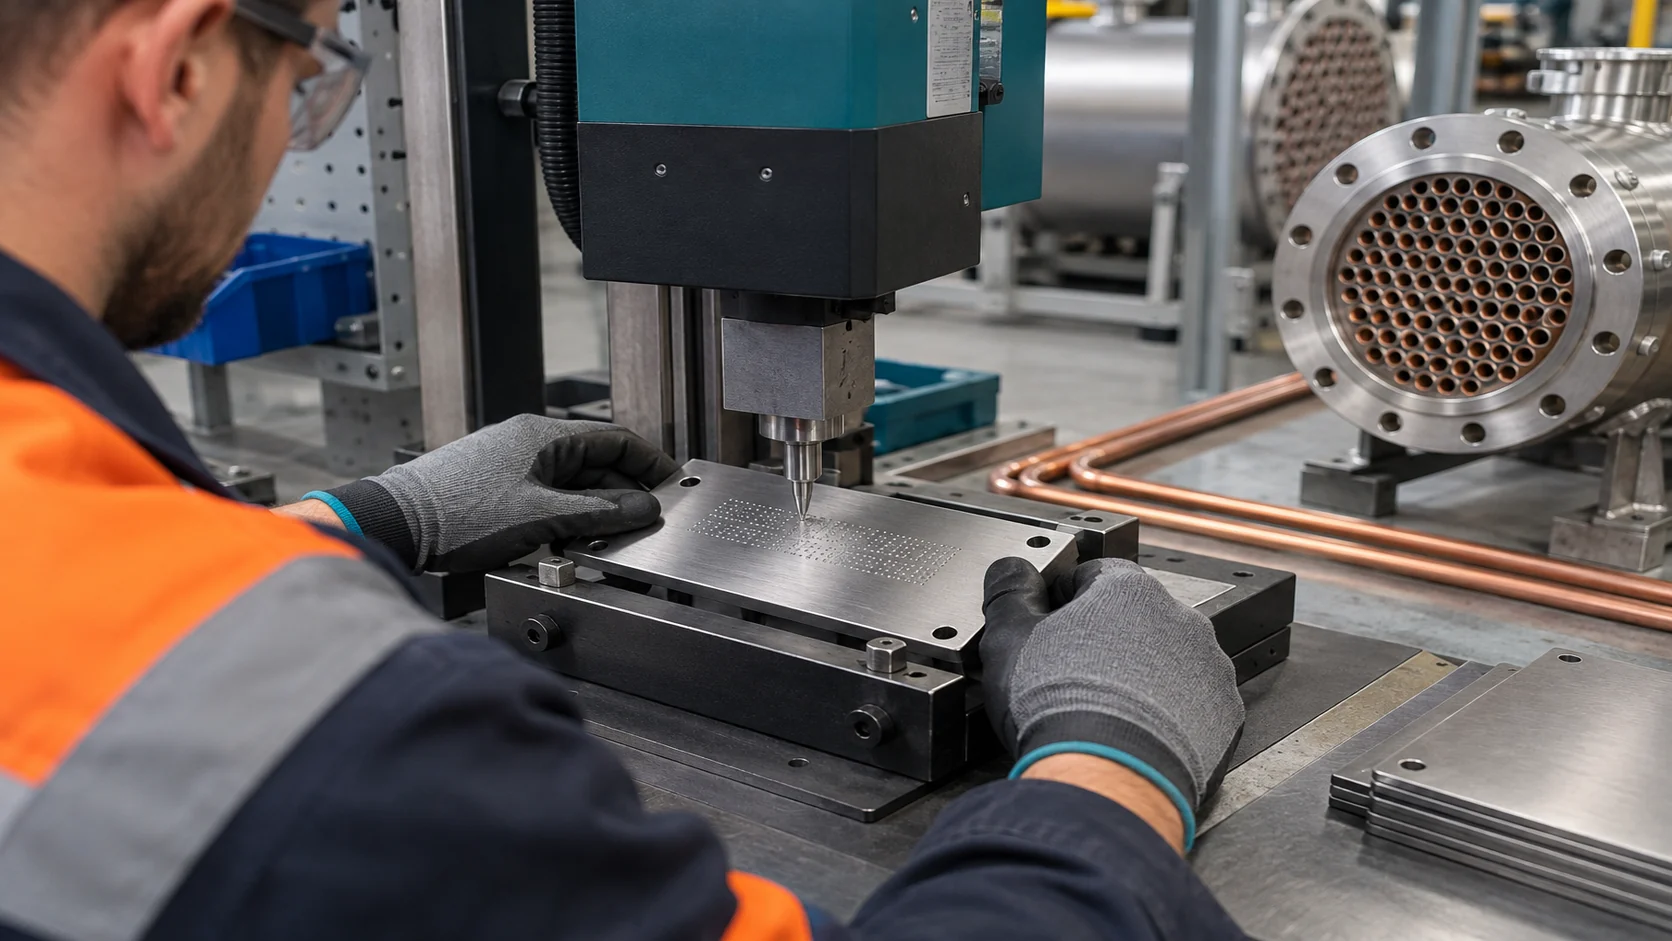
Use this sequence for an obsolete or damaged exchanger:
- Isolate, depressurize and make the equipment safe under the site’s procedure before cleaning the plate or removing guards.
- Photograph the complete nameplate, mounting location, connections, supports and any code stamp without obscuring the evidence.
- Transcribe every field and mark unclear, missing or damaged characters for supplier review.
- Measure the envelope and connection geometry, then add a hand sketch or CAD drawing with reference datums.
- Send normal, minimum and peak flow, temperature, pressure, fluid, fouling and allowable pressure-drop data.
- Request a replacement datasheet, drawing, material list, pressure boundary calculation and inspection plan before approval.
- Compare the sample or first article to the approved drawing, then record the pressure test, leak test and final nameplate details.
Common nameplate mistakes and their consequences
Small documentation shortcuts can cause a large procurement delay. The table below helps an engineer or buyer spot gaps before asking for pricing.
| Mistake | What it hides | Better practice |
|---|---|---|
| One blurry phone photo | Digits, units and suffixes cannot be verified | Take square-on and oblique photos at the highest native resolution |
| “Pressure: 10 bar” with no side | Refrigerant, shell and utility circuits may differ | Add side, medium, temperature and the exact plate symbol |
| Copying a catalog model from appearance | Modified ports, passes or materials are missed | Match serial, drawing and dimensions before choosing a model |
| Treating test pressure as working pressure | Relief and operating limits may be overstated | Ask the manufacturer to classify every pressure value |
| Omitting the service fluid | Compatibility, fouling and cleaning are unknown | State refrigerant, water chemistry, glycol percentage and additives |
| Measuring only the outer length | Port centers and service clearances remain unknown | Provide a dimensioned sketch with support and nozzle datums |
| Replacing a damaged plate without traceability | New plate can be mistaken for original certification | Link the replacement plate to the approved drawing and test record |
For a safety-critical or regulated item, involve the responsible engineer and inspection body early. A manufacturer can quote from partial information, but the final release should wait for a verified datasheet and a documented review of pressure, temperature, materials and code.
What to send with a heat exchanger nameplate RFQ
The most useful inquiry is compact enough to review quickly and complete enough to avoid a second round of basic questions. Include the commercial requirement and the technical evidence in the same message.
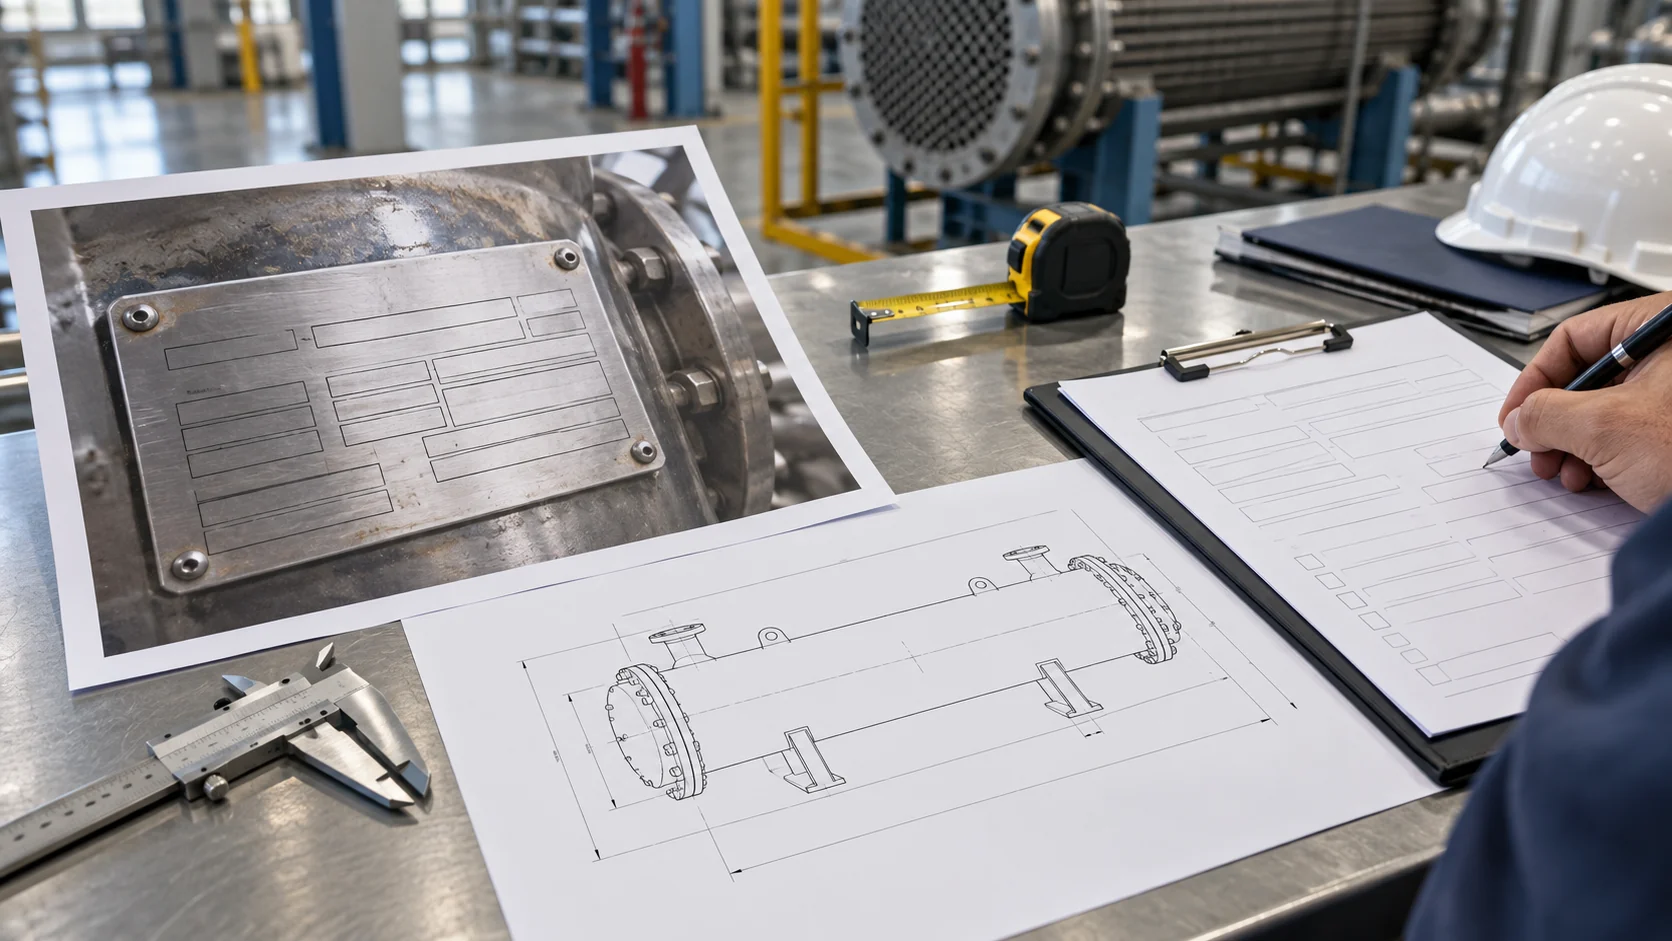
| RFQ package | Include | Preferred format |
|---|---|---|
| Identity evidence | Nameplate close-up, installation view, model, serial and tag | Original JPG/PNG plus a typed transcription |
| Mechanical fit | Overall dimensions, port centers, flange/thread details, supports and weight | Dimensioned PDF or CAD drawing with reference datums |
| Process duty | Fluid, flow, inlet/outlet temperature, design pressure and allowable pressure drop | One operating table for normal, minimum and peak cases |
| Materials and compliance | Material marks, gasket, code, inspection, certificates and test requirements | Approved specification or purchase-order notes |
| Commercial target | Quantity, destination, required date, packaging and sample need | RFQ form with one contact and revision number |
If the unit is for industrial refrigeration, also state refrigerant type, evaporating and condensing conditions, oil-return concerns, defrost mode and whether the replacement is a coil, condenser, shell-and-tube exchanger or plate exchanger. Those details prevent a supplier from treating a refrigeration-side component as a generic water-to-water device.
Site checks before the replacement is released
The installed plate is not the only field evidence. A cold-storage or process-cooling room may contain several similar exchangers with different circuits and set points. Photograph the asset tag in context and follow the pipe to the valve, pump or compressor circuit before assigning a model number.
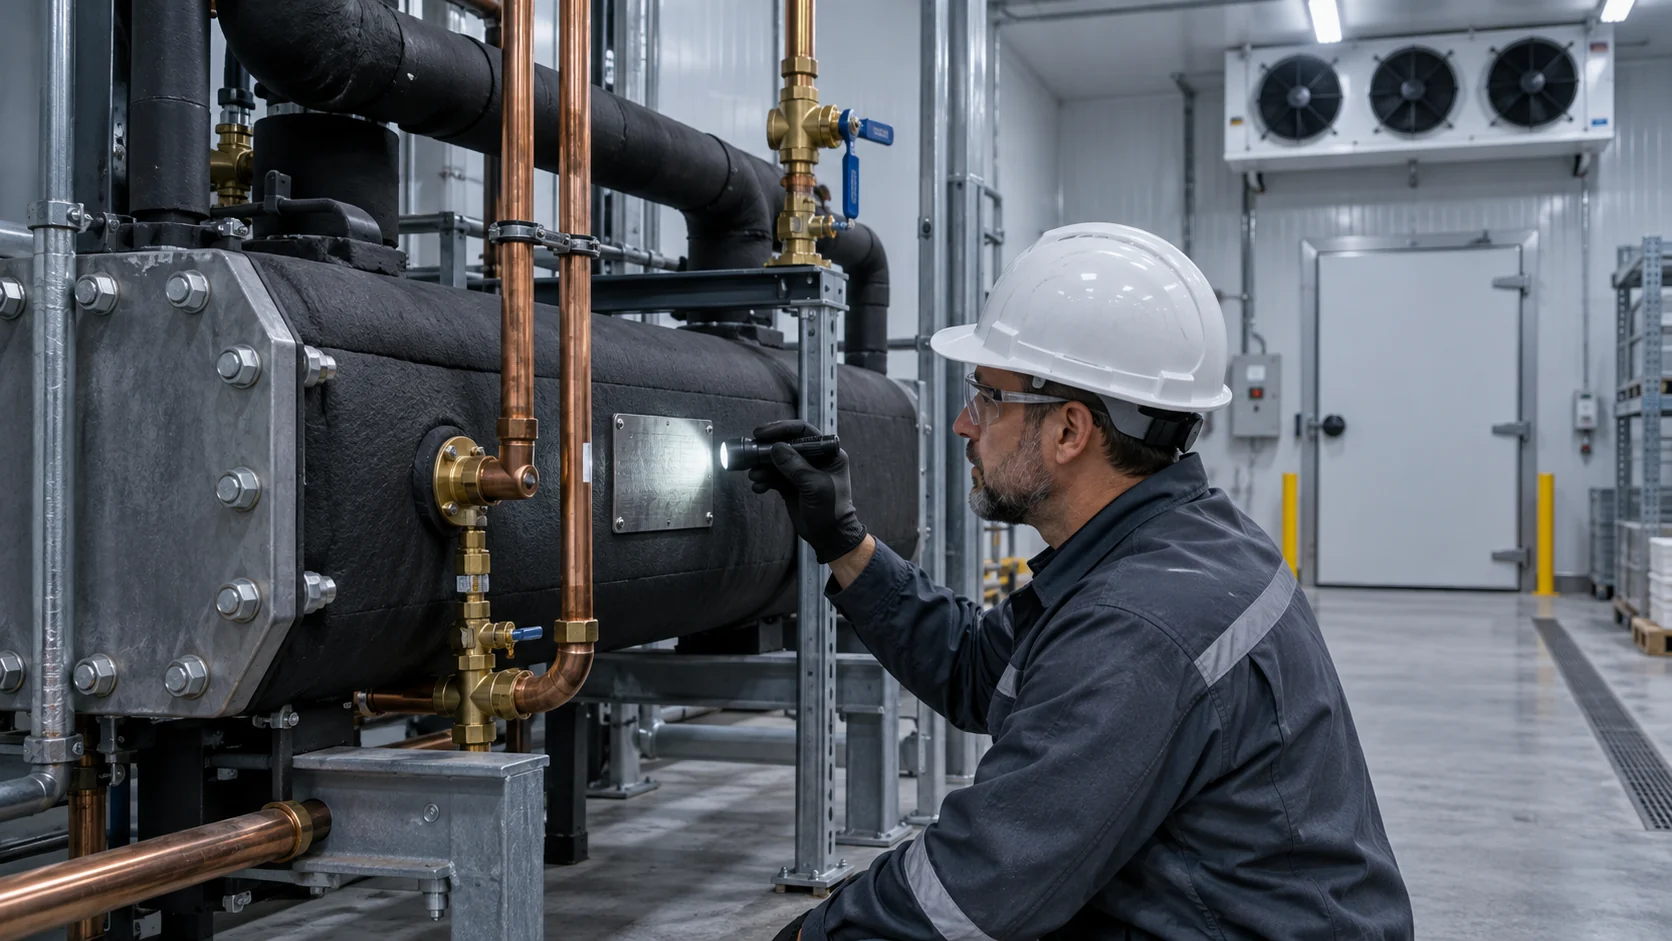
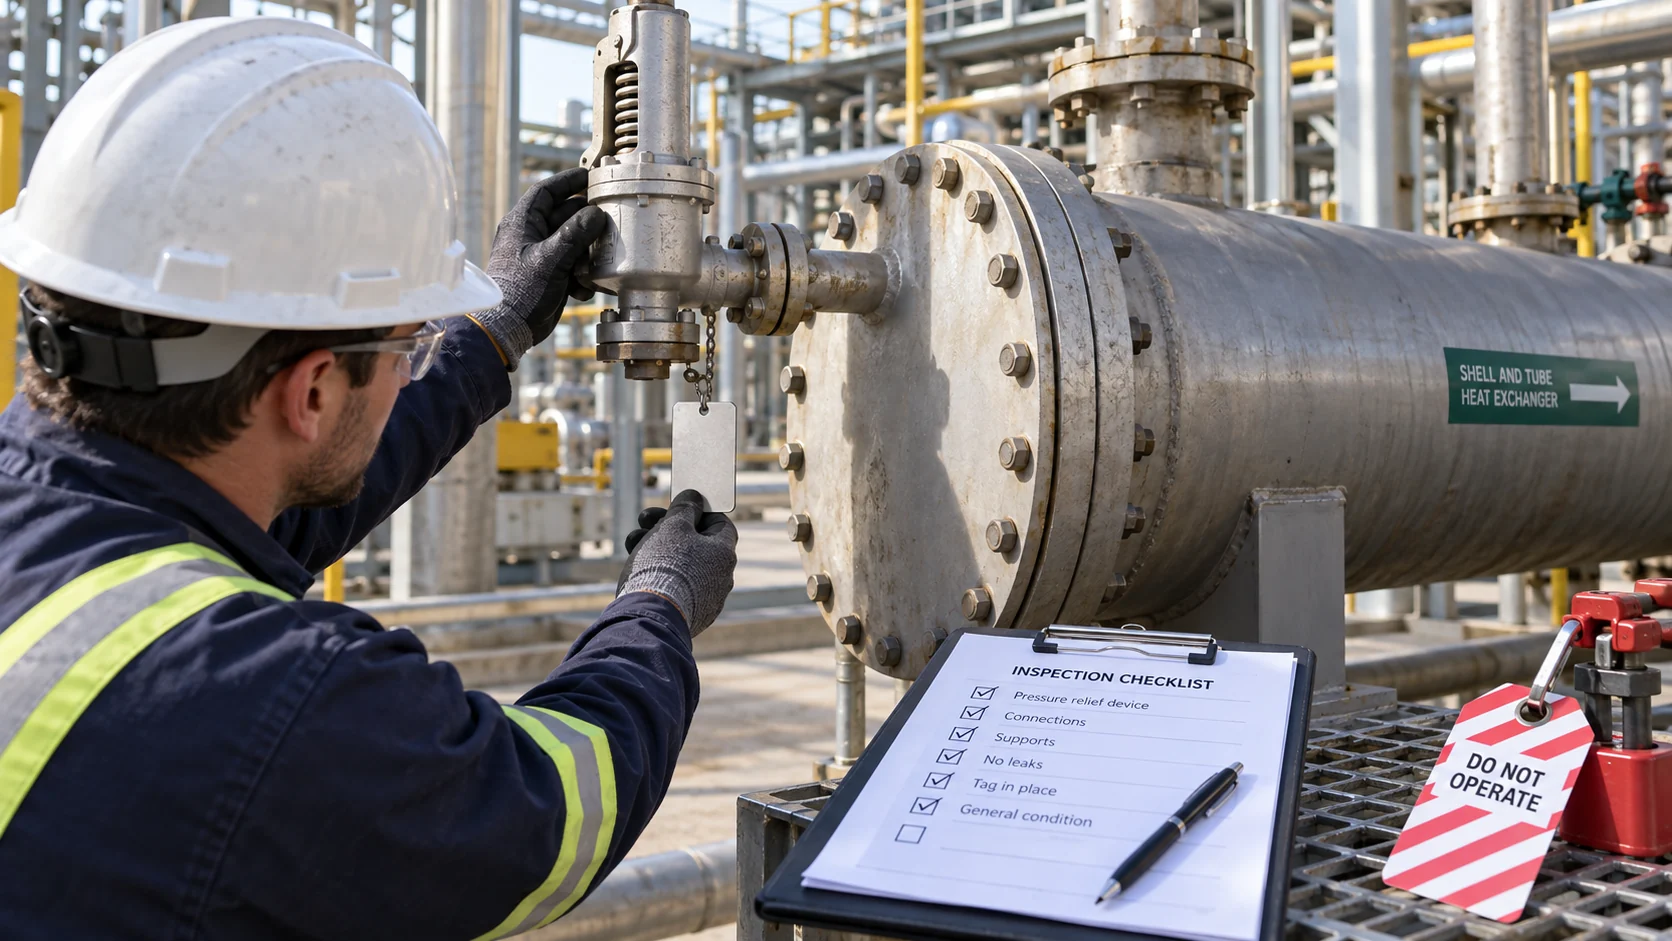
Before start-up, verify that the approved drawing agrees with the installed connections, supports, relief protection, isolation valves, drains and vents. Complete the specified leak, pressure, control and performance checks under the responsible engineer’s procedure. A replacement should leave a traceable record for the next service visit rather than creating another unidentified asset.
Frequently asked questions
What is a heat exchanger nameplate?
A heat exchanger nameplate is a permanent identification plate that links an installed exchanger to its manufacturer, model, serial or tag and selected design information such as pressure, temperature, materials or code. It is a starting point for replacement, not a substitute for the approved datasheet.
Which nameplate fields are most important for a replacement quote?
Start with manufacturer, model, serial, design pressure, test pressure, design temperature, fluid service, material, port details and code mark. Add clear photos, dimensions and operating duty because a plate rarely records the complete fit and heat-transfer requirement.
Is test pressure the same as operating pressure?
No. Test pressure is used for a controlled verification and may be higher than the allowable operating pressure. Ask the manufacturer to identify each pressure value, its circuit, medium, temperature and governing standard before using it for selection or relief review.
What if the nameplate is unreadable or missing?
Record the asset tag and installation context, photograph the remaining marks, measure the exchanger and gather process conditions, drawings, service history and purchase records. A supplier can then determine which values require inspection, reverse engineering or a new design calculation.
Do I need dimensions if I know the model number?
Yes. Field modifications, adapters, changed ports and support details can make an otherwise correct model difficult to install. Confirm overall envelope, nozzle centerlines, flange or thread details, supports, weight and service clearance against the approved drawing.
What should be included in a nameplate replacement RFQ?
Send the original plate photos and transcription, installation and connection photos, a dimensioned sketch, normal and design operating data, fluid and material information, code or inspection requirements, quantity, destination and required date. Ask for a replacement datasheet and drawing before purchase approval.
Turn the plate into a usable engineering record
An accurate nameplate record improves the next decision: repair, re-tube, replace a coil, quote a shell-and-tube unit or engineer a new plate exchanger. Domi can review a nameplate package alongside drawings and operating data through its engineering capabilities, custom coil fabrication and testing lab resources. For a project-specific review, Request a Custom Quote or Send Your Drawing for Review with the plate photos, dimensions and required duty.