
A refrigerator that is not cooling should be diagnosed from cabinet temperature, airflow, frost pattern, coil condition, defrost operation, and controls before a replacement coil or sealed-system repair is specified.
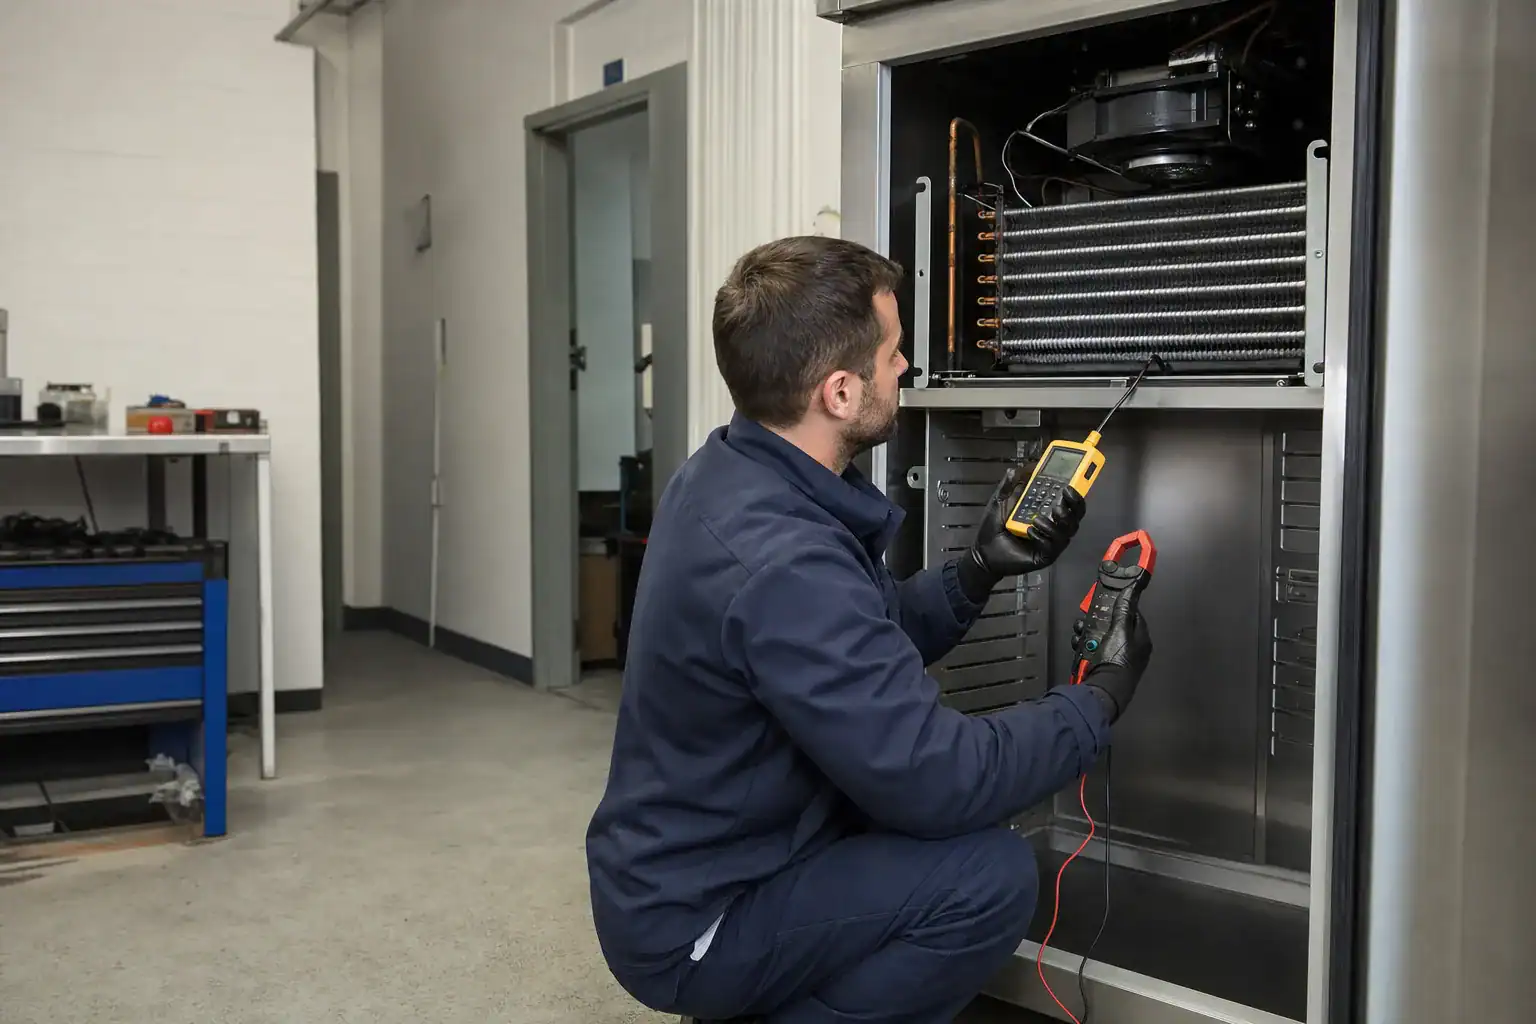
If a refrigerator is not cooling, the visible symptom does not identify the failed part by itself. A blocked condenser, a dirty evaporator, a failed fan, a defrost problem, a door-seal leak, a control fault, a refrigerant leak, or a compressor problem can all produce a warm cabinet. The first useful question is not “Which part should be replaced?” It is “Where is the refrigeration cycle or airflow path failing?”
This guide is written for appliance service teams, OEM engineers, procurement teams, and replacement-part buyers. A homeowner can use the low-risk observations, but electrical tests, refrigerant recovery, brazing, pressure testing, and sealed-system work should be performed by a qualified technician. For an OEM, the same symptom should become a controlled troubleshooting tree connected to the coil drawing, fan specification, defrost strategy, and service parts list.
The ENERGY STAR refrigerator guidance recommends maintaining airflow, allowing space around the appliance, and keeping condenser areas clean. Those simple conditions matter because a coil cannot reject or absorb heat correctly when air movement or heat-transfer surface is restricted. If the project needs a new coil rather than service advice, start with the residential refrigeration coils page and prepare the drawing and operating data listed near the end of this article.
Start by defining “not cooling”
“Not cooling” can mean several different conditions. A fresh-food compartment may be warm while the freezer is cold. Both compartments may be warm, but the compressor may still run. The cabinet may cool after a manual defrost and then warm again. A display may show a normal setpoint even though product temperature is outside the required range. These are different diagnostic paths.
Measure the symptom instead of guessing
Record the following before changing a part:
| Observation | What to record | Why it matters |
|---|---|---|
| Cabinet temperature | Air and product temperature, location, time | Separates a brief pull-down from a persistent capacity problem |
| Freezer temperature | Same conditions and setpoint | Shows whether the evaporator is producing cooling |
| Compressor state | Running, cycling, hot, silent, repeated starts | Points toward controls, start components, overload, or sealed-system issues |
| Evaporator fan | Running, intermittent, obstructed, noisy | A cold evaporator cannot cool the cabinet without air movement |
| Frost pattern | Even frost, partial frost, solid ice, no frost | Helps separate airflow, defrost, charge, and circulation faults |
| Condenser condition | Fan, surface temperature, dust, clearance | Poor heat rejection can reduce capacity and raise run time |
| Door and gasket condition | Gaps, torn gasket, frequent opening, warm air entry | Moisture and heat load can imitate a coil problem |
Do not treat one infrared temperature reading as a complete diagnosis. Surface emissivity, access, insulation, and compressor cycle position can affect the result. Use a calibrated probe where the application requires a controlled measurement.
Check the easy, low-risk conditions first
Confirm that the appliance has power, the control is not in vacation or showroom mode, the doors close, air vents are not blocked by food, and the unit has the clearances required by its installation instructions. Listen for the evaporator and condenser fans. Look for heavy dust or lint around an accessible condenser area. Do not remove energized covers or touch refrigerant tubing to make a diagnosis.
The Whirlpool not-cooling troubleshooting page is an example of a manufacturer service path that starts with power, settings, vents, doors, and airflow before deeper repair. OEM teams can use the same order in a service document while adding their own measured limits and part numbers.
The main reasons a refrigerator is not cooling
The most useful diagnosis groups the failure into heat rejection, heat absorption, air distribution, defrost, control, or sealed-system categories.
Condenser heat rejection is restricted
The condenser must reject heat from the refrigerant to the surrounding air. Dust, lint, a failed condenser fan, a blocked grille, inadequate installation clearance, or a high ambient temperature can reduce that heat rejection. The compressor may run for a long time and the cabinet may still fail to reach temperature.
A dirty condenser is not the same as a damaged condenser coil. Cleaning may restore performance if the coil and fan are otherwise correct. For an OEM redesign, however, the condition can expose a packaging or service-access problem. If the coil is positioned where lint accumulates or cannot be brushed safely, the design review should consider access, guard geometry, airflow path, and cleaning instructions.
The evaporator cannot exchange heat with cabinet air
An evaporator coil can be cold while the cabinet remains warm. A solid frost blanket, blocked fins, a stopped evaporator fan, an iced air channel, or food placed against a return vent can prevent cold air from circulating. In a no-frost refrigerator, the coil may be hidden behind a cover, so airflow evidence can be more useful than a visual inspection of the coil itself.
If the evaporator is heavily iced, do not immediately specify a replacement evaporator coil. First determine why ice accumulated. A defrost heater, defrost thermostat, sensor, control board, drain, fan, door seal, or airflow design may be involved. Replacing the coil without correcting the cause can return the same symptom.
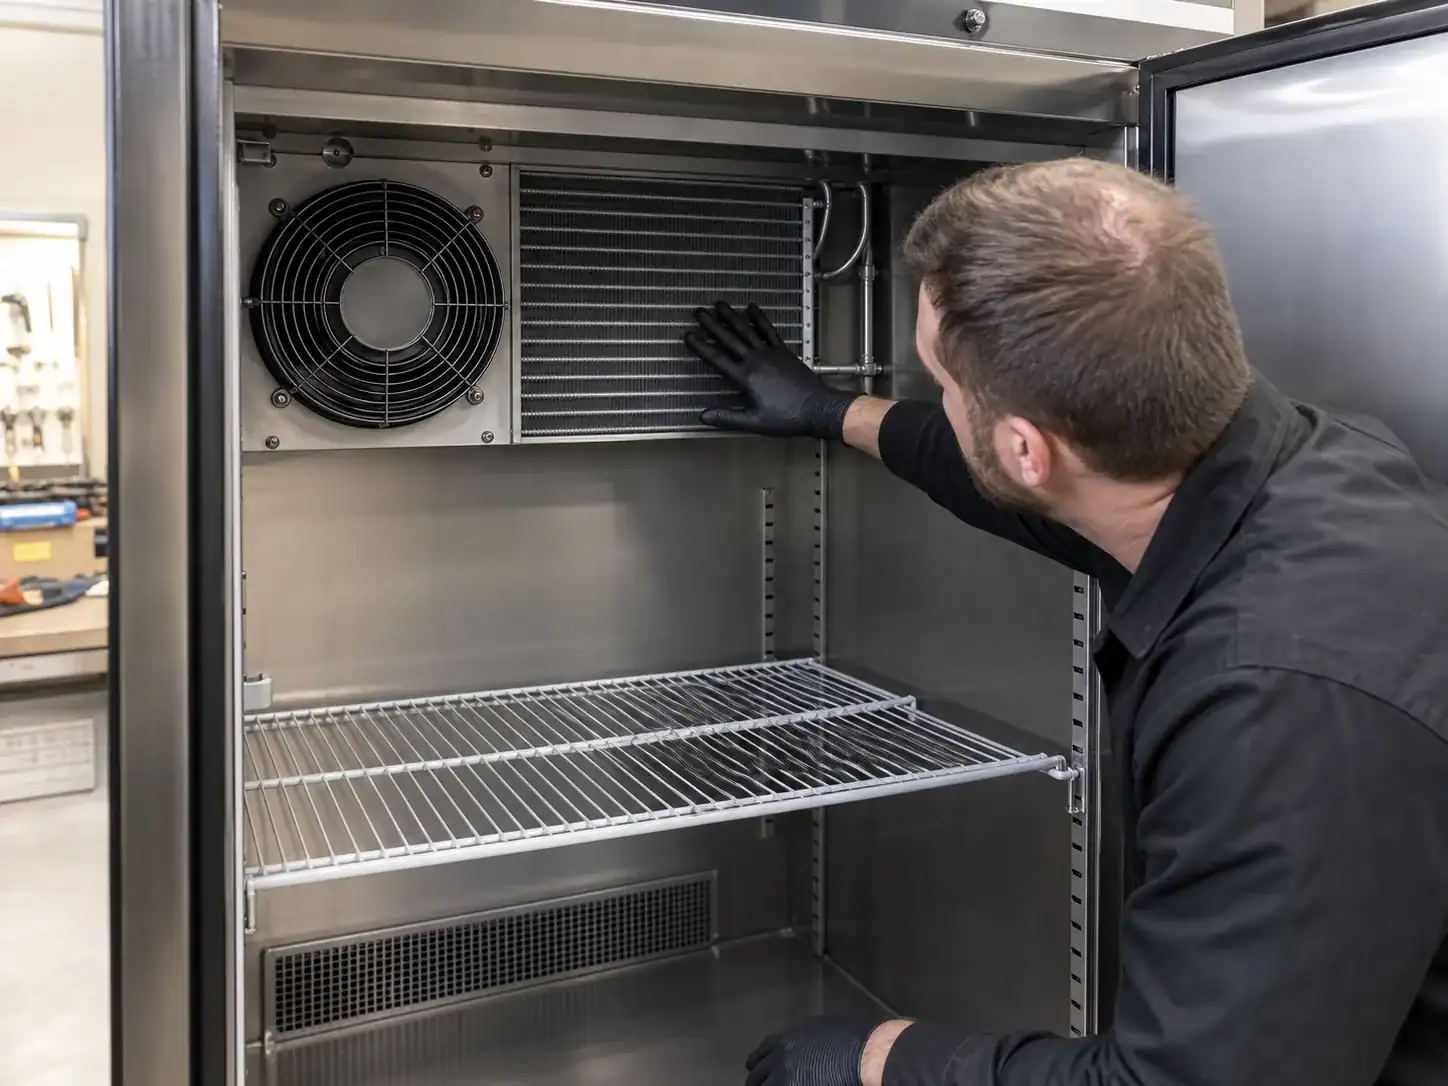
Defrost does not remove accumulated ice
Automatic-defrost refrigerators periodically warm the evaporator enough to remove frost. If the heater does not energize, the thermostat or sensor does not permit the cycle, the control does not initiate it, or the drain freezes, the frost layer can gradually restrict airflow. The refrigerator may cool after the ice is manually removed and then fail again days later.
The GE overview of refrigerator defrost systems distinguishes common automatic defrost approaches and explains why the defrost component set differs by design. In an OEM project, document the actual strategy: timed or adaptive control, heater type, sensor location, termination condition, maximum defrost time, drain path, and protection against overheating.
A fan or damper does not move air
The evaporator fan creates the pressure difference that moves cold air through the cabinet. A condenser fan supports heat rejection. Some models also use a damper or electronic air valve between compartments. A fan can be electrically present but mechanically ineffective because of ice, a damaged blade, bearing noise, wiring, or a wrong replacement part.
Check whether airflow is present at the relevant vents and whether it changes when a door switch is operated. A fan test should follow the appliance service procedure; do not bypass a safety interlock casually. For a new coil, record the airflow, fan curve, shroud, outlet direction, and keep-out zones because a coil that fits dimensionally can still underperform if air bypasses the fin pack.
The sealed system has a charge, flow, or compressor problem
If the fans and airflow are normal but the evaporator frost pattern is absent or only covers a small part of the coil, the problem may involve a refrigerant leak, restriction, incorrect charge, capillary tube, filter-drier, compressor, or a joint. Those faults require sealed-system tools and a qualified technician.
Do not use “add refrigerant” as a generic answer. A leak must be found and repaired, the refrigerant recovered or charged according to the applicable procedure, and the system leak-tested. An OEM coil replacement should preserve the pressure boundary, refrigerant compatibility, tube material, joint design, and test requirements. The Danfoss cold-room fault-diagnosis guidance is useful for organizing observations around pressure, temperature, airflow, defrost, and component operation.
Controls or sensors give the wrong command
A thermistor, defrost sensor, thermostat, relay, user interface, control board, or wiring fault can stop cooling or create an abnormal cycle. A control should be tested against the service data for that specific model. Do not infer a failed sensor only because the display is wrong or because the compressor is not running.
For procurement, the sensor or control part number is part of the replacement definition. For coil engineering, the sensor pocket, clip, contact surface, harness route, and allowable temperature range should be shown on the drawing when they affect system control.
A practical troubleshooting sequence
The following order keeps low-cost observations ahead of high-risk interventions. It also creates a service record that an OEM can review.
- Confirm power, mode, setpoint, door closure, clearance, and cabinet temperatures.
- Confirm whether the compressor, evaporator fan, condenser fan, and damper operate as expected.
- Check vents, return paths, condenser access, and visible dust or ice without opening sealed components.
- Inspect the frost pattern after the system has had enough run time under known conditions.
- If ice is present, evaluate the defrost heater, sensor or thermostat, control command, drain, and door moisture source.
- If frost is absent or partial with normal airflow, move to sealed-system diagnosis.
- Compare the observed conditions with the approved drawing, service manual, and replacement part record.
| Sequence | Evidence | Likely next question |
|---|---|---|
| Cabinet warm, freezer normal | Cooling is generated but not distributed | Is the evaporator fan, damper, vent, or return path blocked? |
| Both compartments warm, compressor silent | Cooling command or compressor start path may be absent | What do the controls, relay, overload, and service test show? |
| Both compartments warm, compressor runs | Heat rejection, charge, restriction, compressor, or airflow issue | Is there a normal condenser pattern and evaporator frost pattern? |
| Cooling returns after defrost | Ice is likely restricting airflow | Why did frost accumulate and did the defrost cycle complete? |
| Frost covers only part of evaporator | Charge, restriction, airflow, or coil circuit issue | Are pressures, temperature, circuiting, and leak evidence normal? |
| Condenser extremely hot and cabinet warm | Heat rejection or system load is high | Is the fan, clearance, ambient, charge, or coil surface restricted? |
This sequence is deliberately evidence-based. A part replacement should follow a failed test or a confirmed physical defect, not only a symptom label.
When a coil is the actual problem
A coil replacement is more defensible when inspection shows a leak, crushed or corroded tubing, blocked internal passage, damaged header or connection, a non-repairable joint, or a coil that cannot meet the approved duty and fit requirements. Even then, identify the failure mode before choosing a replacement.
Distinguish service dirt from coil damage
External contamination can often be cleaned when the fins and tubes are intact. A coil with severe corrosion, damaged fin pack, flattened passages, repeated leaks, or an inaccessible failure may need replacement. Record photographs, leak-test evidence, dimensions, and the material or coating condition. If corrosion is recurring, a replacement with the same material and geometry may not solve the project risk.
Confirm the whole interface
The replacement should match or intentionally revise:
| Interface | Data to confirm |
|---|---|
| Envelope | Length, height, depth, fin-pack clearance, insulation and cover space |
| Mounting | Brackets, holes, clips, slots, drain support and service access |
| Refrigerant side | Tube size, circuiting, inlet/outlet orientation, charge basis and pressure test |
| Air side | Face area, fin pitch, airflow direction, fan and shroud relationship |
| Defrost | Heater location, sensor or thermostat interface, drain and protection |
| Cabinet | Food-zone materials, corrosion exposure, cleanability, noise and vibration limits |
| Manufacturing | Joining process, inspection points, packaging, MOQ and lead time |
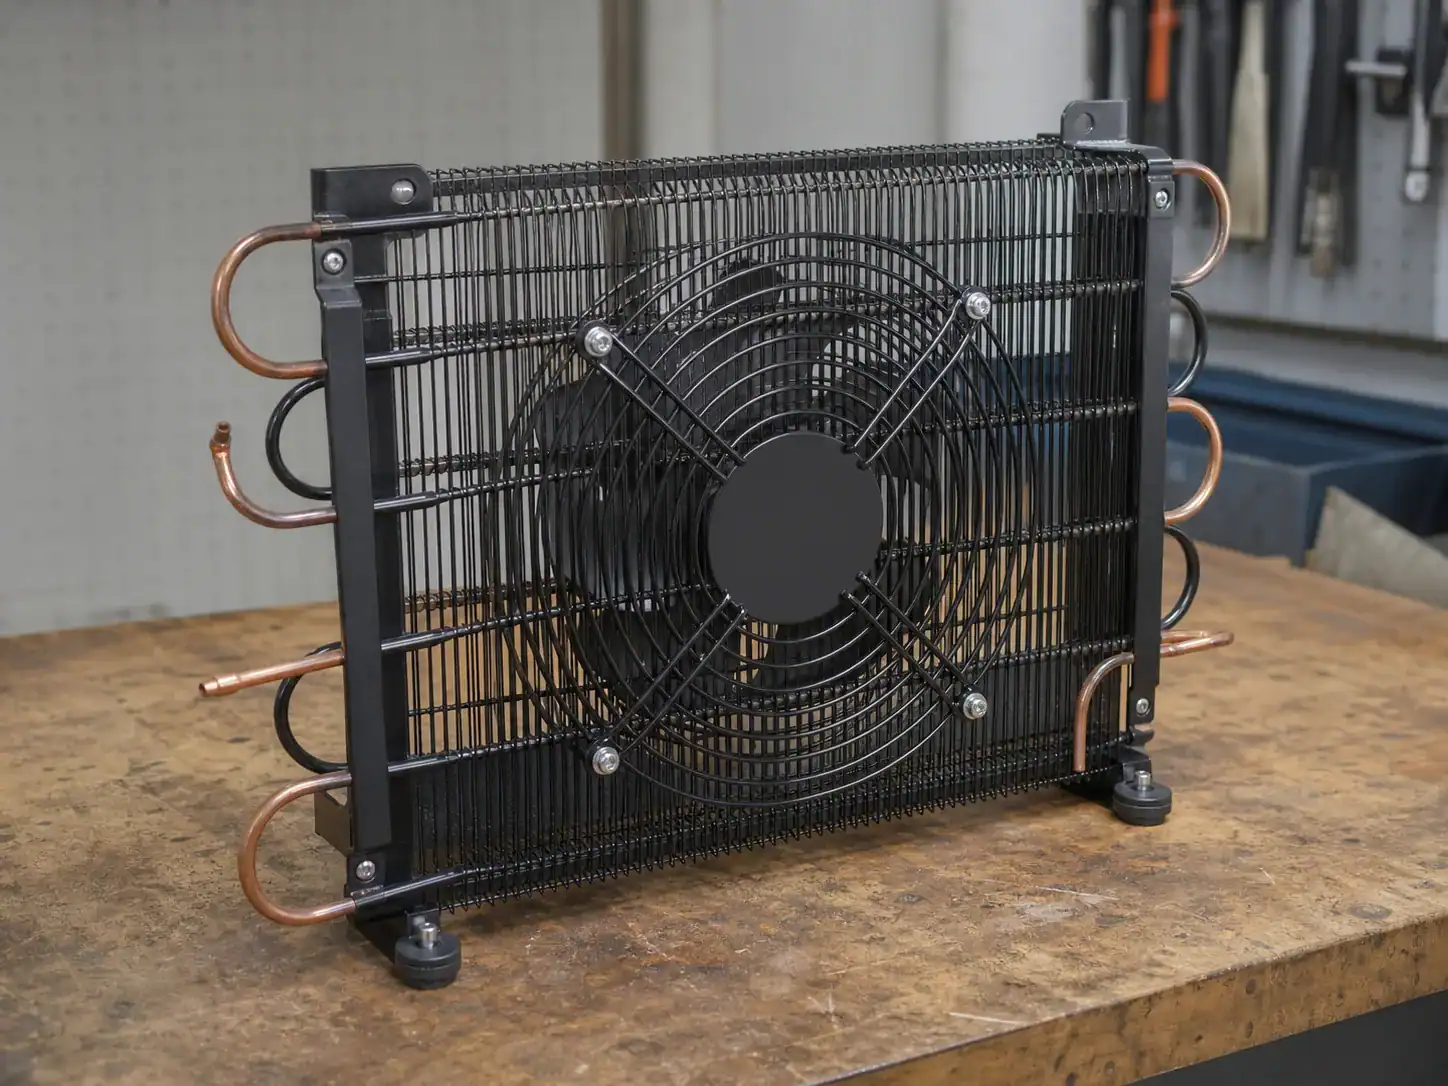
The Domi custom refrigeration coil prototype process explains why drawing, sample, testing, and revision control should stay connected. A replacement coil is not only a heat-transfer surface; it is a component in a cabinet, refrigerant circuit, air path, and production process.
OEM design lessons from a refrigerator that is not cooling
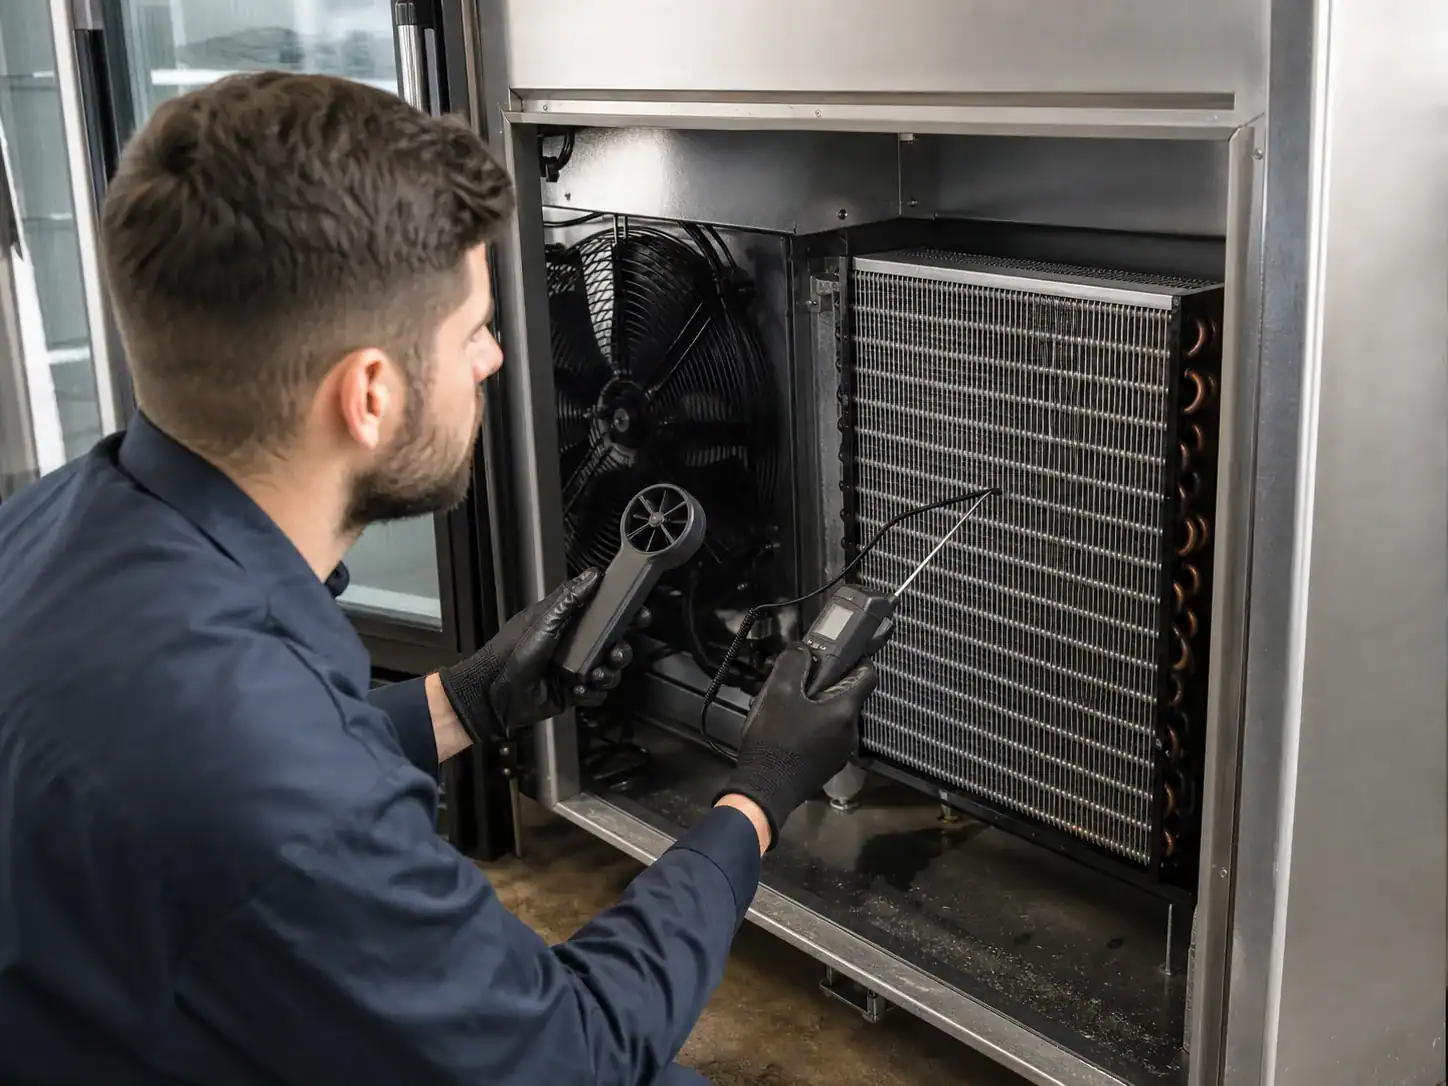
Service data can reveal design issues. If a large share of field calls involve blocked condenser access, poor drainage, recurring evaporator ice, or a fan that cannot be replaced without damaging the cabinet, the solution may be a design or documentation revision.
Give the coil a defined operating window
Record the intended ambient range, cabinet setpoint, evaporating and condensing conditions, airflow, refrigerant, capacity target, pressure-drop limit, frost allowance, defrost method, and test method. “Fits the refrigerator” is not an adequate coil specification.
Design for the actual defrost condition
The coil must support the defrost strategy and the cabinet must handle the resulting water. A heater can melt ice while a blocked drain lets water refreeze in a low point. A sensor can terminate a cycle while an incorrect location gives a false temperature. Include defrost clearance, drain slope, sensor contact, wiring access, and service replacement instructions.
Treat airflow as a mechanical interface
Show fan shroud dimensions, bypass gaps, sealing surfaces, fin orientation, air inlet and outlet zones, and obstruction limits. A coil with a larger nominal face area is not automatically better if the fan cannot move air through it or if the air bypasses the fin pack.
Keep replacement identity stable
Use a part number and revision that link the drawing, sample, quotation, inspection record, and service information. The refrigeration coil drawing revision-control guide covers the document controls that prevent an approved sample from being confused with a later or earlier design.
How to request a replacement or custom coil quote
If the diagnosis points to a coil, send enough data to avoid a quote based on guesswork. A clear request can include:
- Appliance type and application: refrigerator, upright freezer, under-counter unit, display cabinet, or another format.
- Coil role: evaporator or condenser; static, forced-air, or another arrangement.
- Part number, drawing revision, sample photos, nameplate, and any existing supplier reference.
- Overall envelope, mounting points, connection locations, tube sizes, circuiting, fin pitch, and drain details.
- Refrigerant, design pressure, test pressure, operating temperatures, capacity, airflow, and ambient conditions.
- Defrost heater, thermostat or sensor relationship, fan, shroud, cover, clips, and harness constraints.
- Material, coating, corrosion exposure, cleanliness, packaging, annual volume, MOQ, sample quantity, and target schedule.
- Inspection and documentation requirements, including leak test, pressure test, dimensional report, and change approval.
The refrigeration coil quotation information guide gives a structured way to collect drawing, operating, quality, packaging, and commercial inputs. If the drawing is incomplete, send the old coil or clear photographs with a scale, but treat reverse engineering as a confirmation process rather than a substitute for system requirements.
What not to do when a refrigerator is not cooling
Avoid repeatedly resetting the appliance while product temperature rises. Do not chip ice from an evaporator with a sharp tool or heat a cabinet with an uncontrolled flame. Do not bypass a thermostat, door switch, overload, or control safety feature as a permanent repair. Do not cut or braze refrigerant tubing without the correct recovery, purge, pressure-test, and charging procedure. Do not order a coil from outside dimensions alone.
For an OEM, avoid changing coil geometry, refrigerant, heater interface, or fin treatment without a controlled validation plan. A part that cures a symptom in one cabinet can introduce a capacity, noise, frost, pressure, or service problem in another revision.
A deeper diagnostic record for engineering teams
When a refrigerator is not cooling repeatedly in the field, a short “part failed” note is rarely enough to prevent recurrence. Build a record that lets another engineer reconstruct the operating condition. Include the cabinet model, software or control revision, ambient temperature, load condition, setpoints, time since door opening, compressor run time, fan state, measured temperatures, frost appearance, photographs, and the test instrument used. If the unit was serviced, record the recovery, leak test, evacuation, charge, and final pull-down result according to the service procedure.
Separate symptom, evidence, diagnosis, and action
These four fields are easy to mix together. Keep them separate:
| Record field | Example | What it prevents |
|---|---|---|
| Symptom | Fresh-food compartment reaches 12°C after overnight operation | Prevents a vague “bad refrigerator” label |
| Evidence | Freezer is -18°C; fan has no airflow at upper vent; coil is not heavily iced | Keeps the observation testable |
| Diagnosis | Air distribution fault suspected; coil capacity not yet implicated | Prevents a premature coil order |
| Action | Test fan, damper, return path, and control output | Makes the next step clear |
The same separation is useful when an OEM supplier reviews a replacement request. The supplier should know what is confirmed, what is suspected, and what still needs a test. This protects both sides from designing around an incorrect assumption.
Use temperature difference carefully
Supply-air and return-air temperature difference can help show whether air is being cooled, but the result depends on airflow, load, sensor placement, door opening, humidity, and compressor cycle position. A small temperature difference may come from low airflow or low refrigerant flow; a high difference may occur with restricted airflow or an unusual load. Record the airflow condition with the temperature measurement rather than treating the number as a pass/fail value borrowed from another appliance.
For coil development, measure at several locations where practical: entering air, leaving air, fin-pack surface, refrigerant inlet, refrigerant outlet, and cabinet return path. Use the approved test method and identify the uncertainty. A model-specific acceptance limit is more useful than a general “cold enough” statement.
Check frost as a pattern, not a color
Frost thickness and distribution change with humidity and run time. A fully blocked fin pack is obvious, but a partial pattern can be subtle. Record where frost begins, whether it reaches the end of the circuit, whether a sensor area is clear, and whether the drain pan or lower coil area refreezes. Photograph the same angle at the same time in repeated tests. If a cover or insulation changes the view, document the access condition.
Frost evidence should be combined with pressures and temperatures by a qualified technician when the sealed system is under review. A photograph alone cannot prove a refrigerant shortage or a coil blockage.
Review electrical command and physical response
A component can have the correct electrical command but the wrong physical response. A fan may receive voltage but be locked by ice. A heater may have continuity but not receive a defrost command. A sensor may report a plausible value at room temperature but drift at the operating temperature. A damper may move during a service test but bind in normal operation.
Write down both sides of the check: “command present” and “component response confirmed.” For an OEM validation plan, include the test temperature, connector or probe point, cycle state, expected value, and pass/fail rule. Do not publish a generic resistance value unless it is tied to the actual component and temperature curve.
Check serviceability of the coil assembly
Repeated “not cooling” complaints can be caused by service access rather than the nominal coil design. Review whether a technician can see the fin pack, access the drain, remove the cover without damaging insulation, replace the heater or sensor, brush the condenser, and reconnect the coil without forcing a tube. If a service part requires a new bracket or harness route, show that in the service documentation and replacement kit.
Close the loop with corrective action
After the root cause is confirmed, classify the correction. It may be a service instruction, a control calibration, a fan or damper change, a drain revision, a drawing update, a supplier process correction, a coil material change, or a field campaign. Assign an owner and verify the corrective action on a representative unit. The goal is not just to make one refrigerator cool again; it is to reduce the probability that the same failure will return under the same conditions.
A compact OEM decision tree
The following decision tree can be adapted into a service form or an engineering test plan:
- Is the cabinet temperature outside the approved range after the defined pull-down time? If not, the complaint may be a setpoint, loading, or measurement issue.
- Is the cooling command active? If not, inspect control mode, sensor input, door logic, alarms, and wiring.
- Is the compressor operating within its approved cycle and current range? If not, inspect start, overload, control, compressor, and electrical conditions.
- Is condenser airflow and heat rejection normal? If not, inspect clearance, dust, fan, shroud, and coil condition.
- Is evaporator airflow normal? If not, inspect fan, damper, vents, return path, ice, and cover sealing.
- Is defrost completing as designed? If not, inspect the heater, thermostat or sensor, control command, termination, drain, and moisture source.
- Is the frost and sealed-system evidence consistent with the approved design? If not, conduct qualified pressure, leak, charge, restriction, and compressor diagnosis.
- Is the coil itself physically damaged or outside its approved performance? If yes, define the replacement coil by drawing, sample, operating data, and test requirements.
This order helps prevent a common purchasing mistake: buying a new evaporator because the refrigerator is warm while the actual failure is a fan, defrost control, or blocked return path. It also helps a coil supplier return a useful quotation because the suspected coil requirement is connected to a measured problem.
Interpret the field data before changing the specification
Field reports often arrive with a short description, a photograph, and a request for a part. Ask for the operating state behind the description. Was the compressor running? Was the freezer actually at its approved temperature? Was the coil evenly frosted, completely iced, or dry? Did the fan move air at the supply vent and return? Did the problem occur at normal ambient or after a door or load event? Was the refrigerator reset or manually defrosted before the observation?
These questions do not delay a useful answer; they make the answer narrower. If the evidence points to distribution, the next step is fan, damper, vent, return, frost, or control testing. If it points to a refrigerant-side problem, a qualified technician can collect pressure, temperature, leak, and compressor evidence. If it points to a damaged coil, the replacement RFQ can focus on the correct envelope, connections, circuiting, defrost, material, and inspection. The same symptom phrase can therefore lead to three different technical actions, and the service record should preserve which path was followed.
FAQ: refrigerator not cooling
Why is my refrigerator not cooling while the light still works?
The light only confirms one electrical circuit and does not confirm the compressor, fans, controls, airflow, or sealed system. Check the mode, temperature, fan sound, vents, and measured cabinet temperatures first. A qualified technician should diagnose electrical and sealed-system faults.
Can dirty condenser coils make a refrigerator stop cooling?
Yes. Dust and lint can reduce heat rejection, increase compressor run time, and reduce cooling capacity. Clean only the accessible areas using the appliance instructions and disconnect power when required. If the condenser is damaged or repeatedly contaminated, evaluate access and coil design rather than assuming cleaning is the full solution.
Why is the freezer cold but the refrigerator compartment warm?
The evaporator may be producing cooling but cold air is not reaching the fresh-food compartment. Common paths include a stopped evaporator fan, iced coil, blocked vent, failed damper, return-air restriction, or control issue. Measure airflow and inspect the frost condition before replacing the coil.
Does a thick layer of ice always mean the evaporator coil is bad?
No. Ice commonly indicates a defrost, airflow, door-seal, drain, sensor, or control problem. Defrosting may restore cooling temporarily while leaving the cause unresolved. The heater, sensor or thermostat, control command, drain, and moisture load should be checked.
What does a partial frost pattern mean?
A partial pattern can be associated with a refrigerant leak, restriction, incorrect charge, compressor issue, airflow condition, or circuiting problem. It is not a conclusive test by itself. Use the appliance service procedure and measured pressure and temperature data before specifying a replacement coil.
When should a refrigerator evaporator coil be replaced?
Replacement is considered when the coil has a confirmed leak or physical damage, cannot be repaired reliably, or no longer meets the approved fit and performance requirements. Match envelope, connections, circuiting, airflow, defrost interfaces, materials, pressure, and testing—not only the outside dimensions.
Can I use a universal replacement coil?
Only if the appliance manufacturer or qualified technician confirms that the part matches the system, fit, connections, capacity, pressure, refrigerant, defrost, and service requirements. For OEM programs, a universal part can create uncontrolled variation and should not replace a controlled drawing and sample approval.
What should an OEM send for a custom refrigerator coil quote?
Send the drawing and revision if available, photos or sample, envelope and mounting data, refrigerant and design conditions, capacity and airflow, tube and connection details, defrost interfaces, materials, inspection, packaging, volume, MOQ, and schedule. If data is missing, state the unknowns so the supplier can return a review list instead of an unsupported assumption.